DIY: BHR Ignition Coils; Throttle Body Spacer PART1
 02-17-2009, 03:57 AM
#1
Registered
Thread Starter
Join Date: May 2006
Location: Socal
Posts: 49
Likes: 0
Received 0 Likes
on
0 Posts
DIY: BHR Ignition Coils; Throttle Body Spacer
PART 1
Install is straightforward, but I ran into a few issues so I thought this would help.
Feel free to add steps or make corrections. Feel free to follow the steps in a different order if it is easier for you.
I'M A NEWB SO FOLLOW THESE DIRECTIONS AT YOUR OWN RISK
I figured these two mods should be done together since taking off the throttle body makes installing the coils much easier.
1. Per BHR instructions, there is no need to remove your battery connections as long as the key is turned to the "off" position.
2. Remove the stabilizer bar.
3. Remove the factory or aftermarket airbox, and the flexible intake duct or aftermarket intake pipe from the throttle body, then move all tubes out of the way (recirc, vacuum, jet-air, etc.).
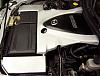
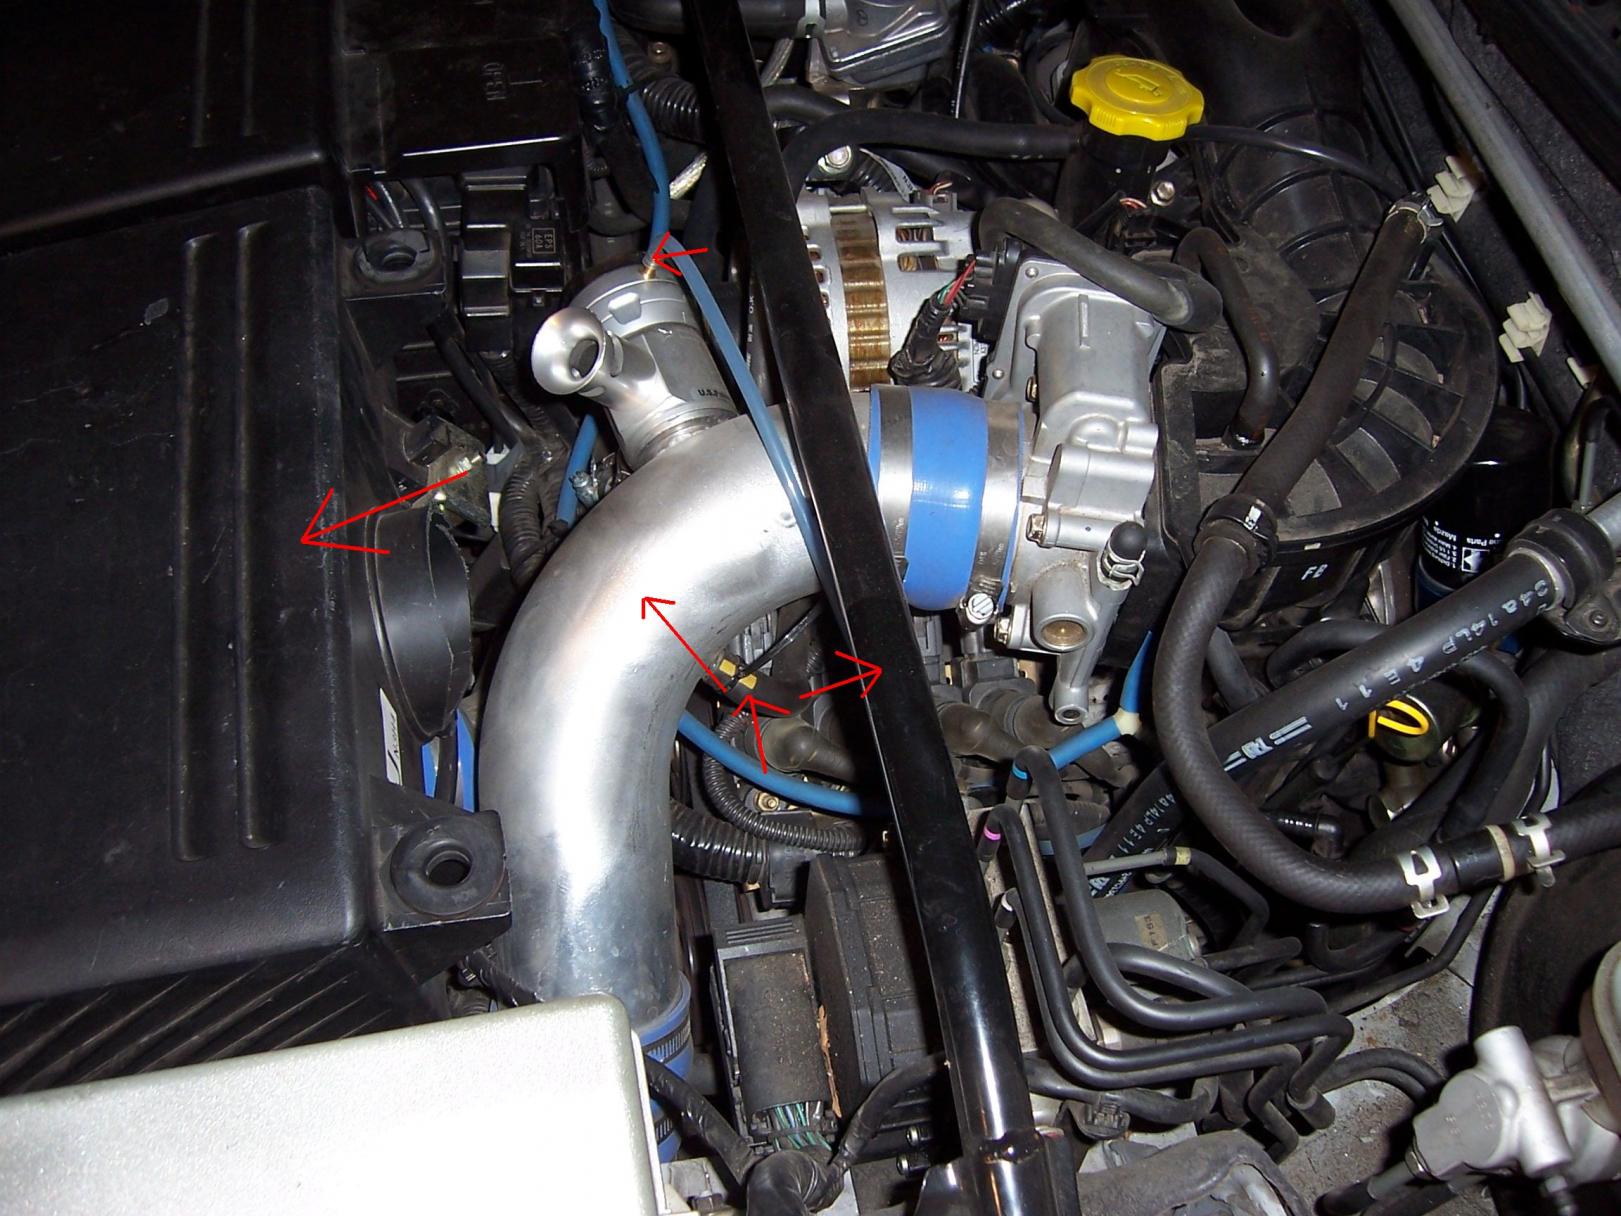
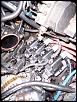
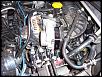
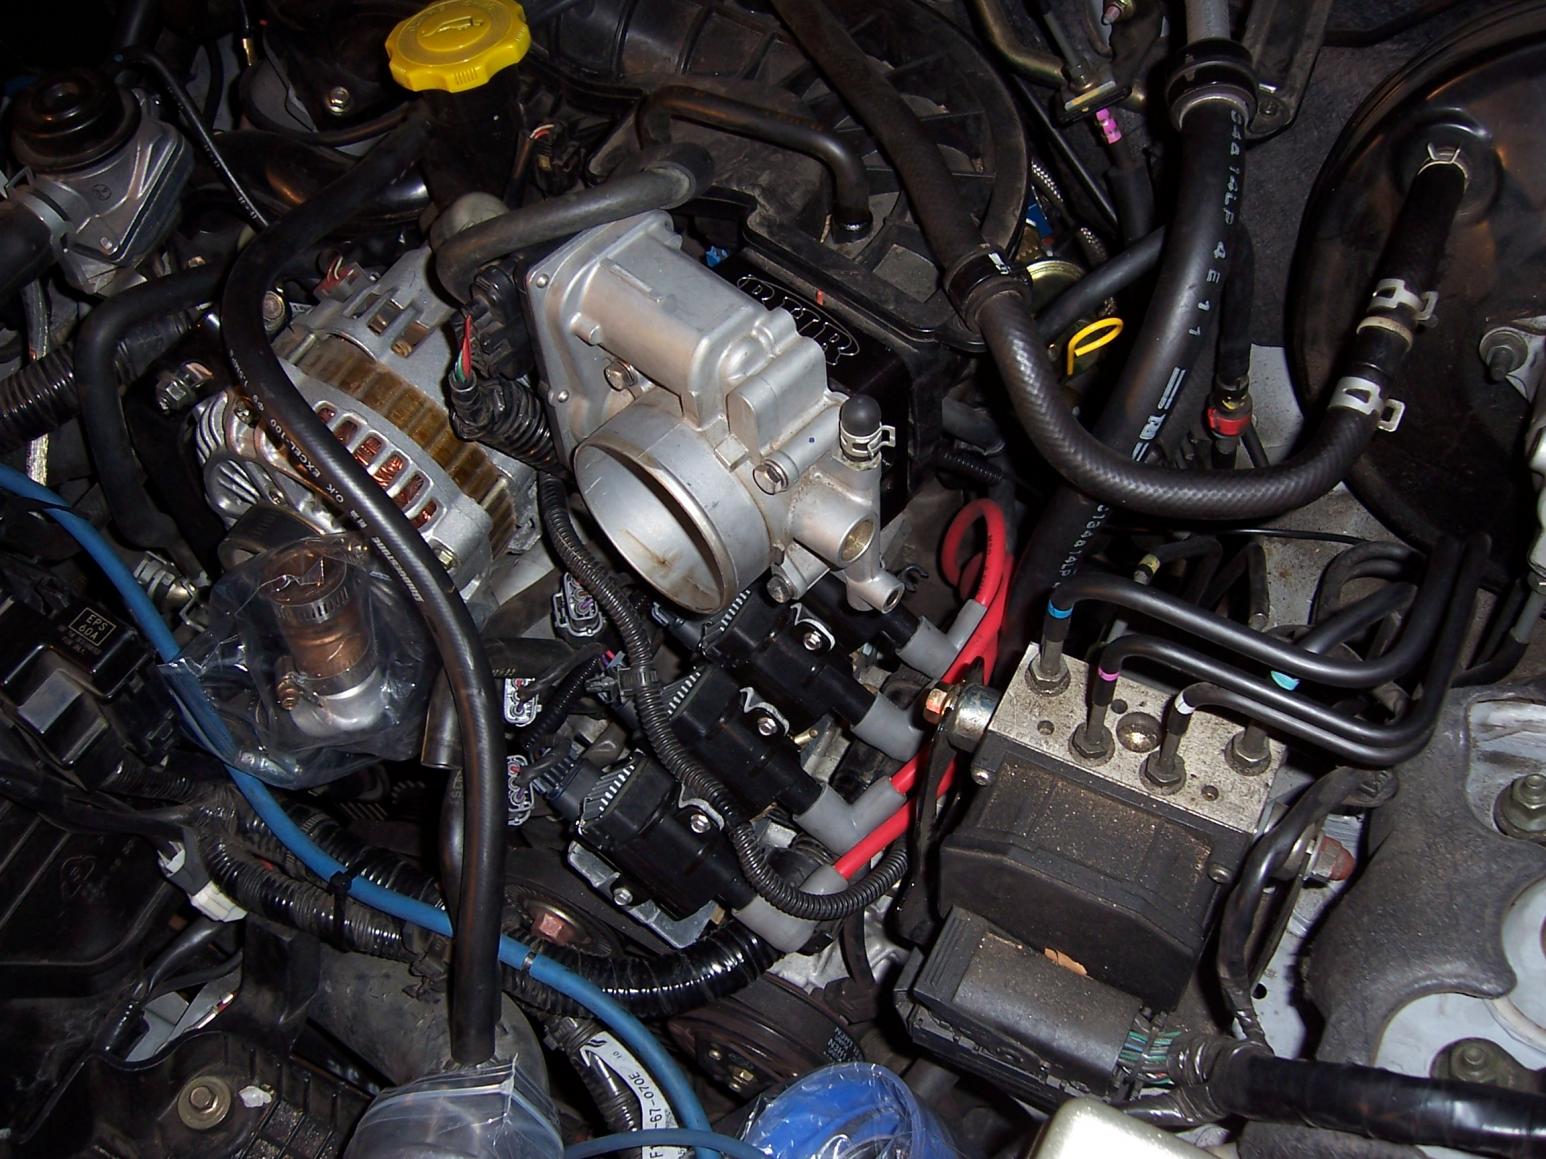
4. Remove the throttle body by unscrewing the four 10mm bolts which secure it to the intake manifold.
5. Remove the engine hoist bracket located next to the alternator by removing the two bolts that connect it to the engine. Coolant might leak out, so the faster you remove the hoist and replace the bolts the better.
Save the hoist should you ever want an engine swap.
NOTE: I had to loosen the alternator retaining bolt and belt to get to one of the hoist bolts.
NOTE: My kit DID NOT FIT with the hoist installed. It was pushing against the 2nd ignition coil.
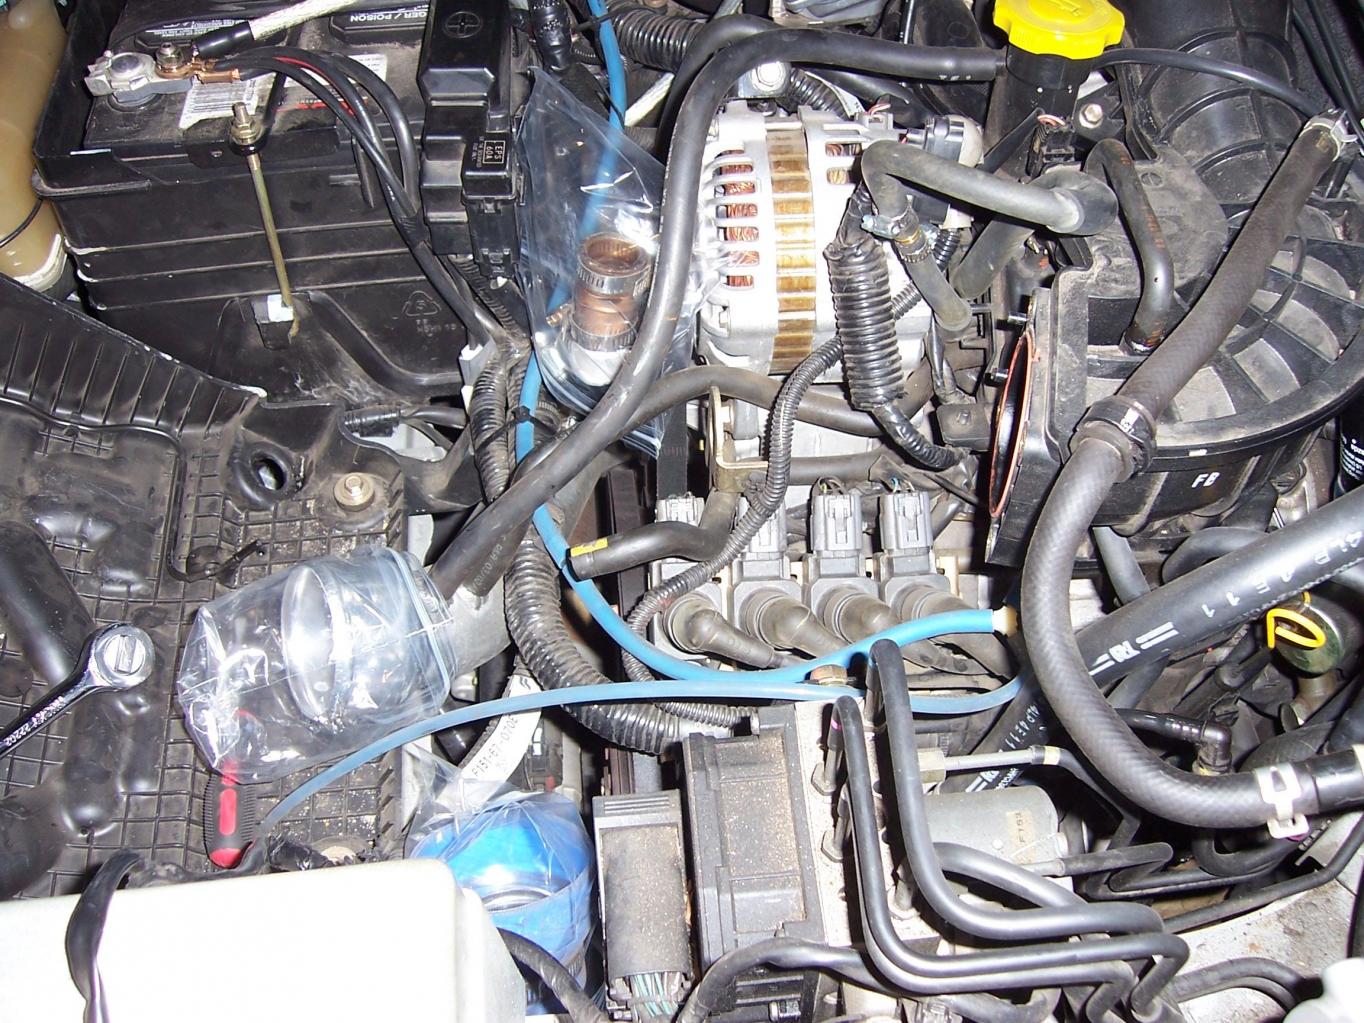
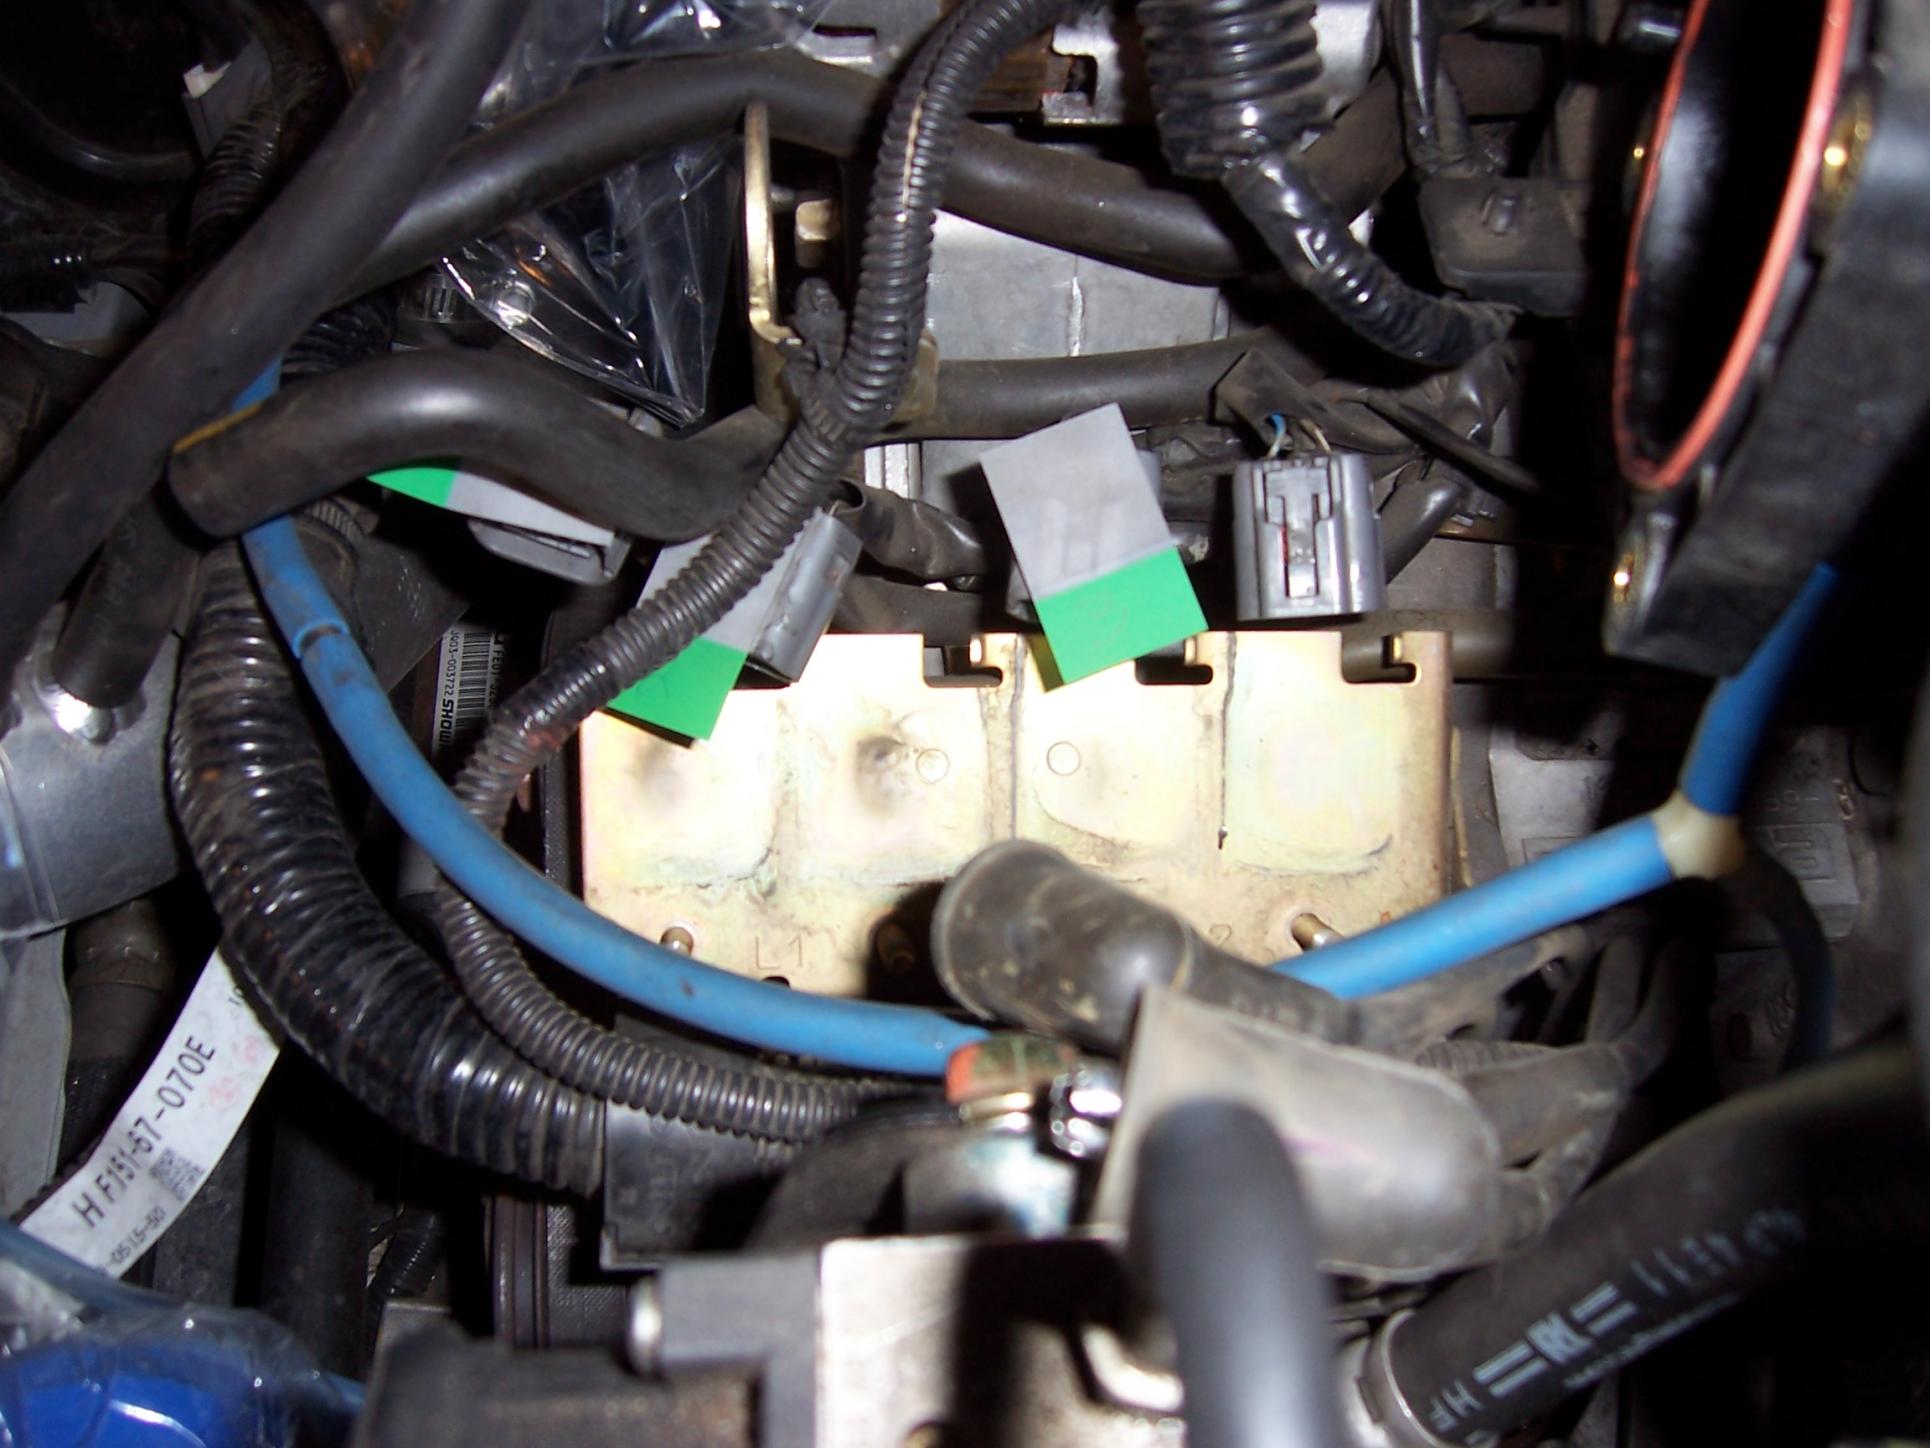
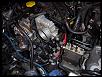
6. Remove the spark plug wires from the coils.
7. Using a 10mm deep-well socket and extension, remove the 4 nuts that secure the coils to the factory base plate.
8. Remove the wiring harnesses from the coils and take out the coils.
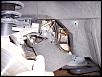
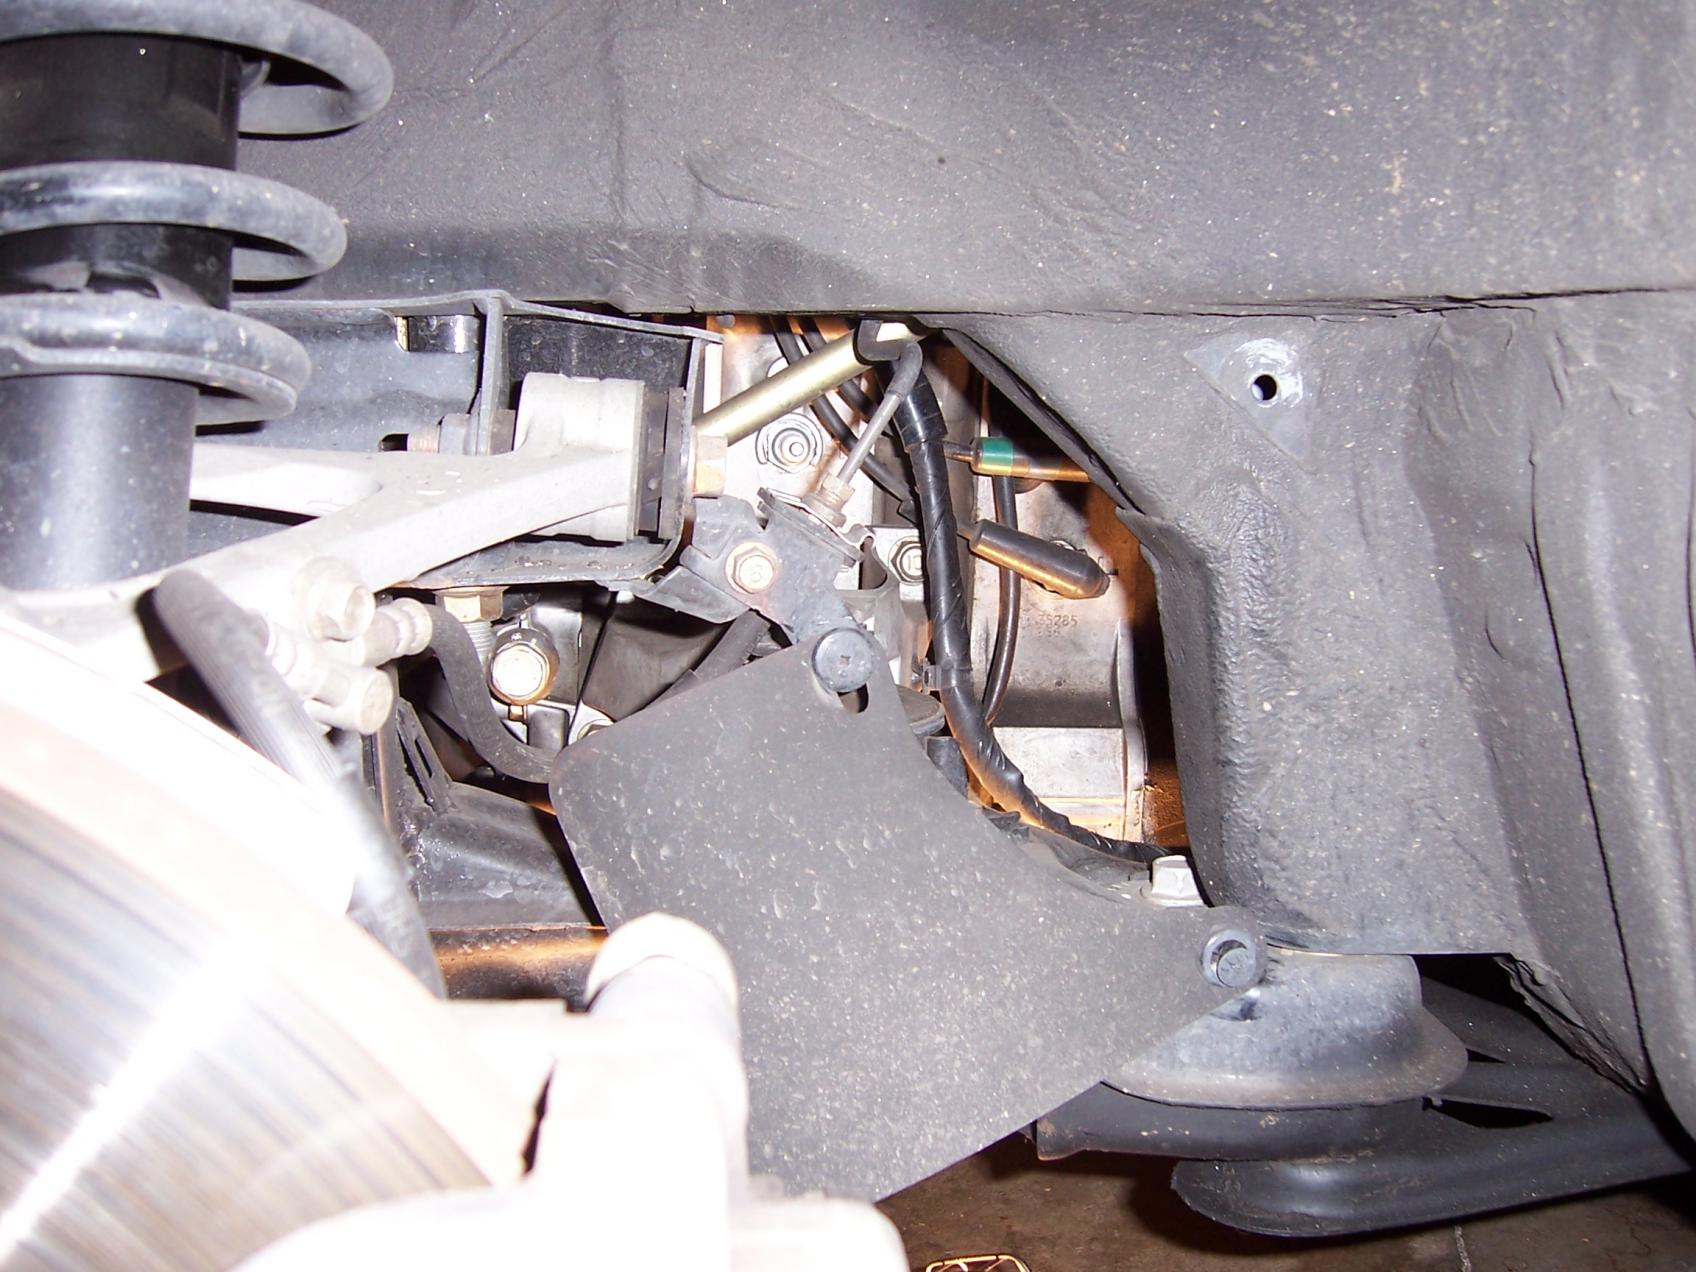
9. Jack up the car and remove the front driver side wheel. I blocked the back wheels to keep the car from rolling and used a second jack stand just in case.
10. Facing the wheel well, remove the upper right clip which will give you access to the plugs.
Install is straightforward, but I ran into a few issues so I thought this would help.
Feel free to add steps or make corrections. Feel free to follow the steps in a different order if it is easier for you.
I'M A NEWB SO FOLLOW THESE DIRECTIONS AT YOUR OWN RISK
I figured these two mods should be done together since taking off the throttle body makes installing the coils much easier.
1. Per BHR instructions, there is no need to remove your battery connections as long as the key is turned to the "off" position.
2. Remove the stabilizer bar.
3. Remove the factory or aftermarket airbox, and the flexible intake duct or aftermarket intake pipe from the throttle body, then move all tubes out of the way (recirc, vacuum, jet-air, etc.).
4. Remove the throttle body by unscrewing the four 10mm bolts which secure it to the intake manifold.
5. Remove the engine hoist bracket located next to the alternator by removing the two bolts that connect it to the engine. Coolant might leak out, so the faster you remove the hoist and replace the bolts the better.
Save the hoist should you ever want an engine swap.
NOTE: I had to loosen the alternator retaining bolt and belt to get to one of the hoist bolts.
NOTE: My kit DID NOT FIT with the hoist installed. It was pushing against the 2nd ignition coil.

6. Remove the spark plug wires from the coils.
7. Using a 10mm deep-well socket and extension, remove the 4 nuts that secure the coils to the factory base plate.
8. Remove the wiring harnesses from the coils and take out the coils.
9. Jack up the car and remove the front driver side wheel. I blocked the back wheels to keep the car from rolling and used a second jack stand just in case.
10. Facing the wheel well, remove the upper right clip which will give you access to the plugs.
Last edited by ALKEESMOKER; 02-17-2009 at 09:24 PM.
 02-17-2009, 04:04 AM
#2
Registered
Thread Starter
Join Date: May 2006
Location: Socal
Posts: 49
Likes: 0
Received 0 Likes
on
0 Posts
DIY: BHR Ignition Coils; Throttle Body Spacer Part2
PART 2
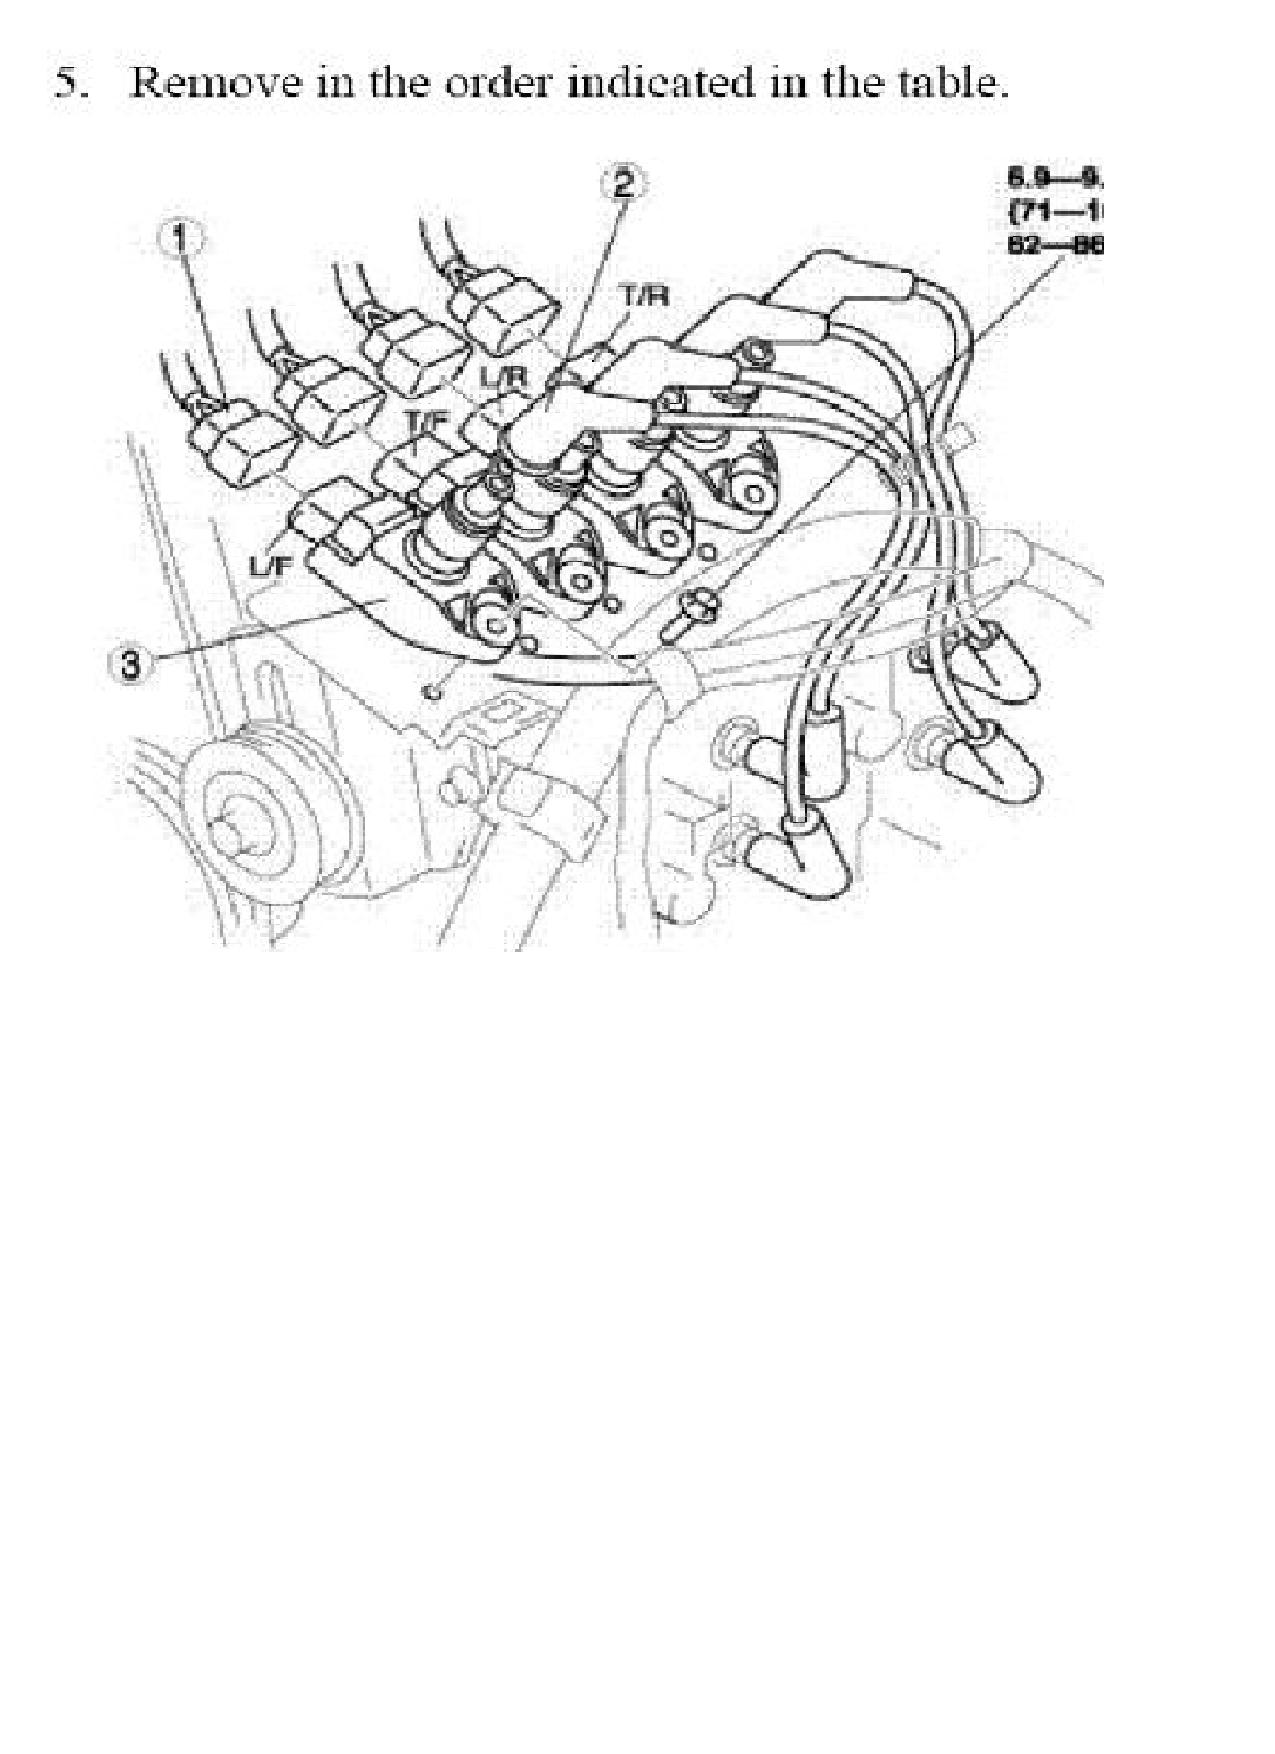
10. Facing the wheel well, remove the upper right clip which will give you access to the plugs.
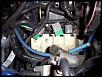
11. Remove the plug wires. Notice the front and rear trailing and leading plugs are clearly marked by a "T" or "L".
12. Place the 4 nylon spacers provided with the BHR kit onto the 4 studs which hold the factory coils.
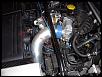
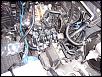
13. Place the pre-assembled BHR Kit, base plate down on top of the factory bracket and nylon spacers. Keep the ground wire accessible as you will bolt to the factory ground located at the upper right corner of the engine bay. It's a tight fit. The last coil will be really close to the bottom of the intake manifold.
NOTE: DO NOT remove the BHR spark plug wires from the BHR coils as the terminals are somewhat fragile and will break with repeated tension (pulling) placed on them.
NOTE: MY KIT DID NOT FIT. I ended up hitting the intake manifold and denting the last coil by trying to force it in.
I spoke with Charles and it was possible my coils got mounted on the wrong plate. It could also be possible that my 8 is just different, or that things shifted during my turbo install. Regardless, Charles offered to send me a new plate right away, but I hate waiting, so I drilled my own holes.
Everything fit, so I'm happy.
10. Facing the wheel well, remove the upper right clip which will give you access to the plugs.

11. Remove the plug wires. Notice the front and rear trailing and leading plugs are clearly marked by a "T" or "L".
12. Place the 4 nylon spacers provided with the BHR kit onto the 4 studs which hold the factory coils.
13. Place the pre-assembled BHR Kit, base plate down on top of the factory bracket and nylon spacers. Keep the ground wire accessible as you will bolt to the factory ground located at the upper right corner of the engine bay. It's a tight fit. The last coil will be really close to the bottom of the intake manifold.
NOTE: DO NOT remove the BHR spark plug wires from the BHR coils as the terminals are somewhat fragile and will break with repeated tension (pulling) placed on them.

NOTE: MY KIT DID NOT FIT. I ended up hitting the intake manifold and denting the last coil by trying to force it in.
I spoke with Charles and it was possible my coils got mounted on the wrong plate. It could also be possible that my 8 is just different, or that things shifted during my turbo install. Regardless, Charles offered to send me a new plate right away, but I hate waiting, so I drilled my own holes.

Everything fit, so I'm happy.


Last edited by ALKEESMOKER; 02-17-2009 at 02:08 PM.
02-17-2009, 04:28 AM
#3
Registered
Thread Starter
Join Date: May 2006
Location: Socal
Posts: 49
Likes: 0
Received 0 Likes
on
0 Posts
DIY: BHR Ignition Coils; Throttle Body Spacer Part3
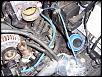
14. Install the 4 factory nuts back onto the studs from which they were previously removed and torque to spec.
15. Install the plug-and-play harnesses from the BHR kit directly into the factory harness connectors, in order, front to rear (L1, T1, L2, T2. ).
16. Go back to the wheel and snap the plug wires onto the correct plugs tight.

http://i110.photobucket.com/albums/n...oilDiagram.jpg
NOTE: I did not place the new plug wires into the factory wire holder clip located to the right of the coils.
17. Replace the wheel well clip. Replace the tire. Bring the car down.
18. Grab the ground wire, strip the end, crimp onto the ring that came with the kit and bolt to the factory ground located at the upper right corner of the engine bay (when facing the car from the front) .
19. Take a nap.
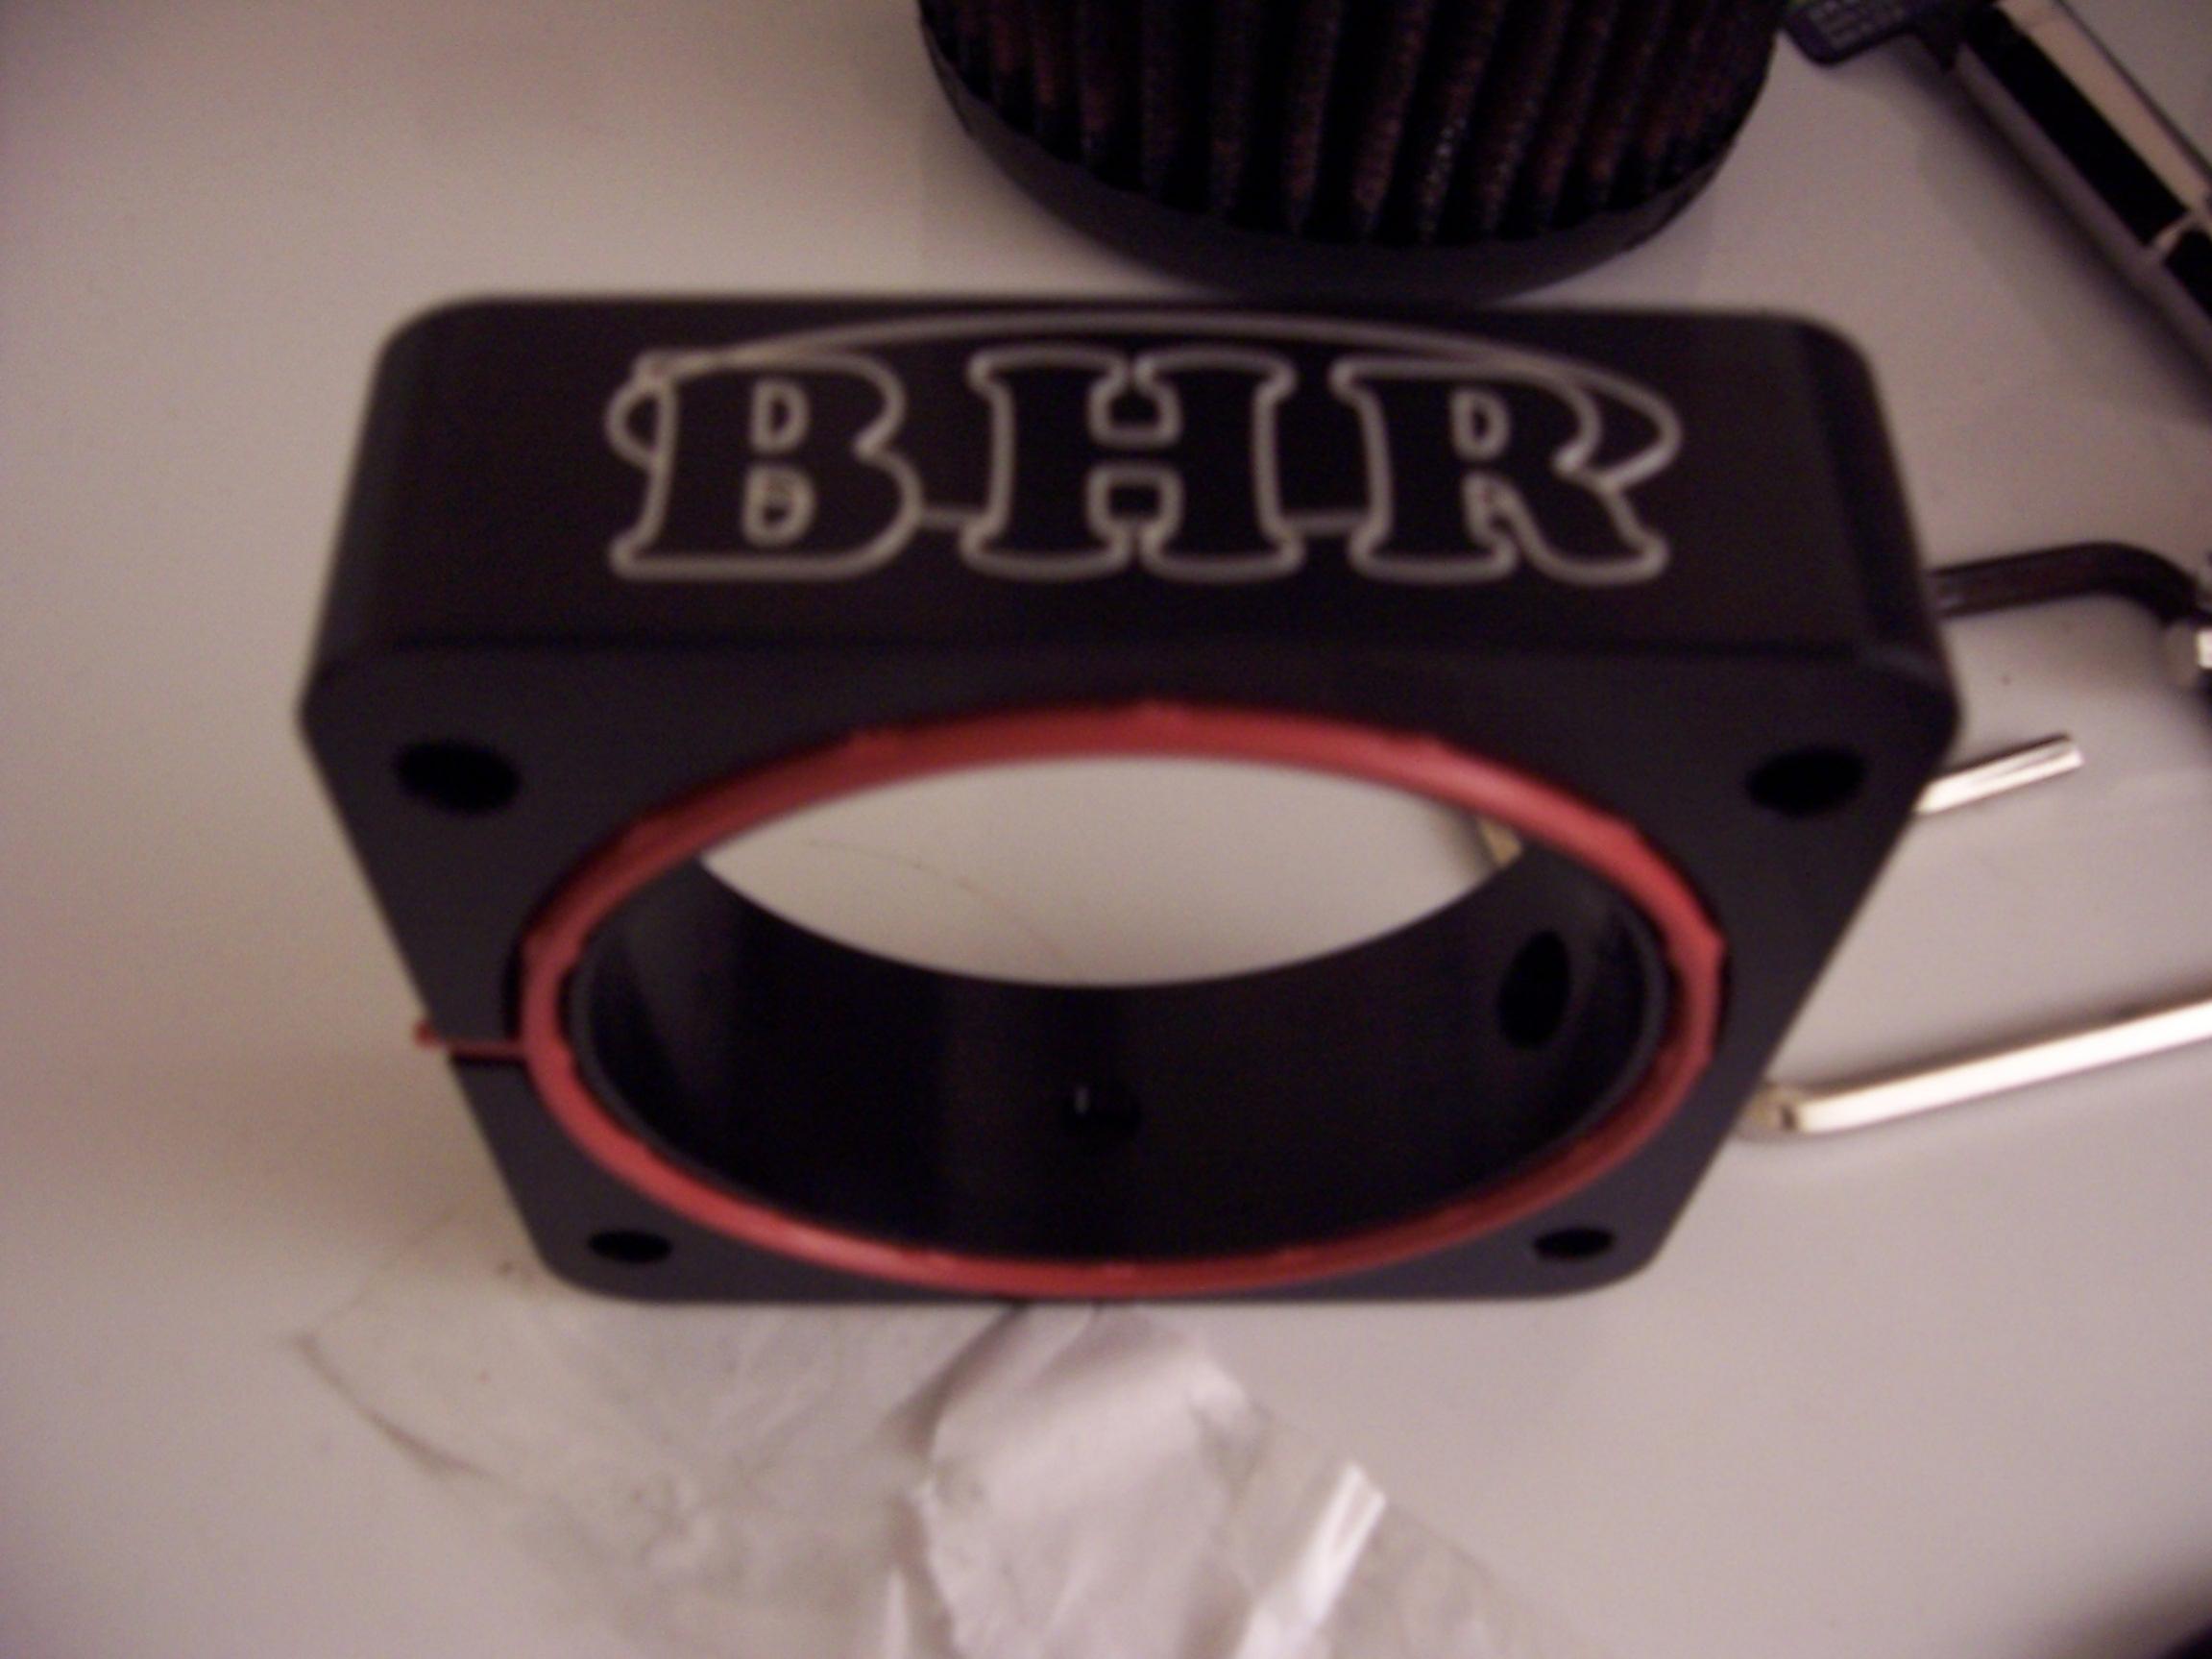
19. Bring out the throttle body spacer and attach the provided o-ring to the back.
20. Take an allen wrench and make sure the small bolt on the bottom and the two on the side are tightened until your ready to install your nos or water/alcohol/meth injection kit.
21. Insert the four bolts and washer provided with the spacer through the throttle body.
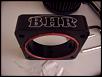
22. While holding the throttle body, place the BHR spacer (logo on top and o-ring facing the front of the engine) behind the throttle body mounted on the new bolts.
23. Install the entire assembly onto the intake manifold and torque the bolts in the factory sequence and to the factory specs.
24. Re-install the throttle body harness connector.
25. Re-install the intake duct and all of the parts previously removed for access and all tubes and YOU'RE DONE....
...OR
15. Install the plug-and-play harnesses from the BHR kit directly into the factory harness connectors, in order, front to rear (L1, T1, L2, T2. ).
16. Go back to the wheel and snap the plug wires onto the correct plugs tight.
http://i110.photobucket.com/albums/n...oilDiagram.jpg
NOTE: I did not place the new plug wires into the factory wire holder clip located to the right of the coils.
17. Replace the wheel well clip. Replace the tire. Bring the car down.
18. Grab the ground wire, strip the end, crimp onto the ring that came with the kit and bolt to the factory ground located at the upper right corner of the engine bay (when facing the car from the front) .
19. Take a nap.
19. Bring out the throttle body spacer and attach the provided o-ring to the back.
20. Take an allen wrench and make sure the small bolt on the bottom and the two on the side are tightened until your ready to install your nos or water/alcohol/meth injection kit.
21. Insert the four bolts and washer provided with the spacer through the throttle body.
22. While holding the throttle body, place the BHR spacer (logo on top and o-ring facing the front of the engine) behind the throttle body mounted on the new bolts.
23. Install the entire assembly onto the intake manifold and torque the bolts in the factory sequence and to the factory specs.

24. Re-install the throttle body harness connector.
25. Re-install the intake duct and all of the parts previously removed for access and all tubes and YOU'RE DONE....
...OR
Last edited by ALKEESMOKER; 02-17-2009 at 04:35 AM.
02-17-2009, 04:33 AM
#4
Registered
Thread Starter
Join Date: May 2006
Location: Socal
Posts: 49
Likes: 0
Received 0 Likes
on
0 Posts
DIY: BHR Ignition Coils; Throttle Body Spacer Part4 FINAL
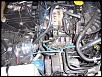
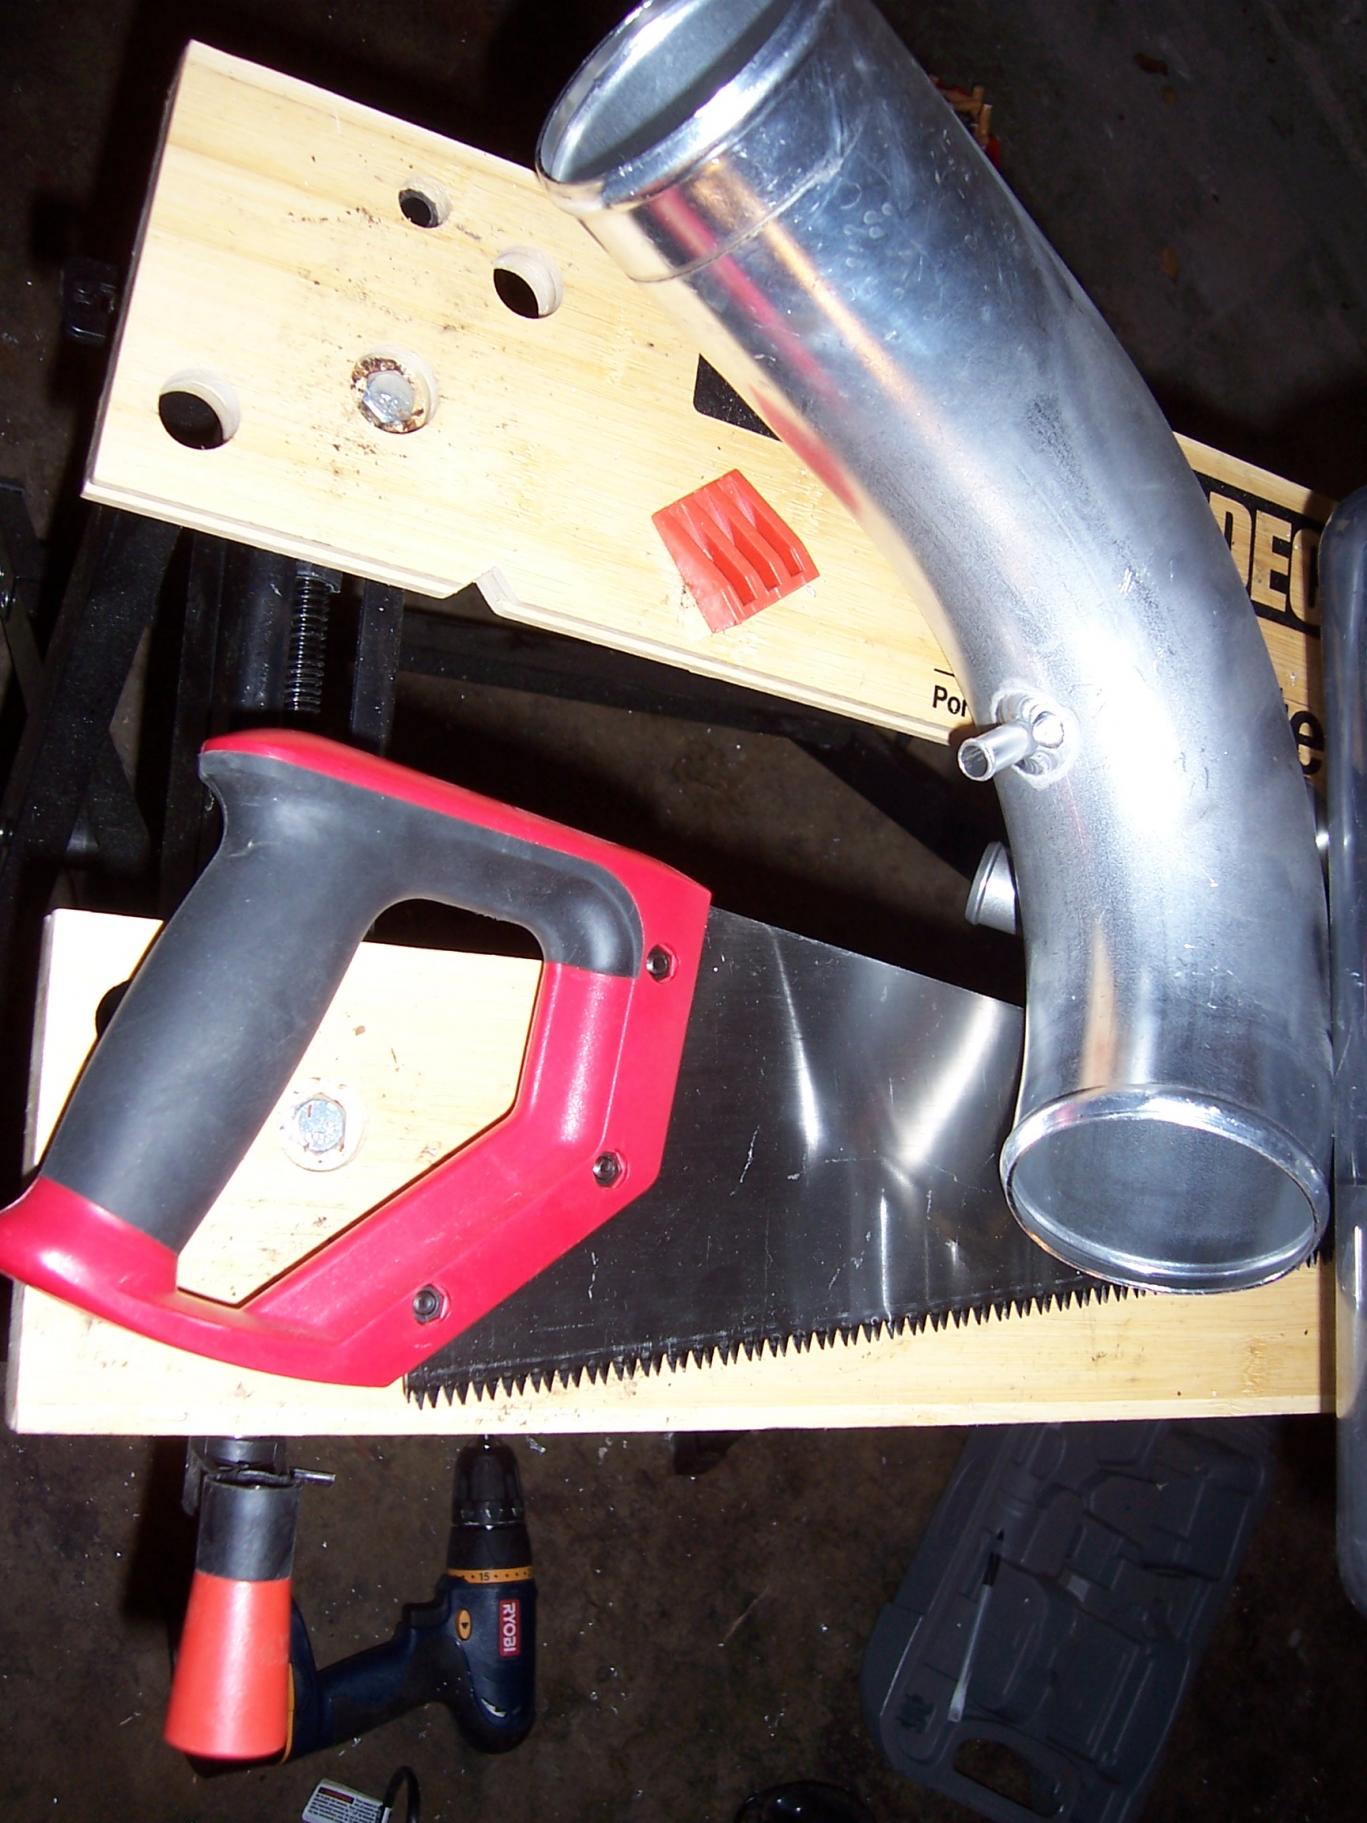
.....unless you're me as the greddy pipe no longer fits. Possibly because my blow off valve is a hybrid with an adjustable recirc, and the recirc tube did not reach to my blow off. Anyway, I cut the tube (probably too much on the bottom).
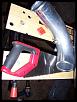
25a. Cut the pipe that connects to the throttle body just enough.
NOTE: THE PIPE WILL NOT HOLD UNDER BOOST. By cutting it, you lose the lip or ridge that keeps the clamp from popping off. I noticed it but thought it might hold. On my test drive at WOT...POP...pipe came off and car died, I pulled to the side and reattached the pipe, drove home, pulled it out.
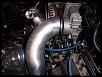
25b. Have a ridge TIG welded, or if metal MIG welded to the edge of pipe. My welder was worried the heat would harm my blow-off valve, so I just had 8 small beads welded around the pipe at an angle.
NOTE: Because of the bend in the pipe, the clamp is mounted further back on the top and on mine, is right on the edge on the bottom so that the ring is flat on the surface. I had the clamp on so that the shop knew where to weld the beads at an angle.
NOTE: Because the clamp is at an angle, I needed a longer silicone coupling so...
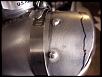
25c. Buy about a 3 1/2 in diameter, about 4 inch in length, silicone coupling. Cut as needed based on the ridge/bead placement and the angle of the pipe.
(My clamp is slightly off the edge of the coupling. Is that okay??? Anyone???)
26e. Re-install the pipe....and everything else. All done.
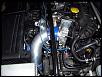
IMPRESSIONS, Ignition Coils: Awesome! Throttle response is so much quicker. Backfires are a lot less and a lot lighter.
As for Idle, I was having "almost stalling" issues. After the cooling fan mod they got worse, then a little better after grounding to the negative terminal of the battery.
After this mod, back to where they were before the cooling fan mod. Why do I still have issues? I think my alternator is on it's last leg...yeh...more fkn money I need to spend. But I can't wait to see how these coils feel with a new alternator.
IMPRESSIONS, Throttle Body Spacer: Very pretty, but I don't have the meth injection kit installed yet. Seriously though, getting the spacer saves me more than $100, as I would have had to pay tri-point more to pull out pipes and drill new holes.
I really hope this helps! Again, a piece of the clamp holding the silicone coupling to my throttle body is slightly off the silicone. IS THIS OKAY??? It seems to be holding, but hearing a POP while driving is not fun.
THANKS EVERYONE.
25a. Cut the pipe that connects to the throttle body just enough.

NOTE: THE PIPE WILL NOT HOLD UNDER BOOST. By cutting it, you lose the lip or ridge that keeps the clamp from popping off. I noticed it but thought it might hold. On my test drive at WOT...POP...pipe came off and car died, I pulled to the side and reattached the pipe, drove home, pulled it out.
25b. Have a ridge TIG welded, or if metal MIG welded to the edge of pipe. My welder was worried the heat would harm my blow-off valve, so I just had 8 small beads welded around the pipe at an angle.

NOTE: Because of the bend in the pipe, the clamp is mounted further back on the top and on mine, is right on the edge on the bottom so that the ring is flat on the surface. I had the clamp on so that the shop knew where to weld the beads at an angle.
NOTE: Because the clamp is at an angle, I needed a longer silicone coupling so...
25c. Buy about a 3 1/2 in diameter, about 4 inch in length, silicone coupling. Cut as needed based on the ridge/bead placement and the angle of the pipe.
(My clamp is slightly off the edge of the coupling. Is that okay??? Anyone???)
26e. Re-install the pipe....and everything else. All done.

IMPRESSIONS, Ignition Coils: Awesome! Throttle response is so much quicker. Backfires are a lot less and a lot lighter.
As for Idle, I was having "almost stalling" issues. After the cooling fan mod they got worse, then a little better after grounding to the negative terminal of the battery.
After this mod, back to where they were before the cooling fan mod. Why do I still have issues? I think my alternator is on it's last leg...yeh...more fkn money I need to spend. But I can't wait to see how these coils feel with a new alternator.
IMPRESSIONS, Throttle Body Spacer: Very pretty, but I don't have the meth injection kit installed yet. Seriously though, getting the spacer saves me more than $100, as I would have had to pay tri-point more to pull out pipes and drill new holes.
I really hope this helps! Again, a piece of the clamp holding the silicone coupling to my throttle body is slightly off the silicone. IS THIS OKAY??? It seems to be holding, but hearing a POP while driving is not fun.
THANKS EVERYONE.
02-17-2009, 04:42 AM
#5
3-wheeler

Join Date: Dec 2005
Location: Phoenix
Posts: 2,734
Likes: 0
Received 0 Likes
on
0 Posts
NOTE: My kit DID NOT FIT with the hoist installed. It was pushing against the 2nd ignition coil.
Great DIY!!
02-17-2009, 02:06 PM
#6
Registered
Thread Starter
Join Date: May 2006
Location: Socal
Posts: 49
Likes: 0
Received 0 Likes
on
0 Posts
2) DO NOT remove the BHR spark plug wires from the BHR coils as the terminals are somewhat fragile and will break with repeated tension (pulling) placed on them.


 07-20-2015, 02:27 PM
#10

Great DIY, thank you. One note -- there's no need to take the wheel off. Just crank the steering wheel all the way to the right before jacking up the car. This will give you enough clearance to get to the plug wires.

Thread
Thread Starter
Forum
Replies
Last Post
9krpmrx8
Series I Trouble Shooting
23
11-05-2015 11:45 PM
cschoeps
RX-8's For Sale/Wanted
0
08-06-2015 12:44 PM