When you click on links to various merchants on this site and make a purchase, this can result in this site earning a commission. Affiliate programs and affiliations include, but are not limited to, the eBay Partner Network.
Okay, I decided to give these guys a shot. Thought I would post the installation and finished project in case anyone is interested. I purchased the hood louvers from Good-Win a couple weeks ago and will give them a test at Laguna Seca on Monday. To be clear, I could care less about the look (actually dont care much for it), but Good-Win and Singular claim a material reduction in engine and water temps. We'll see, my 8 runs stupid hot. Just started the installation tonight, but here's where I am so far:
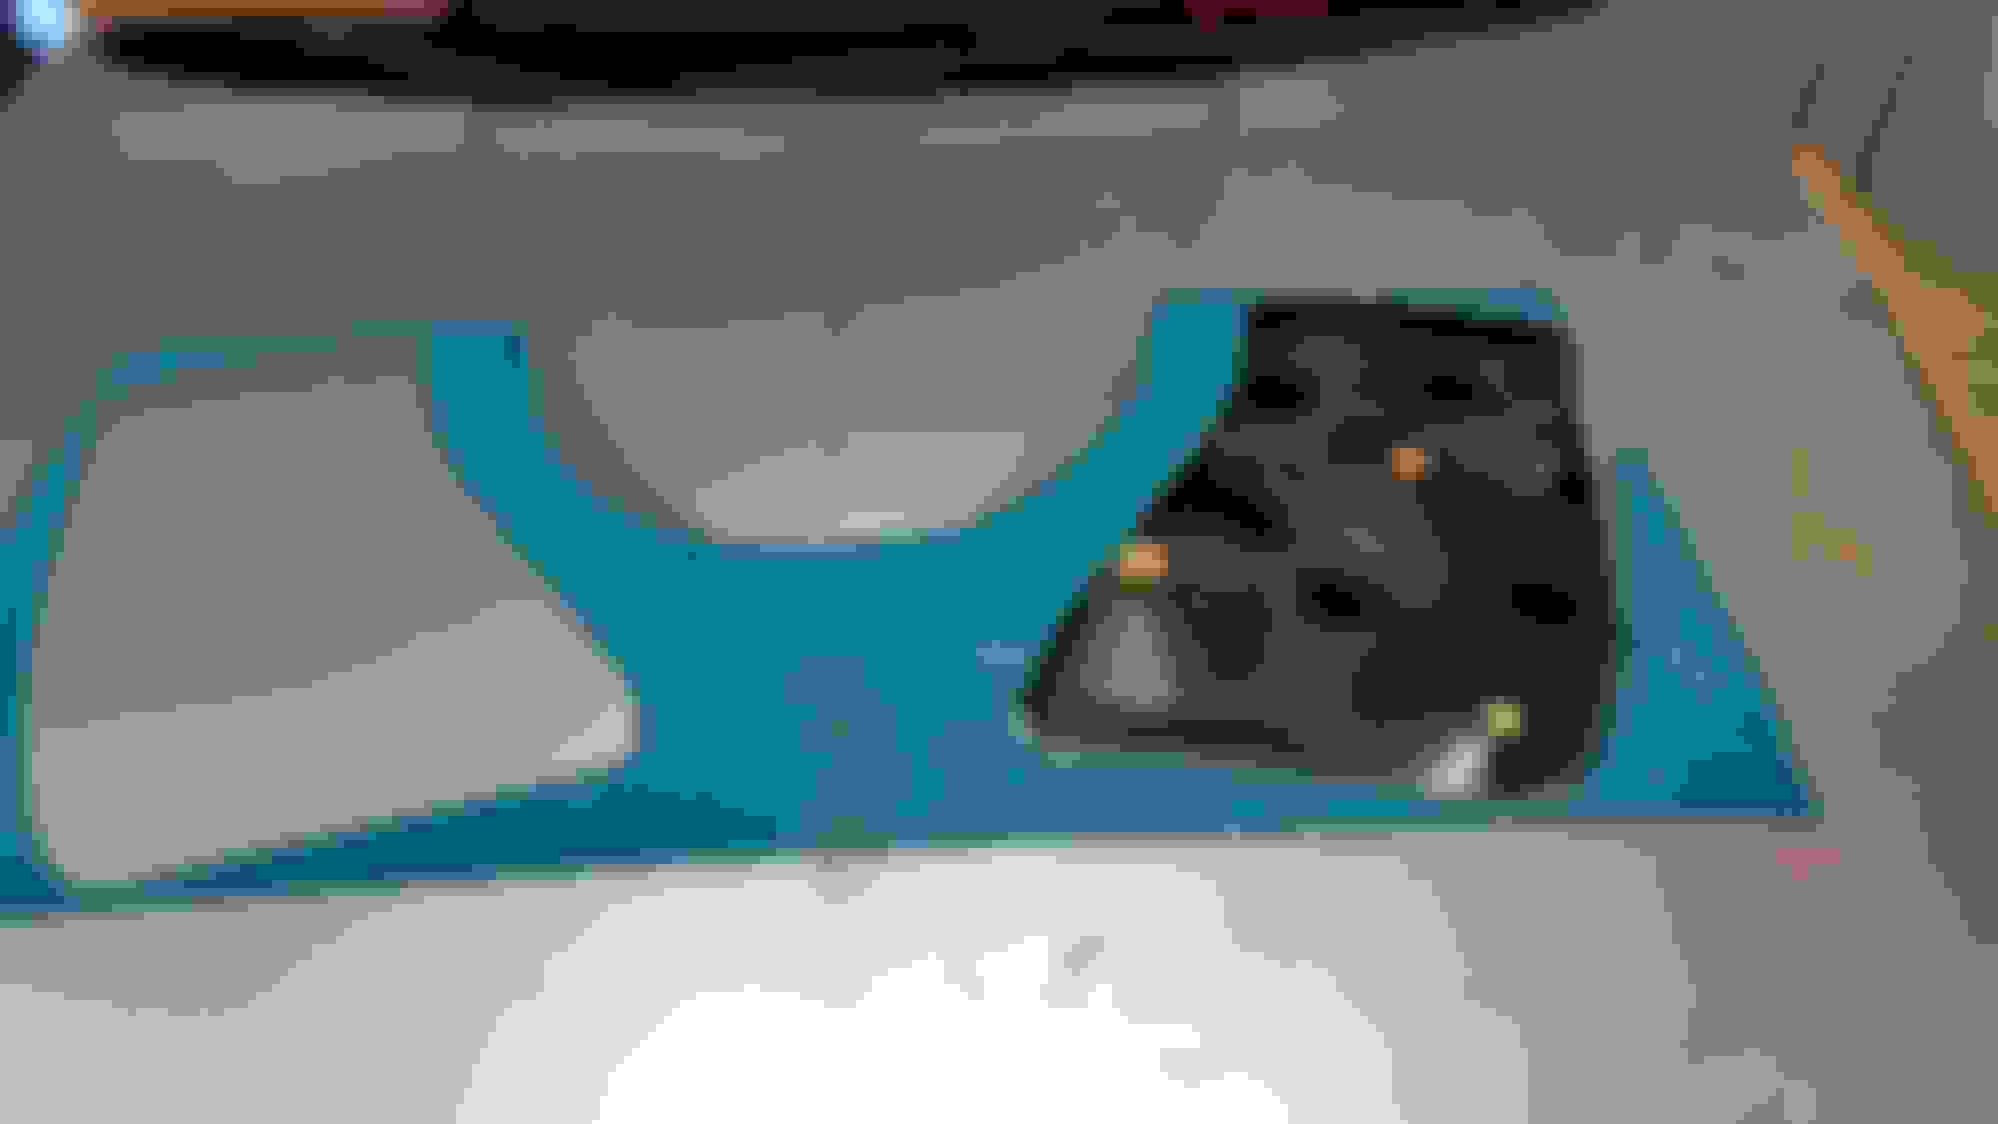
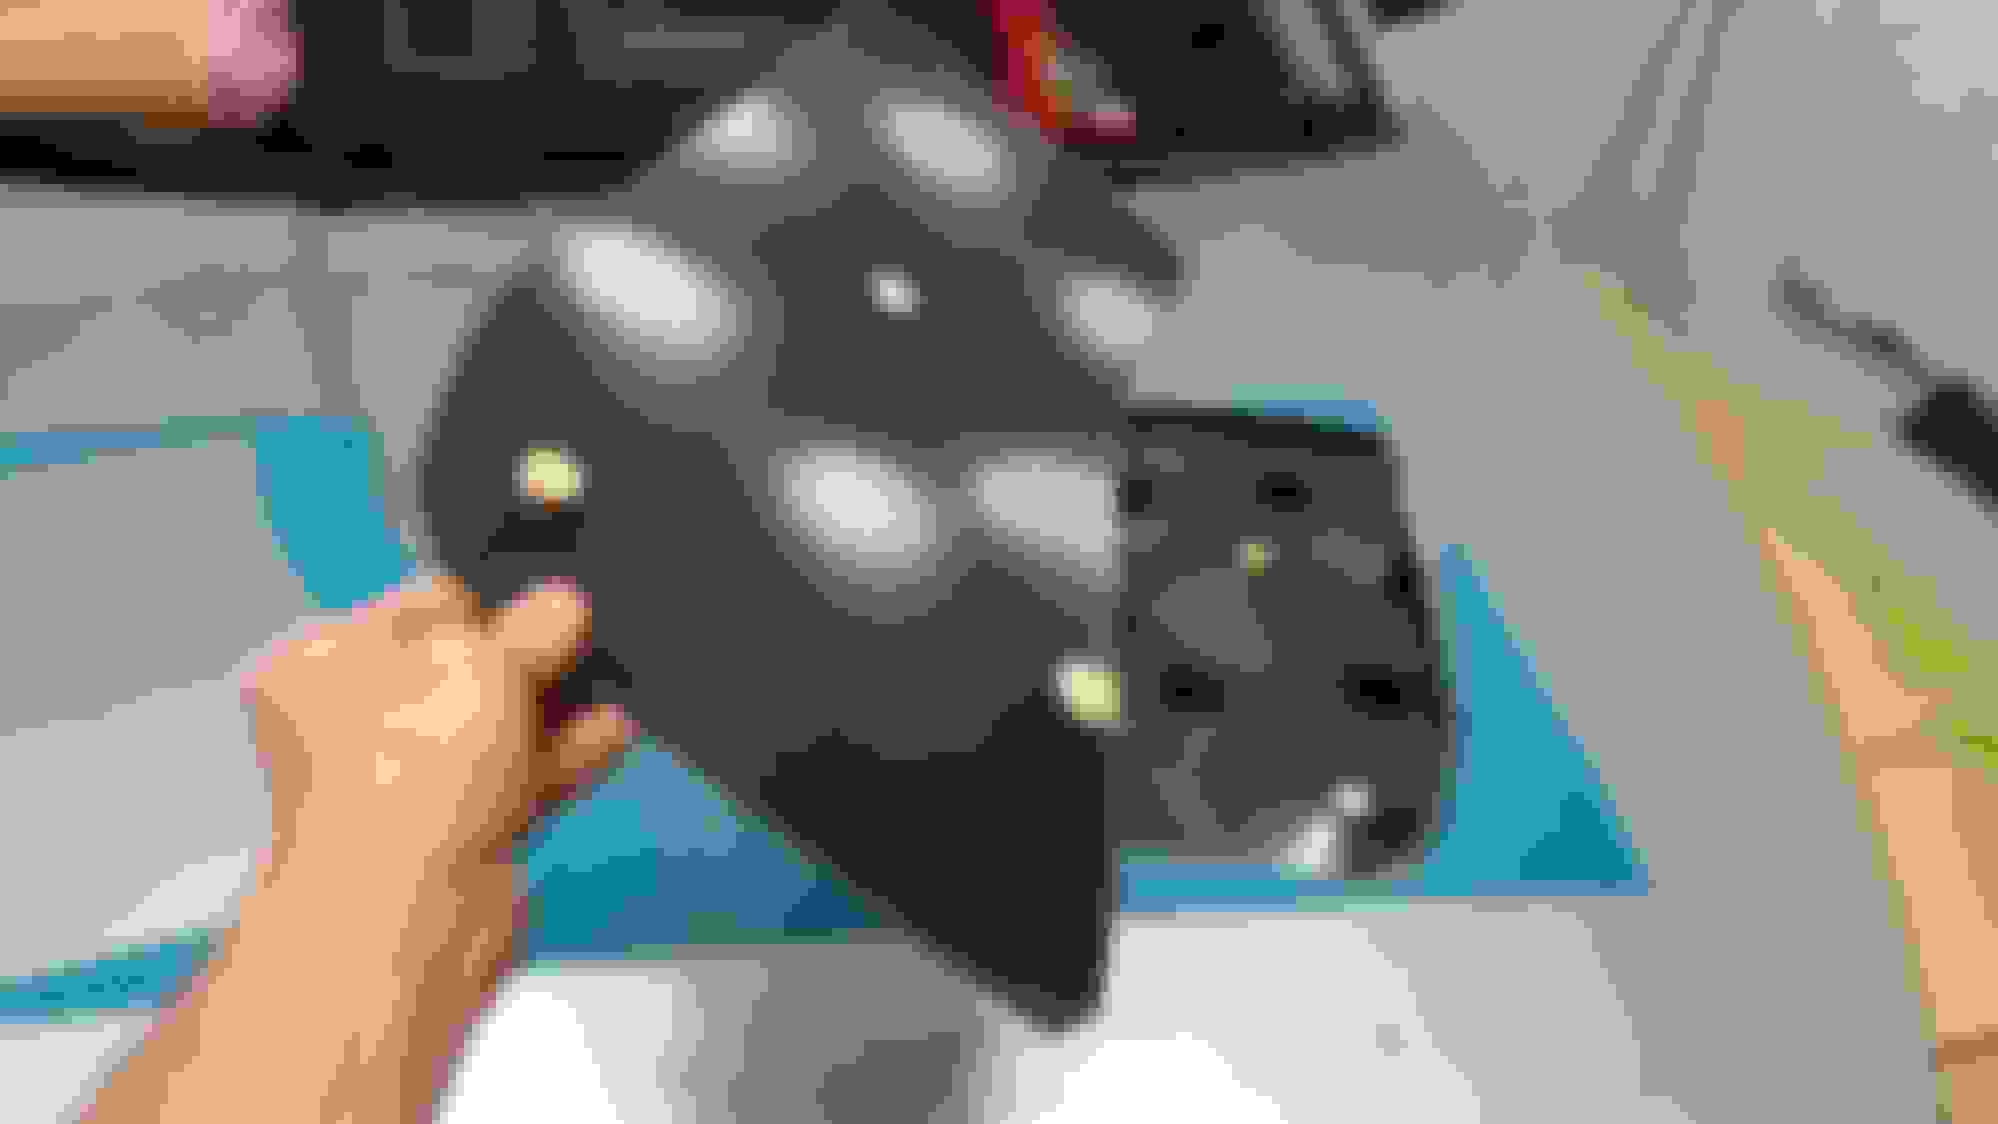
THE KIT
Pretty good kit. The louvers come unfinished so they need to be painted, powder coated, etc. to keep them from rusting. I went with a good old fashion spray-can finish in the same color as my car. The kit also comes with a decal template (for cutting), rubber trim, mounting hardware, and removable gurney flaps.
THE SETUP
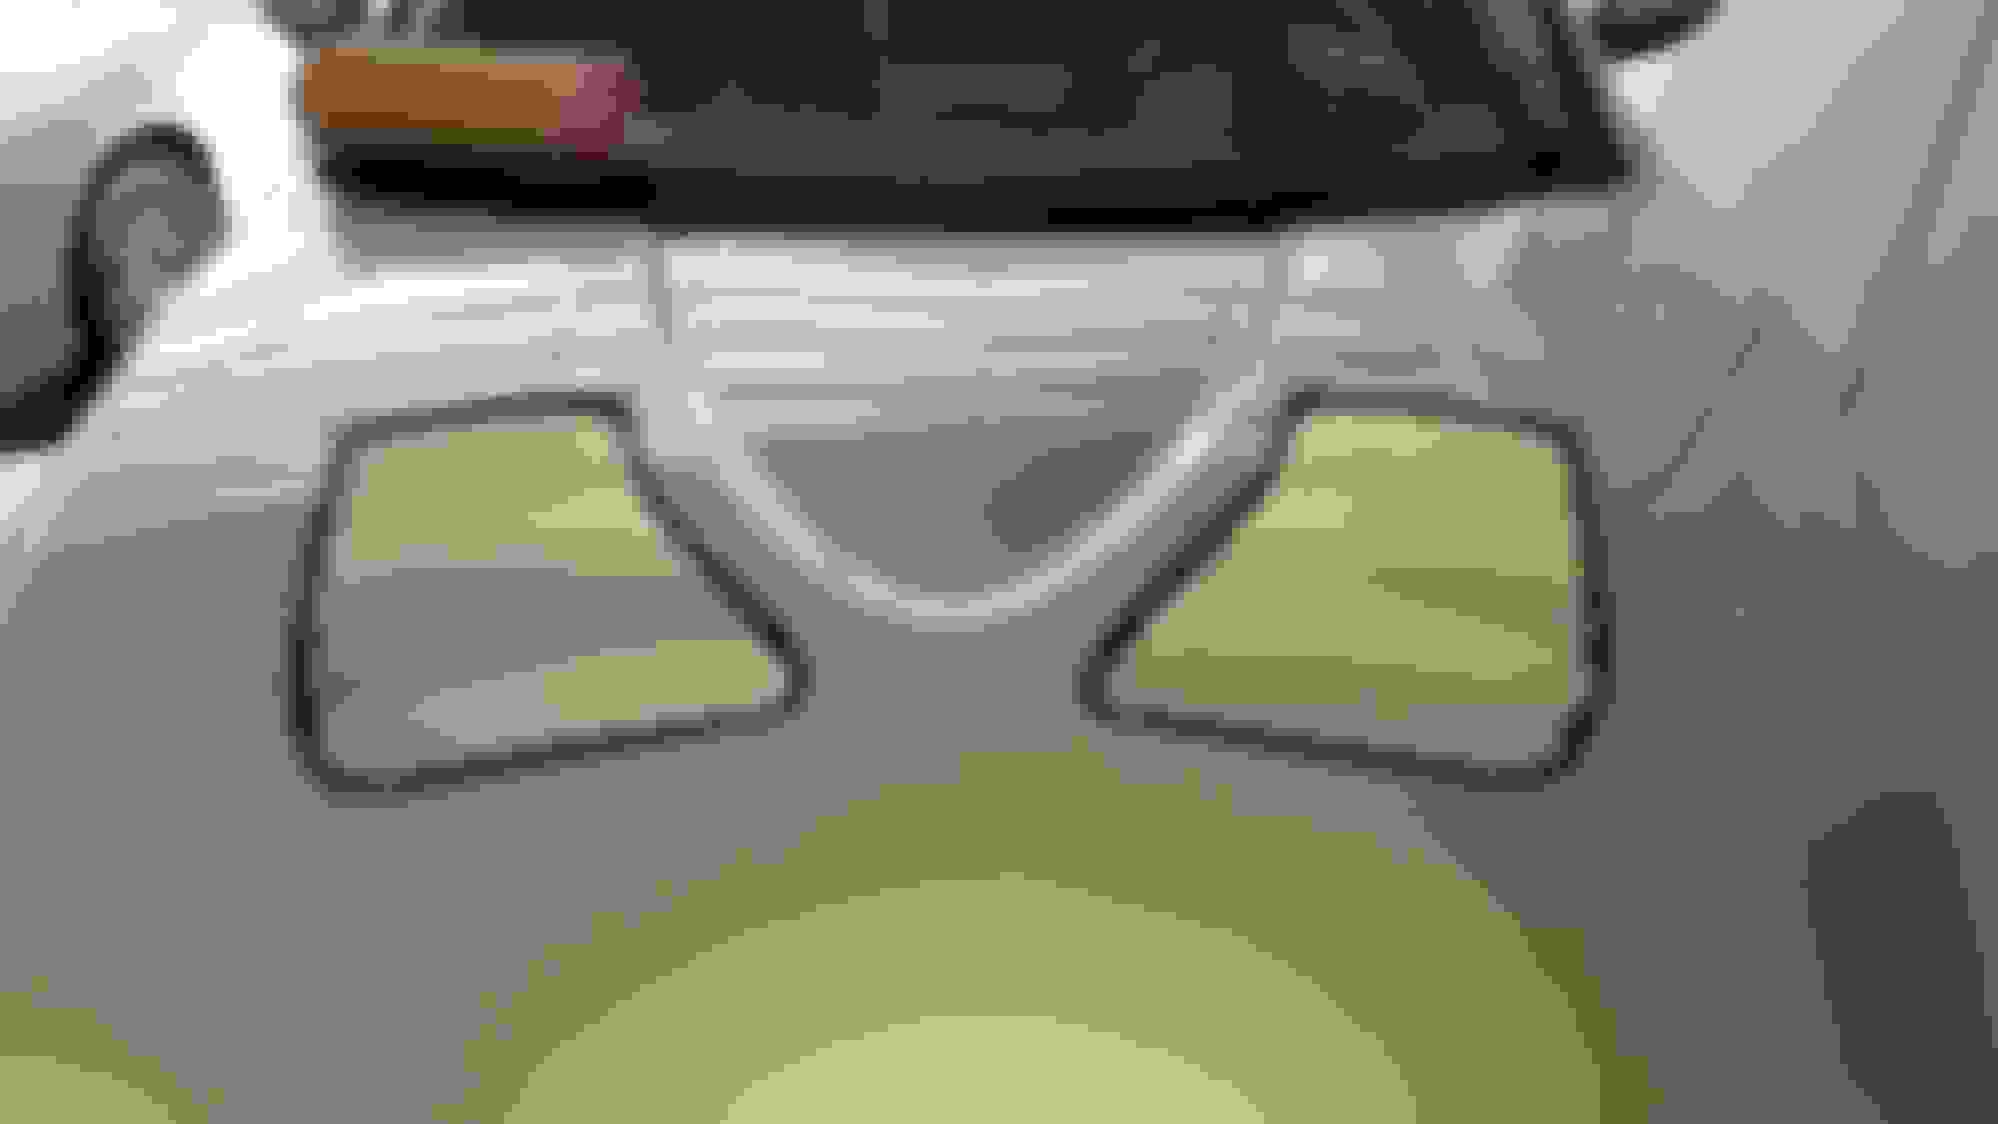
The first part entails accurately measuring the hood to properly center the cutting template. This is not hard, but as usual measure twice and cut once. Unless you like removing decals and/or having a jacked up hood. Once you have everything properly measured just apply the decal template like you would any other sticker. By the way, we all know each sticker is worth 5 hp at the track. Trust me...more stickers = faster. Just ask a Honda guy.
You also need to remove the head shield from the under-hood. This is where you will realize you are not just cutting the top of the hood, but there are two layers that need to be cut. Damn it, surprise #1. Go back to the store and get more cutting wheels. As for cutting, I will be using a dremel tool, but a cutting wheel would probably be way faster.
Tomorrow I will do the hood cutting...and will surely end up with many cuts on me too.
Oh, the lines on the hood are drawn in dry erase marker...not sharpie. Despite my daughter's best efforts to swap out the dry erase for a sharpie, I prevailed.
I don't think there's enough room to fit the center one without it lapping into the center rotor indentation on the RX8 hood, the open area after the radiator is back a bit from the hood leading edge
* Precision waterjet aluminum louvers
* Removeable gurney flaps (can swap them on/off at the track)
* Stainless steel mounting hardware
* Rubber trim to cover the cut edge for a clean look
* Chassis-specific vinyl cut template.
hmm, so when not on track, can I replace the vented piece with a flat (not vented) piece of aluminium sheet and it will be sealed with the rubber on the cut edges?
Mine took about 2 weeks to arrive from Goodwin. I dont think the Miata ones will work, at least not the center piece. The others should be fine. I've been on the Singular website quite a bit over the last few days - always was up for me.
I continued the project last night and will finish today. I used the Dremel EZ-Lock cutting wheels and they worked just fine. Didnt take all that long to cut the top layer of the hood, but the bottom was more difficult. Also, the top layer is "glued" to the bottom layer in a number of places.
I am questioning the rigidity of the hood following this change, you remove quite a bit of material along the way.
Job complete. Added the rubber trim and bolted everything in place. The structural rigidity of the hood actually seems pretty good. Not sure what to do about rain - any ideas are welcome and appreciated!!
I guess it will be functional.. but in my opinion it doesn't look very good with the black rubber trim. If you didnt see rain would the rubber trim be necessary? Did you paint them or are they bare stainless? How are the fins adjusted? Can they be adjusted flat when it rains?
I feel the same way about the rubber trim, who really cares ... but if it really matters to you there are several other ways to handle it:
... cut the edge back and bolt them flange side on the top without the rubber piece like was shown in the pic with the carbon hood.
... you don't need the rubber trim at all if you can cut and detail edge to that level of perfection, it would likely require a repaint to look good though
... You don't even need a separate panel by laying the pattern out on your hood and take the time to detail it properly while cutting it out, again a repaint is required
pretty expensive for just two water jet cut pieces of aluminum IMO ... maybe pop over to their website and try to educate yourself on how they're actually making them might be a worthwhile use of your time.
If I got the Subaru one I would probably not even use the center piece, I just like the shape and look of the side pieces, probably should have mentioned that.
the design is pretty straight forward, anyone with cad experience can make a similar design, export it as a .dxf and send it to a waterject or plasma cutter.
So first the Gurney Flaps - man, they were not included!! I was so disappointed...
Quick background on the engine setup - its a stock engine (25k miles) with BHR midpipe, BHR Ignition Coils and wires, silicon upper radiator hoses (not lower). No other engine or exhaust mods. Stock radiator, water pump, thermostat.
I have the stock idiot temp gauge, a BullyDog (plugs into the OBD; not sure where this reads from), and an electronic gauge (reading from the upper radiator hose).
Prior to the louvers, the BullyDog would ready 190-205 on the freeway getting up to 210 in heavy traffic. The electronic gauge (connected to the upper radiator hose) would read a bit higher. The stock idiot gauge never left center. At Laguna Seca (Monterey, CA) with outside temps in the low 80's, the car would get to 220 on the BullyDog, 240 on the electronic gauge, and start moving right on the idiot gauge. I have not been able to run a full 20 minute session because the car gets too hot.
The cooling results after installing the louvers were not impressive, unfortunately. I did notice a slight (5 degrees?) decrease in temps on freeway driving. This is really frustrating, because I bought these with the understanding they would make a material difference. Not the case for me at all. On the same track with same outside temperature, the engine temps really didnt move at all. I manged to get an additional lap or two in before pulling off due to the high engine temps, but still could not run a full session.
However, and this could be all mental, I do feel like the car had quite a bit more front end downforce. It seem to have faster turn-in, particularly on Turn 2 (following the long straight) and the rear felt just a bit looser on the straights. I'm actually fine with this as I was going to put on a splitter anyway and this gave me some of that front downforce.
Overall - I dont regret the louvers. I think the look cool and received many comments and compliments. As far as cooling, they were a non-event. Downforce seems better on the front end.
I will now purchase the MazMart highflow water pump and thermostat. Please let me know if you have any other cooling suggestions - I will appreciate all of them!!!
One question... do you understand the principles involved in hood venting? What it does? What changes are effected that CAN reduce coolant temperatures?
Understanding that is rather critical, and would shed light on why you aren't seeing a big difference.
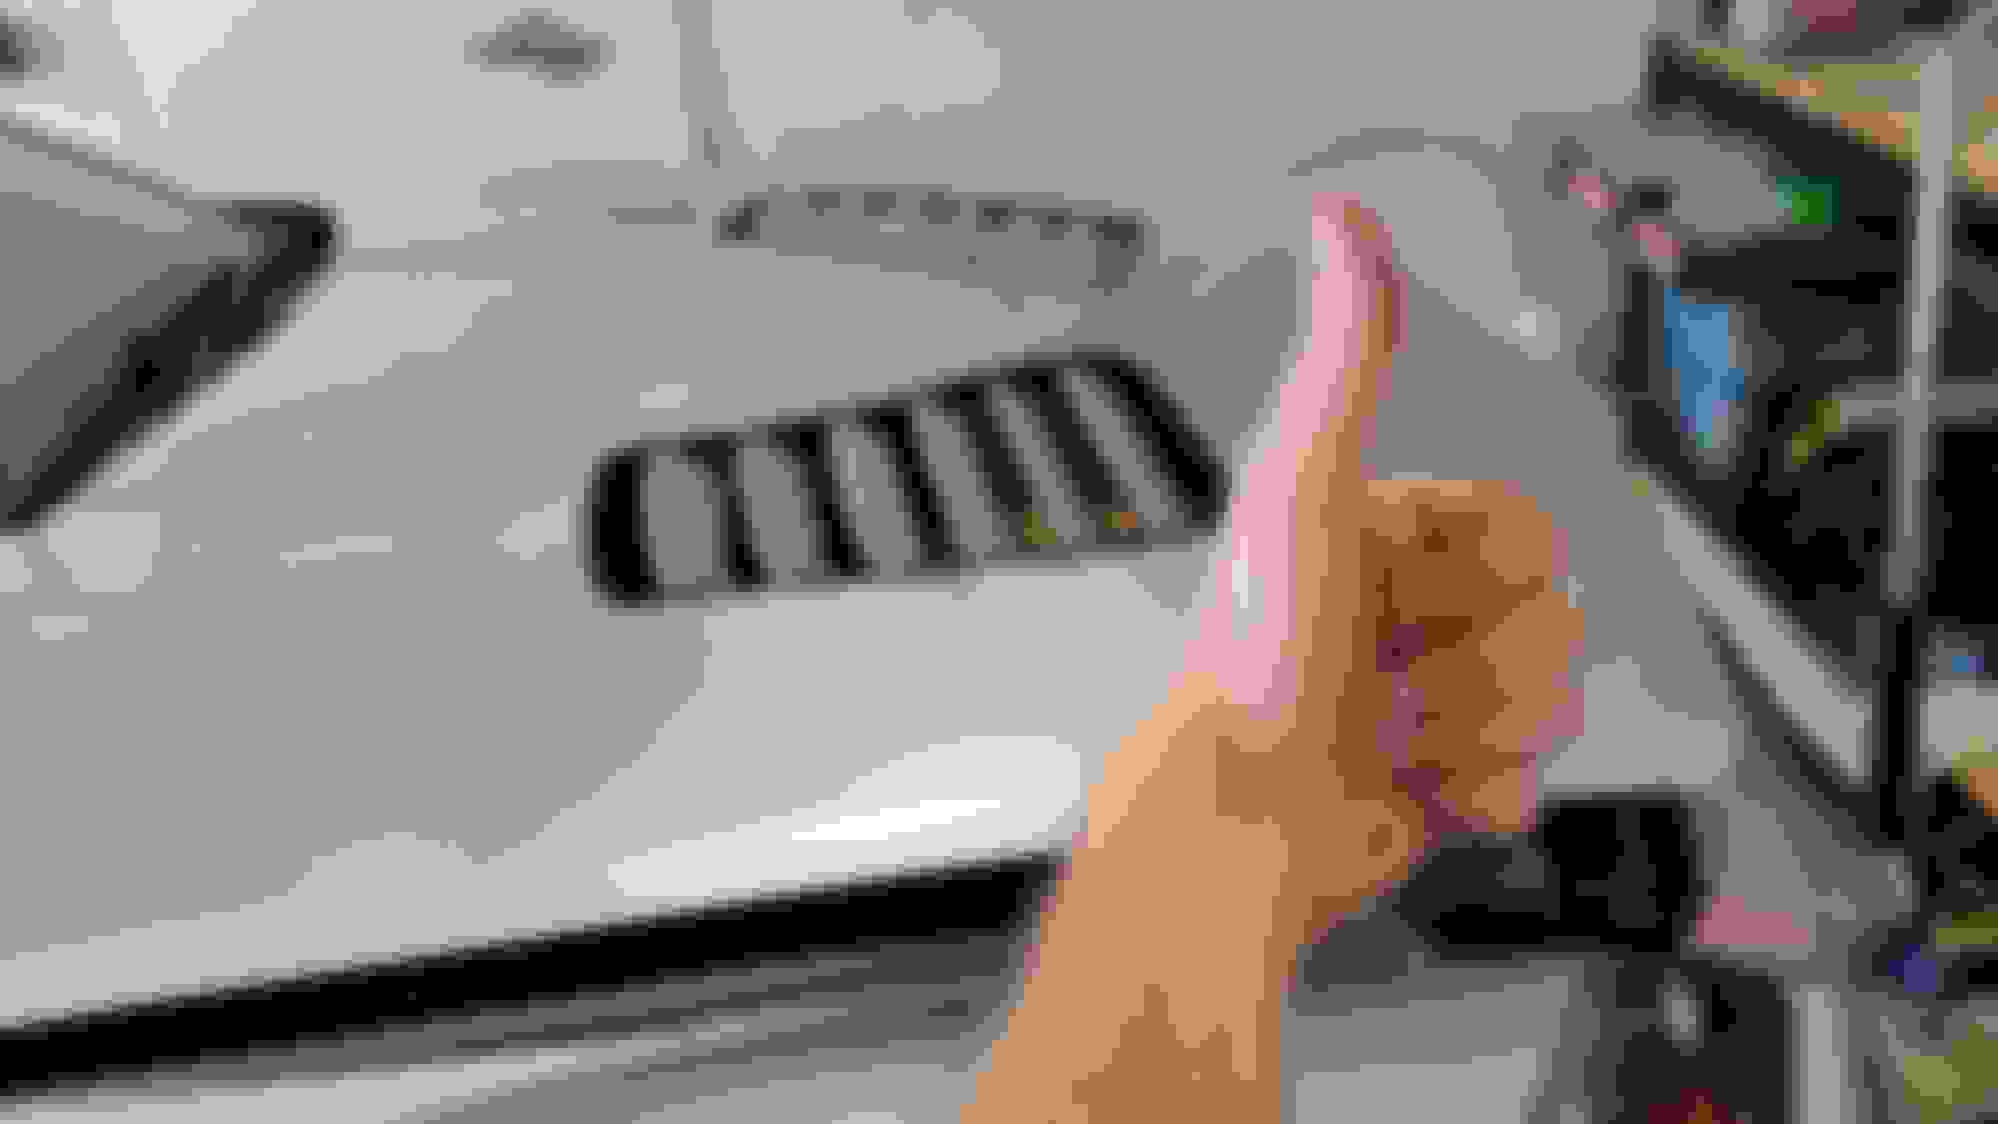
Those are huge vents. By comparison, this is the venting on my track MSM, and this alone allowed me to run full sessions in the 70F range on the stock (barely adequate) radiator without overheating, without even coming close to overheating. My coolant temps stayed in the ~200-205F range, and that was at ~210whp, with the extra turbo-related heat, with a cooling system designed for 140whp on the street. With a completely stock MSM at 140whp, it is common to be seeing north of 240F. By 200whp, you can only get in a few laps with the stock cooling system before risking a blown head gasket. Proper airflow is incredibly important to cooling efficiency.
I'll elaborate if you would like, but I don't want to presume that you don't know.
"One question... do you understand the principles involved in hood venting? What it does? What changes are effected that CAN reduce coolant temperatures?"
Admittedly, no, I don't fully understand and did jump into buying / installing these without proper due diligence. But I am eager to learn more and want to make the proper changes. You mention my vents are large - are you suggesting the size could be counter productive to cooling?
 07-23-2015, 11:34 PM


")