When you click on links to various merchants on this site and make a purchase, this can result in this site earning a commission. Affiliate programs and affiliations include, but are not limited to, the eBay Partner Network.
So i plan on Putting together my build thread here. I had one going on Clutchlink.com but not exactly sure what happened to the website, it might be down, not sure! but for now I'm just getting everything together
Year: 2004
Make: Mazda
Model:Rx8
Transmission: 6 Speed
Mileage:101,700 Miles
Engine: 2nd Motor (Reman at 16,800 Mi)
3rd Motor (102,000 Mi)
Hope you all enjoy!
Picture from the day i got it back in October of 2014
Started to hear the clutch pedal squeaking, and i saw the weld joints. Most of us can't afford to be stranded with a broken clutch pedal so i took some precautions and ordered a support bracket. I believe its from Rotary FX.... For $60+Shipping, worth the insurance!
Overall quality(7/10): Holes weren't properly aligned
Shipping(10/10): Super Quick
Install Guide(9/10): I thought it was easy but for the less than average DIY, some more pics would be needed.
So before i get a new motor, i figure i'd install all supporting mods so the new one has a fresh start and lives long and healthy!
Today with the gorgeous weather, and the delivery of my LS2 Ignition and Starter, i couldn't wait :D Overall took about 2.5 hrs rather easy and satisfied!
Installed (03/16/15)
Starter (2.0kW N3R3)
iPod Adaptor and center console installed
Oil Change (Trying 5w-30 Castrol MagTec)
Dremeled the plastic for a perfect opening
How its going to Look
iPod Cable finished!
Looks clean if I do say so myself. Overall I'm satisfied
iPod Cable Fits Perfectly
14 tooth starter, N3R3, 2.0kW
Why hello new 2.0kW Starter :D
Old Starter Cranking at 179 RPM on a good day! BYE BYE!!
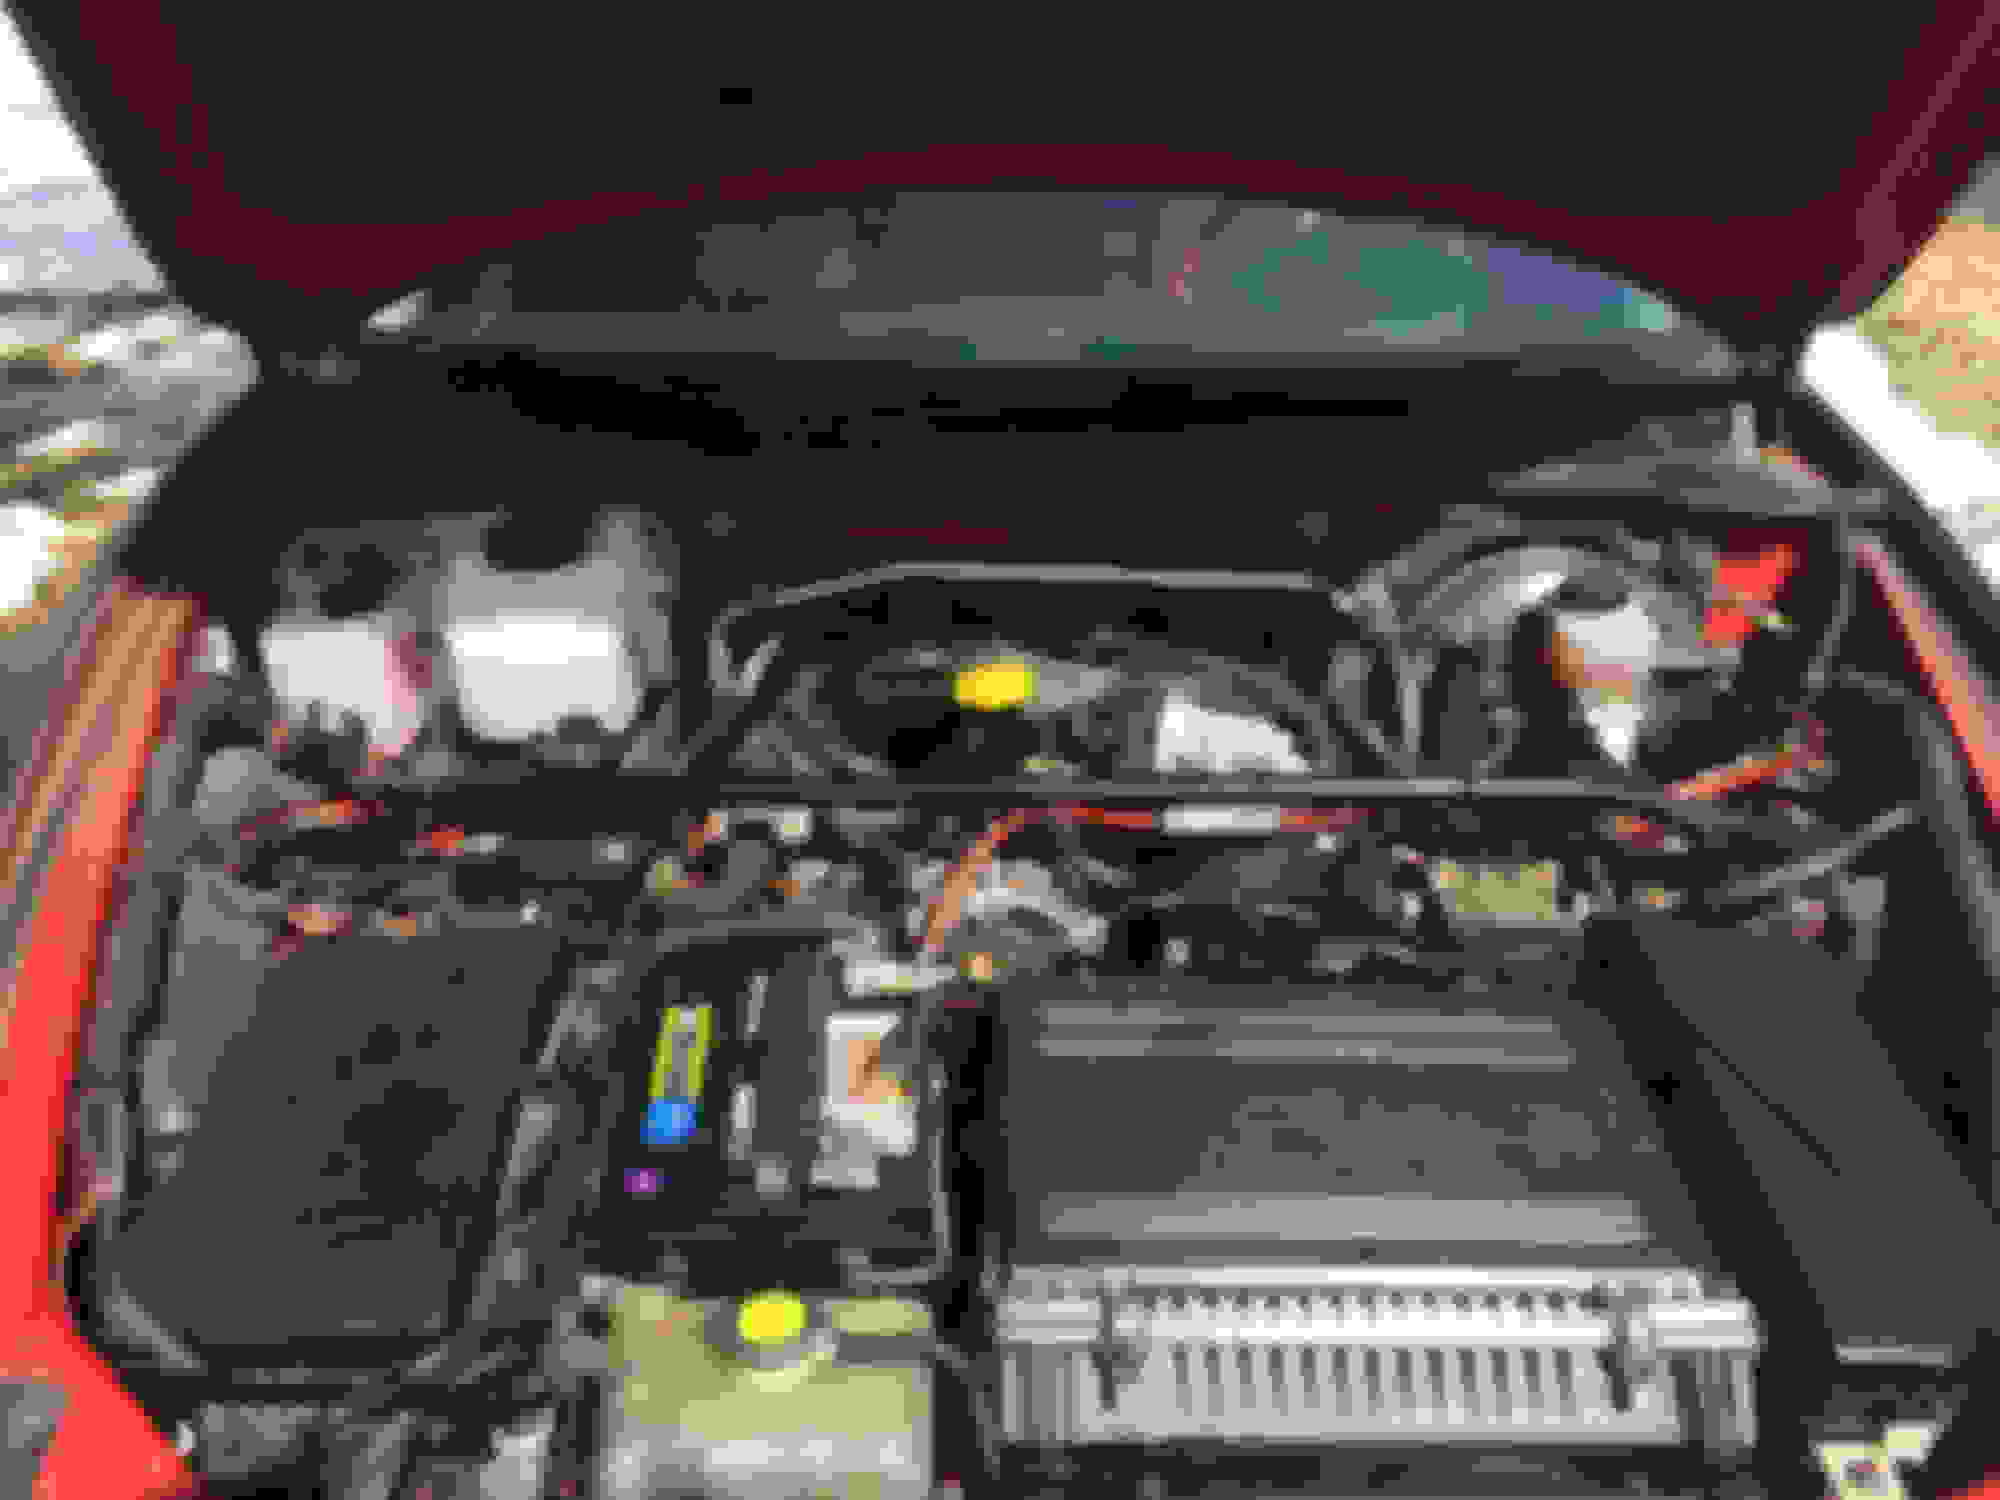
So after a long and knuckle shattering day, installed ignition kit from bennetbuilt and SOHN adaptor. A misfire came about when i had to move my car, what better time! The Coils and wires were pretty much new, done at 101,500 miles and uninstalled at 102,029mi. So aprox. 530 miles. Hopefully i can sell for a decent price! Sadly i didn't do a DIY like planned because few minutes in my hands were filthy and didn't want to get my phone all dirty. None the less there are plenty of them and all i can say, Just follow those damn instructions and TAKE YOUR TIME. It took me from 2pm to about 8pm.... steady work a couple little breaks! Also its good to do a NVRAM reset after all this is installed..... i had idling issues and kept dying... still do but it doesn't die, wants to but hasn't yet! For the SOHN I'm using Motul 710 mainly because I've always preferred Motul fluids.
Brand New ignition (LS2 coils, MSD wires, NGK OEM Plugs)
Is the body Plasti-Dipped? What color was the car originally?
Yeah its going on 4 years plasti-dipped, originally velocity red I plan on peeling it off possibly and maybe getting it wrapped but i need a new motor more than anything!
Is the compression low on one or both rotors or is the engine consuming coolant?
No coolant consumption I'm aware of, no heavy smoke or sweet smell or rust in rotor housings. (Checked when i did my ignition with a small camera)
Im ASSUMING compression lost seeing as its a raman since 16,800 miles and now I'm at 102,048miles and the last owner was a dipshit. But i don't wanna pay $468 for a damn compression test when i can get my own tester for $350.... so i plan on finding a decent rebuilt or even good used motor for time being. Cold starts fine, runs and idles fine now. no power loss felt, or hesitation. Hot start..... won't start to save its life lol.
So today I decided it was time to take out the center console and clean it. The previous owner had spilled coffee ALL OVER the entire Center Console. It Smelled awful and everything was sticky so I decided to spend an afternoon cleaning up the surfaces. After doing a surface cleaning, and waiting a week or so, the coffee smell came back and it was evident that I would need to either pay $300+ for a Detailing company to clean it, or just spend a day or two and do it myself. Since I saw that as a waste of money I decided it'd be a fun little project for me to do. Here I will tear down the center console already out of the car. There is a DIY already out there showing how to take it out of the car, It's approx. 10 Philip screws and some finagling to take her out.
NOTE: I AM NOT RESPONSIBLE FOR ANY DAMAGE TO YOUR RX-8. THIS IS JUST A GUIDE TO AID OTHERS IN A DISASSEMBLY OF THE WHOLE RX-8 CENTER CONSOLE.
Step 1: Make sure everything is removed from the cubby's of the center console as we will be flipping around quite a bit.
Step 2: Remove the black trim where the ashtray mounts to. There are two screws on each side for a total of (4). Be careful, DO NOT pull apart too hard!
Step 3: Once it's off, turn it upside down. There will be 3 White clips on each side of the front Center Console. Carefully undo theses tabs, a total of (6)
Step 4: There are two more hidden screws under the insulation. They're marked in green. Undo these and then carefully take apart the front half of the Center Console. It should now look like this. The Rear assembly is shown here:
Step 5: So first, I grabbed a bucket with very HOT water and some soap. I soaked one half at a time to loosen the coffee! Best way, coffee turns to a solid rock if there's sugar in there, which there was :/
Step 6: Now go to the rear Center Console assembly and there should be (4) more screws under there, holding the silver trim pieces on there, undo the screws and then the pieces will come right off. Sorry for no pics, but that�s about it in taking apart the center console to clean!
Here are some pictures before:
Step 1: Before<br/>
Two Screws
Another Two<br/>
Sticky Coffee
Nasty Cup Holder
Nasty Cup Holder
Coffee Everywhere
Tobacco, weed and coffee
Yup, This guys a gross ****
There it is, the cat definitely made this liquid multiple times... SO GROSS
Final Results: A nice MUCH CLEANER almost perfect center console & Much happier REX Owner!
SO MUCH cleaner
Waiting for it to Dry
Dry Time Smells good too!
Bonus: I've Notice a lot of people with uneven center console buttons, and they just replace them! Instead, there's a quick little solution!
Step 1: On the underside on the center console, unscrew the (2) Phillips head screws. Then push the button in and out. NOTICE: there are two black tabs that hinge on the assembly. For me, one side was gabbing the other side was pushed in. All I did was take a screw driver and pop it out a little, but be carful this tab can break if done in extreme cold or too much force!
Look at the black tab where the spring is
Step 2: Enjoy you new even button! Hopefully it lasts or another solution will be made
I am planning on designing and under tray similar to that of GTSPEC just cheaper. Seeing and i need to rebuild my motor, i hope this will help fund my expenses while also offering a quality and cheaper solution Will build soon and test it all out! If anyone is interested just PM me.
My under tray design is SIMILAR to this, cooling vents will be utilized.
So it was a rather warm day and roads clear enough to take REXIE out for a spin, So i took her about 20 miles to make sure SOHN and LS2 Coils with my own tune via Cobb AP worked all together. Everything went well, in the 20 miles drive (half city/half highway) of high load and revs, i consumed about 200+ ml of oil via SOHN and no leaks! and no misfires even cruising in the 7k+ RPM for couple miles! All is well... So i thought Then, on my way home to park her, she died upon idle..... i guess compression was lower that i thought! Had waited aprox. 45 min, with hood open to barely get her to turn on and took some back roads home! Need a new engine sooner than i thought
I never understood people who don't take care of their cars. It is one of biggest purchases you make in life and they just treat them like crap. I have an '05 Xterra that I use for everything from camping to hauling landscaping as well as my DD and its paint and interior are flawless. Yes it gets dirty, but actually washing and waxing and cleaning the interior I am glad you are returning this nice car back to being nice again.
I never understood people who don't take care of their cars. It is one of biggest purchases you make in life and they just treat them like crap. I have an '05 Xterra that I use for everything from camping to hauling landscaping as well as my DD and its paint and interior are flawless. Yes it gets dirty, but actually washing and waxing and cleaning the interior I am glad you are returning this nice car back to being nice again.
Thank you, and stay tuned, I'm going to be doing a lot, just gotta save up first!!
I don't know why I haven't seen this thread yet. Good looking start! A matte black car seems like the worst type of hell, but it looks alright.
A few comments/questions:
I see you went with the bennett built ignition! How do you like it? I run their wires with my D585s, but I always thought that the placement of their kit was far superior to BHR and the others. Great guy to work with.
That center console was nasty.
Why are you making (is it done?) a new under tray? Those bottom vents aren't really for cooling, they're to prevent too much pressure from flexing and breaking the tray at high speeds.
Have you considered screens in front of your oil coolers? That could get ugly really fast on older roads.
�I love the BB Ignition, his customer service was second to none, the kit installed rather easily, only had issue gettin wires on bottom coils because my hands arent small lol. Too many people try to copy this, but the bracket shows my money was well spent. VERY HAPPY!
�Center console was actually washed twice, coffee and tobacco everywhere 😷. Now smells like laundry lol, cleaned up all the coffee from the car, now cleaning rear seats and car.
�started to make undertray, little delayed due to school. But i have 1mm solid piece of 6061Al and i was testing some nuts and bolts vs weather. Left outside for about 28 days. Temps range from 22f-70f, rain and direct sunlight, bolts, nuts and panel, look brand new.... So i plan on cutting to spec by beginning of may. And im only planning on doing about 3 relief vents on the rear, still undecided. Using solidworks to analyze some air flow patterns and pressures. Still in the works.
�I do plan on getting some good quality black mesh for the oil coolers. They are in good condition, gonna straighten out some fins. Check lines aswell.
Stay tuned. Once i find a good motor at a price i can afford. Will be swapping out, and tearing down my current one which is a mazda reman. It recently devloped HEAVY white smoke under cold starts only, feel like it may be bad coolant seals. Not 100% sure. I plan on buying my own compression tester, to test yearly!
BS. I have had a SOHN for years and my consumption rate has been the same as it was before I had it (1-1.5 quarts per 2000 miles depending on my driving style). Now I have my rates turned up VIA the Cobb so I use more but either way the SOHN doesn't affect the consumption rate.
BS. I have had a SOHN for years and my consumption rate has been the same as it was before I had it (1-1.5 quarts per 2000 miles depending on my driving style). Now I have my rates turned up VIA the Cobb so I use more but either way the SOHN doesn't affect the consumption rate.
This was before i truly learned about positive displacement pumps, only reason i don't delete it is because i want to show people what i previously thought and why what i thought is wrong. Anyone interested can PM for a .pdf on positive displacement pumps. I JUST WANT A NEW ENGINE
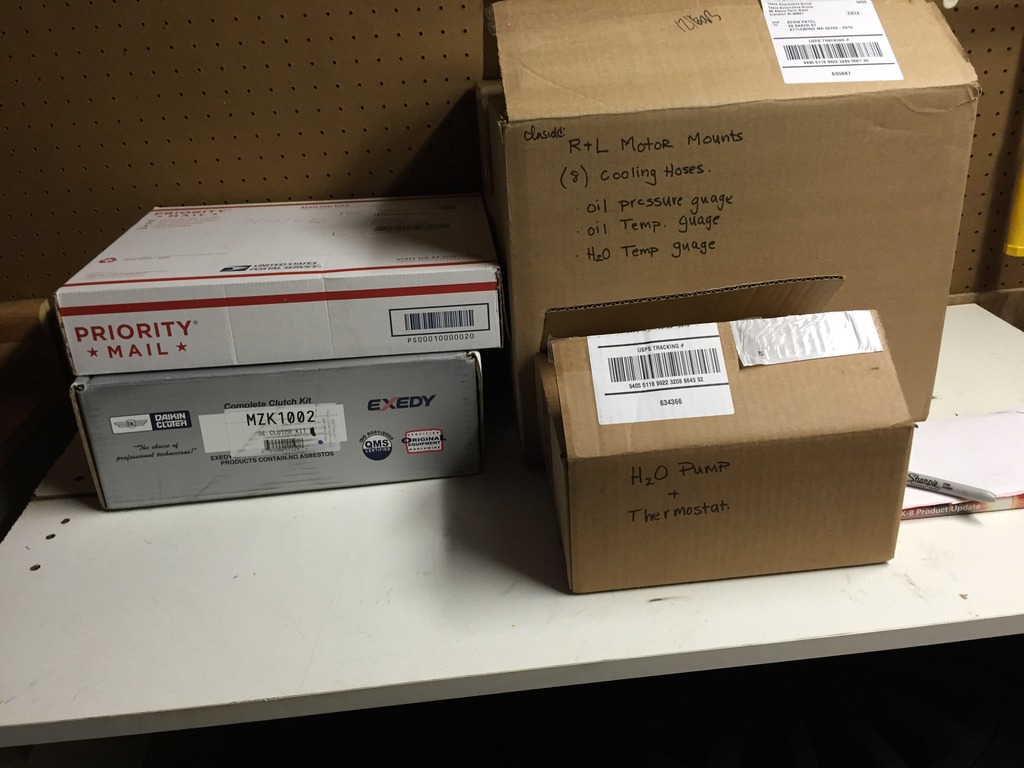
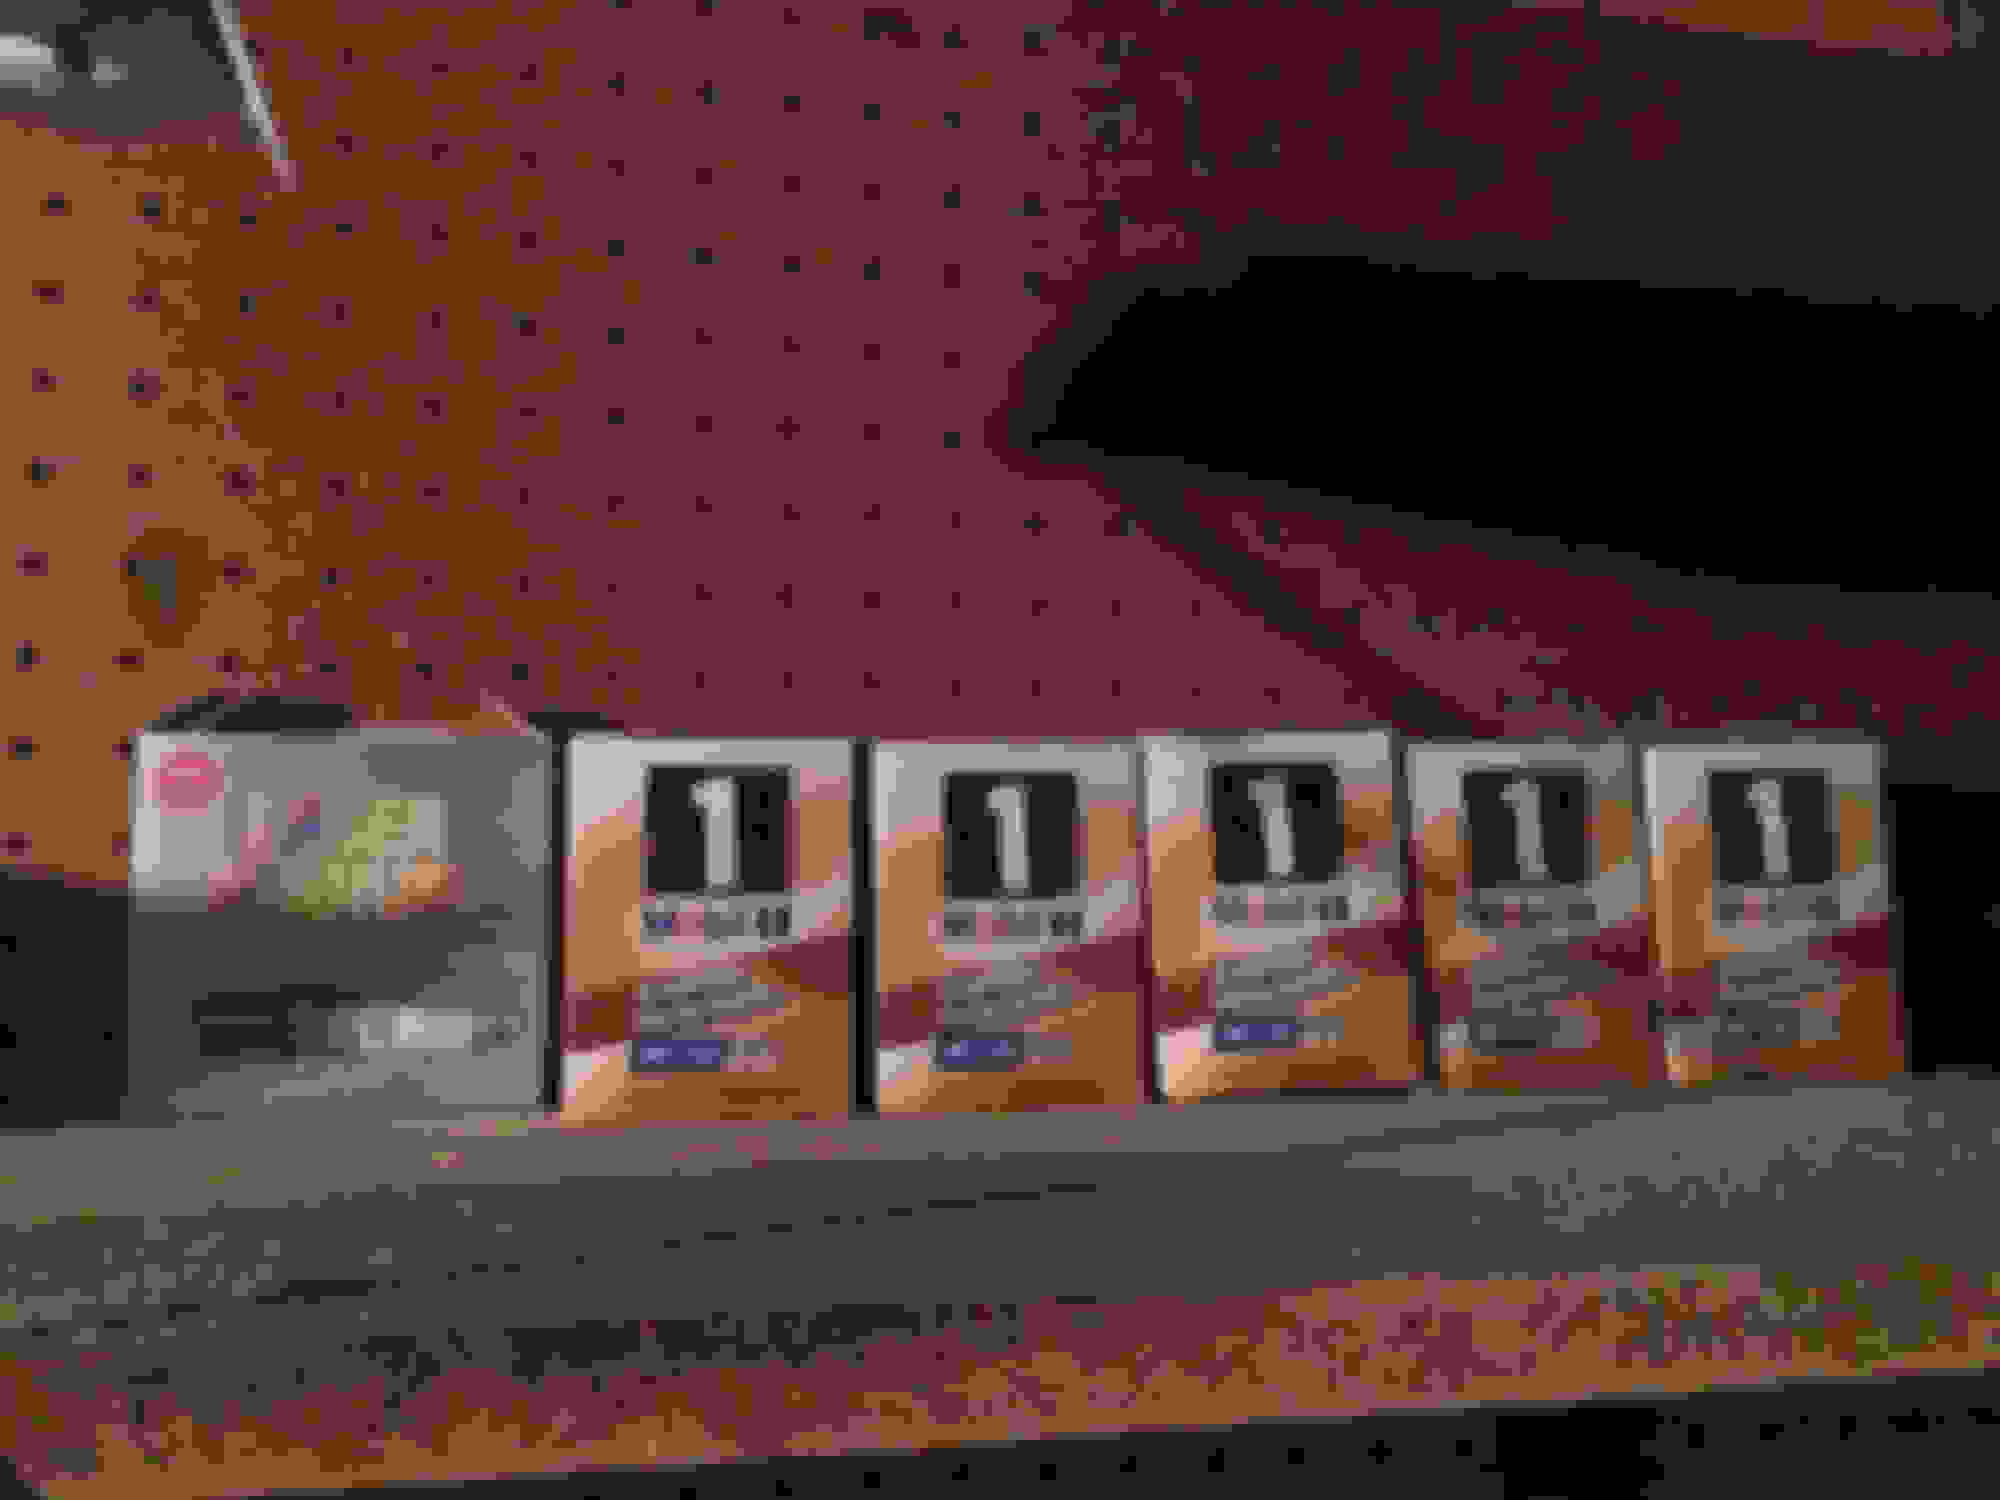
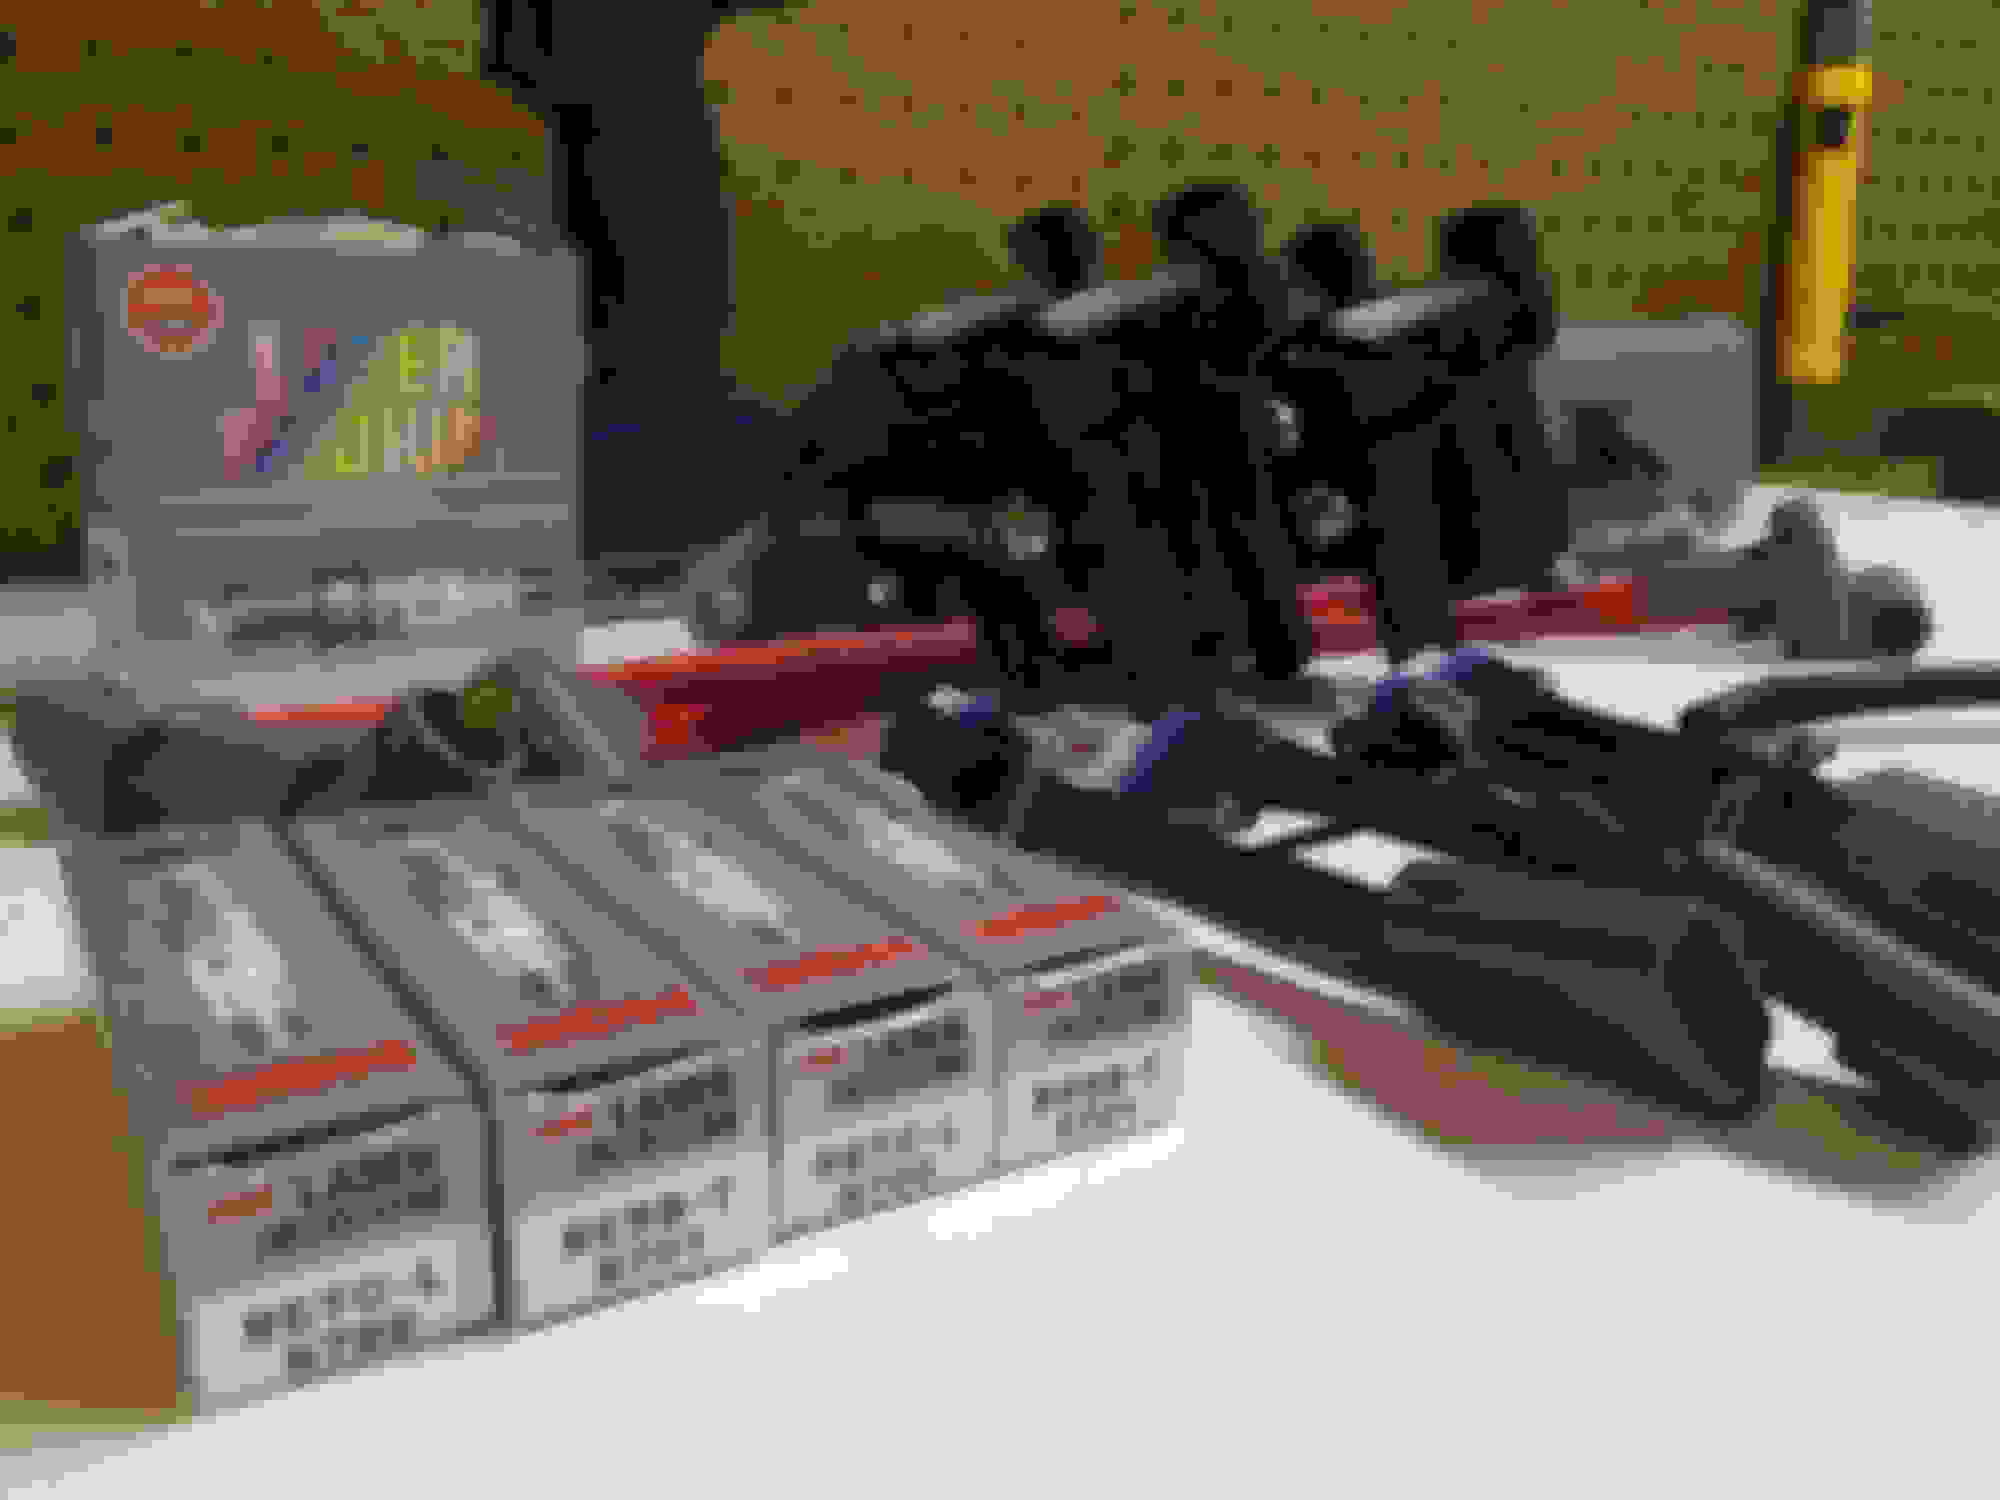
So, I've been saving up some $$ for a quality rebuild and pretty much an engine bay overhaul. Spent so far about $1,500 on parts that need/ i would like to be replaced, while the engine is being swapped. I plan on going to meet with Mr. Landers, the owner of rotary resurrection in May or June once spring semester ends. Since i don't have the tools or space I will be going to SMG racing locally to have the motor and parts all installed. From both, I have heard nothing but good things! Only thing left to buy is the motor and oil cooler lines from RR! :D
Today, the USPS guy, FedEx lady and UPS guy all came to deliver my goodies! Got all my packages, and now just waiting for school to end to drive to RR to pick up an engine and oil cooler lines! Then off to SMG racing for install! :waves:
 03-15-2015, 07:50 PM


 Then, on my way home to park her, she died upon idle..... i guess compression was lower that i thought! Had waited aprox. 45 min, with hood open to barely get her to turn on and took some back roads home! Need a new engine sooner than i thought