When you click on links to various merchants on this site and make a purchase, this can result in this site earning a commission. Affiliate programs and affiliations include, but are not limited to, the eBay Partner Network.
Got the brackets today, and did all my test fitting. We did pretty darn good considering my friend had nothing to work with in-hand. Only need a small adjustment and everything fit perfectly. The 2 mounting holes to the trunk, he had setup where the base came out perfectly straight to the sides, from the vertical section. It turns out it needs to be canted forward so that the mounting holes are more forward than the vertical section (if that makes sense).. Because of this, the lip portion wouldn't fit on (brackets were just [barely] too far apart) and the brackets didn't mate to the upper brackets quite where I wanted them to mount.. With a small adjustment to the mounting holes I got the lip on right, and it also allowed the upper brackets to hug the lower brackets properly. Took lots of pictures. Will have descriptions for any that are interested in the progress of this custom little project.
Yay brackets!
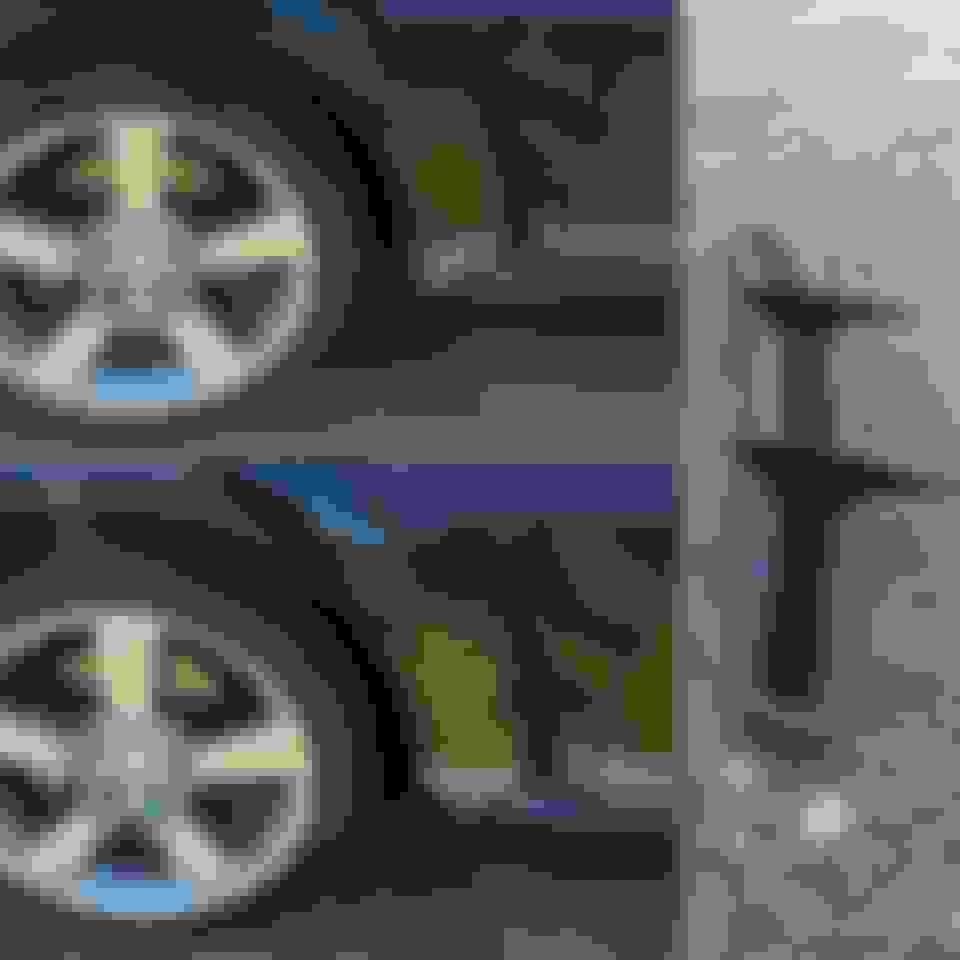
Using the original mounting holes he provided, you can see how the upper bracket sits inside the lower bracket. Our goal was to have the upper bracket sit outside the lower bracket, so that it "hugs" it properly. Our current mounting holes set the lower brackets just a bit too far apart to allow this.
The holes where the lower bracket mount to the upper are perfect, and allow for perfect adjustability. Here are just a few pics of the car with the wing on (have it set at the most aggressive adjustment). The wing will sit about an inch farther back to the edge of the car once we make our minor change.
The next picture I was just getting it in the approximate location to pinpoint the change that needed to be adjusted. I got everything lined up where it should sit (just holding it with tape).. then opened the trunk and marked the bracket where the new holes would need to be. I found that the further back holes needed to be exactly centered from the current 2 mounting holes. The forward mounting holes ended up being JUST off the bracket, but It would retain it's current distance/measurement he already has. From there I just drilled out a new hole in the center, and moved the brackets back mounted on the new hole and everything fit perfectly.
Here is what the base looks like, and how it will be modified to get the wing farther back. It's actually a very simple change, all he needs to do is shift the bolt pattern forward and then wrap the base around it so it's angled instead of flat to the sides. The angle/distance of the bolts are perfect so it's a very simple change for him to shift it. Just shifting it back gets it a bit narrower to get the lip on and to get the upper brackets to mount outside and hug it right.
(Also need to reduce excess bracket outside the bolt holes).
You must feel great about this! Been there, where some seemingly small thing bothers me and, after some time, research and work, I finally get it fixed. Feels like I got a raise.
Why not keep this one the way you have it and buy a second 8 for autocrossing? This way if something breaks then you still have a reliable 8 to drive and enjoy!
My husband would never support me in that, hahaha. I have a Subaru as my primary vehicle. As much as I would enjoy a 2nd 8, my Subaru is a much better primary vehicle than an 8 would make. Better gas mileage, AWD (for poor weather or going anywhere that may involve some unfriendly terrain), much more room (I have a kid and 2 dogs & my Boxer is NOT allowed in the 8, lol), etc... It just makes sense to keep a car like that around, haha.
My husband would never support me in that, hahaha. I have a Subaru as my primary vehicle. As much as I would enjoy a 2nd 8, my Subaru is a much better primary vehicle than an 8 would make. Better gas mileage, AWD (for poor weather or going anywhere that may involve some unfriendly terrain), much more room (I have a kid and 2 dogs & my Boxer is NOT allowed in the 8, lol), etc... It just makes sense to keep a car like that around, haha.
Smart choice, subaru's AWD system IMHO is the best hands down. How long have you had it and how has it held up? My daily is my GTI, love it but wish I had AWD sometimes with the New England snow lol.
Smart choice, subaru's AWD system IMHO is the best hands down. How long have you had it and how has it held up? My daily is my GTI, love it but wish I had AWD sometimes with the New England snow lol.
Haha, I understand! Well, my mom bought it brand new in 2006. She sold it to me with 73k on it when she upgraded to her 3rd outback, a 2015. She offered me a steal on it, so even tho I have always disliked autos/wagons... I couldnt say no. Knowing it's complete service history, and how well she maintains her cars, etc... It just rolled 100k a few weeks ago, and has only needed a few things on top of normal maintenance. I did the full timing set around 85-90k so I always do things ahead of time. (Normally it calls for 105k months or 105k miles). I was coming up on time/age as opposed to mileage. I intend to keep the car until it needs to be retired. The ONLY thing that would get me to sell it would be if I found something of equal condition that I could at least tow a car with.. I would prefer that.. but I really LOVE Subaru's safety as well, the Outbacks in particular are very tough cars. I like that for my family. So it's going to stick around. Not to mention, I enjoy not having ANY car payments, so I prefer to take good care of my cars and have them last. My beater that my husband drives, I bought fresh out of high school, 13 years ago... and it's still reliable... LOL. He even totaled it 2 years ago, and I fixed it up and got it back on the road a week later (it's back to stock tho).
If you like any of the Subaru line up, you really can't beat them in inclement weather, IMO. It makes me feel a lot safer because of how it handles it and because I know it's going to do a pretty good job at keeping me safe.
Thank you Williard!! I'm excited too. I really wanted a big ****, lol.
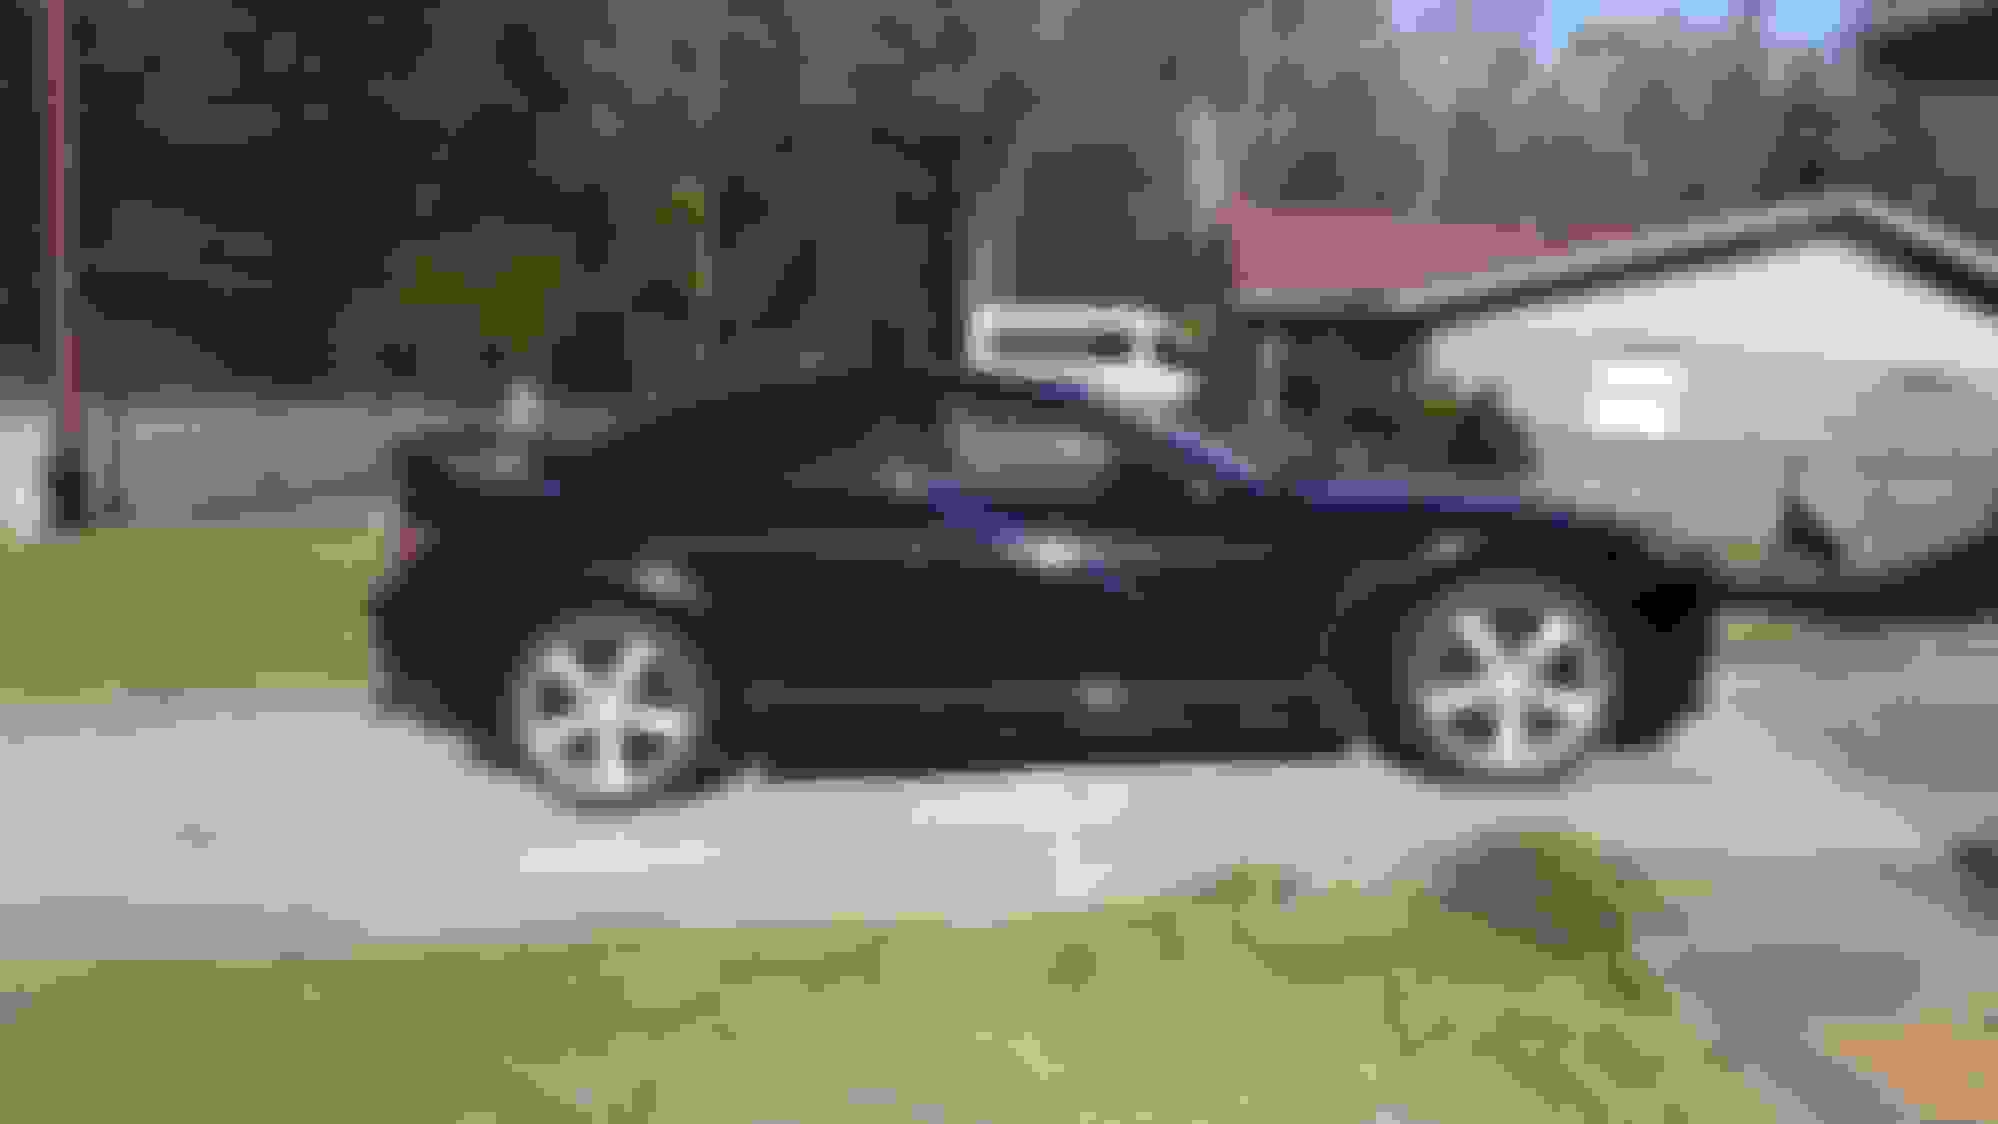
This is my last test fit photo. I realized I didn't take a picture with both the lip and the blade on and bolted down. Sorry for the horrid quality.... it's a teaser anyways... no good pics til all is finished :D
I ordered some vinyl wrap & knifeless tape, to cover up the foot print of the OEM wing, where it gouged the hell out of my trunk. Took a few times to get the technique down (never wrapped before) but once I got a hang of it, they came out well. It is far less noticeable than having it bare. Happy with the results.
Since I had extra vinyl I decided to give some eyelids a go. Used masking tape first, to make sure I laid the knife-less tape evenly... and voila, trial eyelids, lol.
Bracket update: Completely redrawn with changes including the mounting part angled forward, and a slight wider degree at the bend. Also added some rotor triangles for final design look. 1 more 3D print round to go for official verification of fitment, then "off to the machine shop".
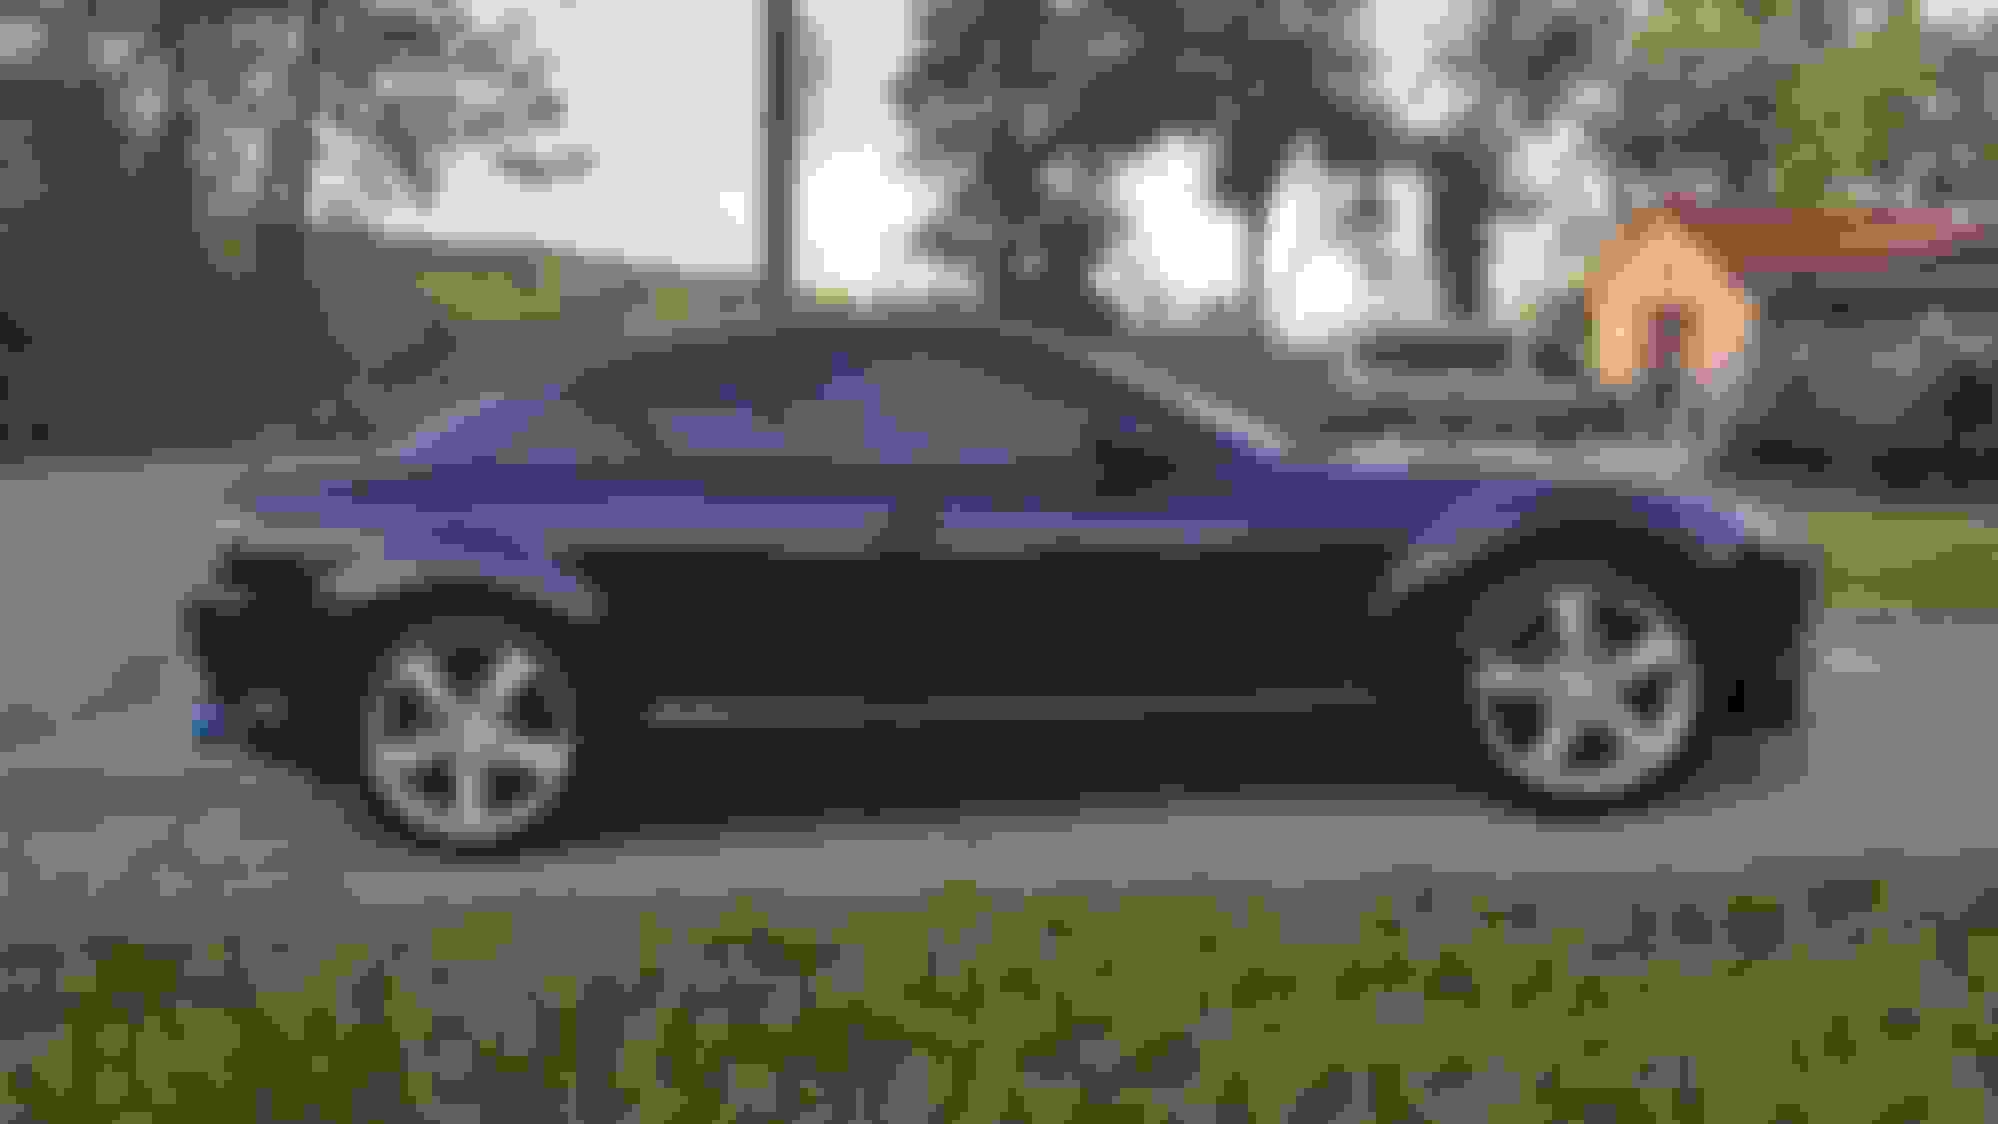
Couple photos from the other day. Can't wait to get that wing on!
I probably would have bought that wing if I hadn't purchased the one I already have. Great price if it's authentic. No interest in the other parts. Thanks for letting me know!
I noticed that my oil cooler fans were getting bent again (this was the 2nd time in the last year I've had to go over them all and straighten a bunch of them out). I decided to get some mesh (black coated metal gutter guard from Lowes) and fit it into both the bumper to protect the AC condenser, as well as the oil cooler "housings" to protect them. I didn't love how you could also always get a clear view of my "foam mod" to aid in directing airflow through the radiator as opposed to sneaking by on the sides.
Also gave me a chance with the bumper off to fix the lip mounting point where the rotor accent was. It had a bit of a gap and didnt quite sit right as youll see in the before pics. It's much better now.
Please disregard how dirty my car is. Even having only driven it a handful of times since the last wax, there is a ton of pollen and then it got bugged on the highway yesterday, lol. The closeups aren't flattering
Got some fender strakes. Went with the RotaryFX abs plastic style as I would have painted them black anyways. I prefer the subtle change. I also like that they match the vent (material wise) so it flows very well. Quite happy.
Have some BB front aero mudflaps on the way as well as the rear rotor accent to match the recently acquired front accent... and it will have all the oem available upgrades.
I think that was mostly the angle of the picture and the amount of glare from the sun.. here is a pic after the sun kinda set. They have little guideline posts that put them into place. I only have a minimal amount of adjustment room.
Come to think of it. Those pics I took as soon as I clipped the vents in. I did tweak them a hair, but again the posts don't allow much adjustment.
Decided to order some eyelids, went with these ones. If I don't like the CF look, I'll get them paint matched. I don't like the vinyl ones long term, just wanted to see if it was a look I liked.


 02-09-2017, 04:53 PM