Not your average fedex delivery
 02-19-2013, 10:36 PM
#1
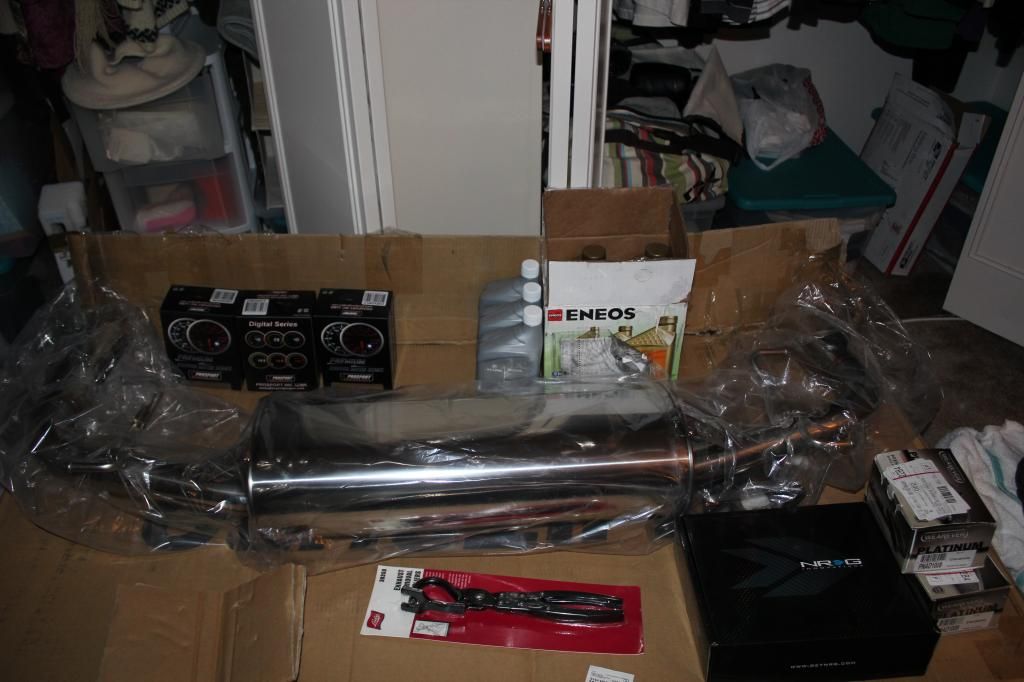
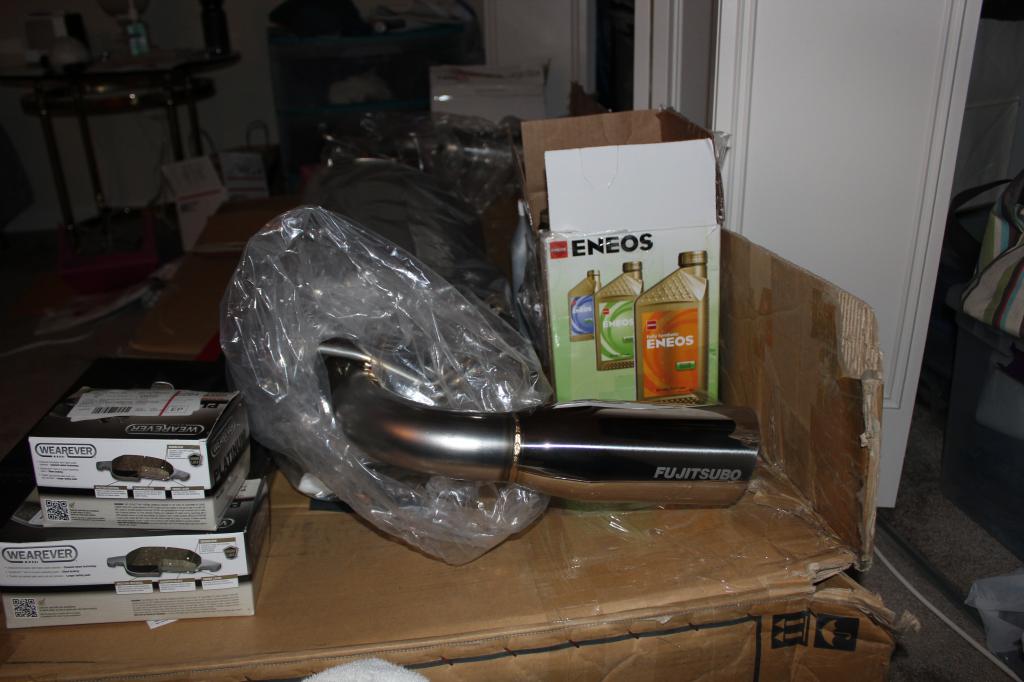
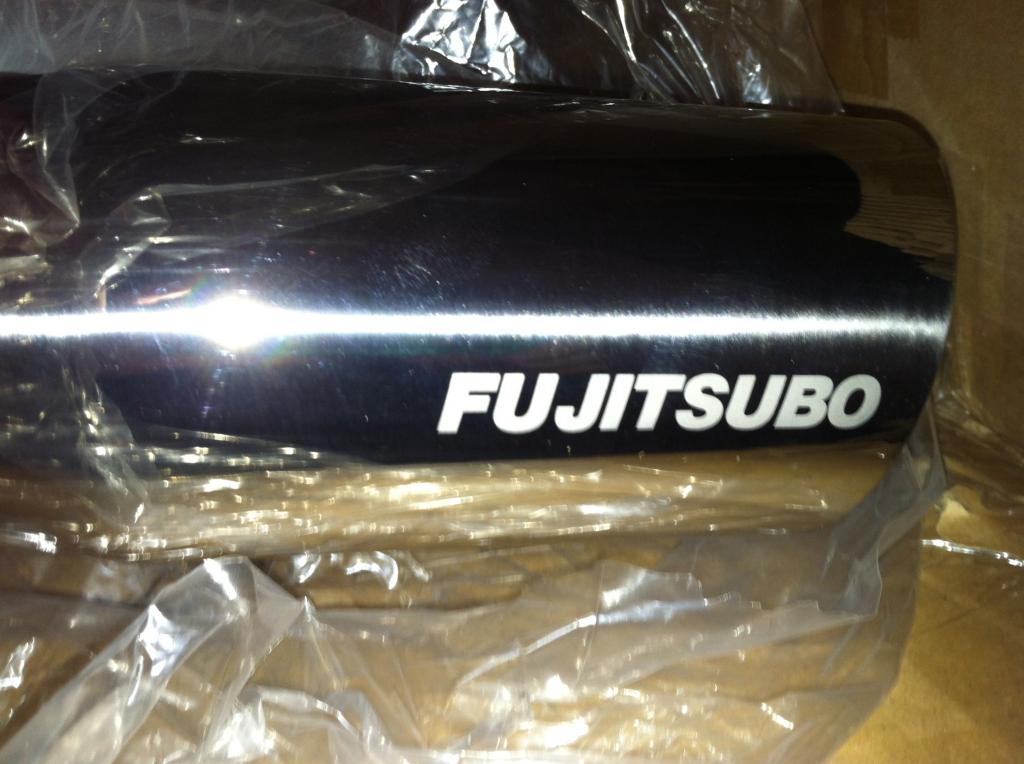
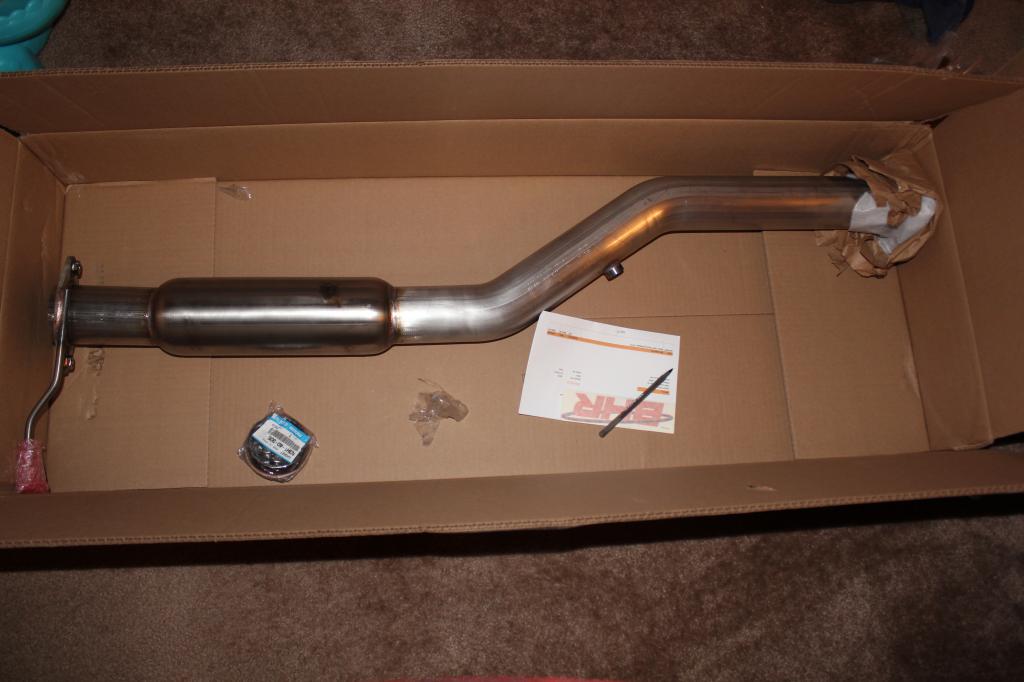
So I did not have the best day at work today, but came home to this beautiful package at my doorstep and it cheered me right up.
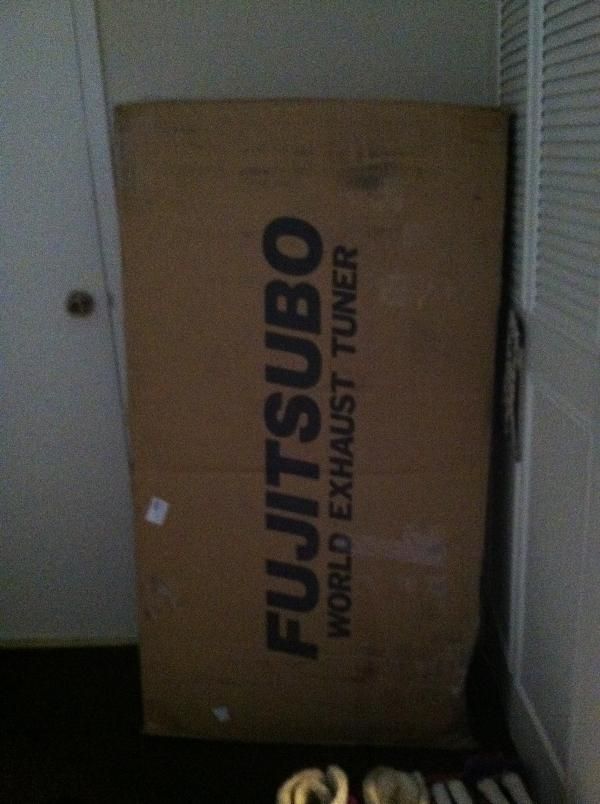
(Thanks to blacksheep for the sale). A new Fujitsubo Legalis-R catback. My NRG Oil Catch can also came as well
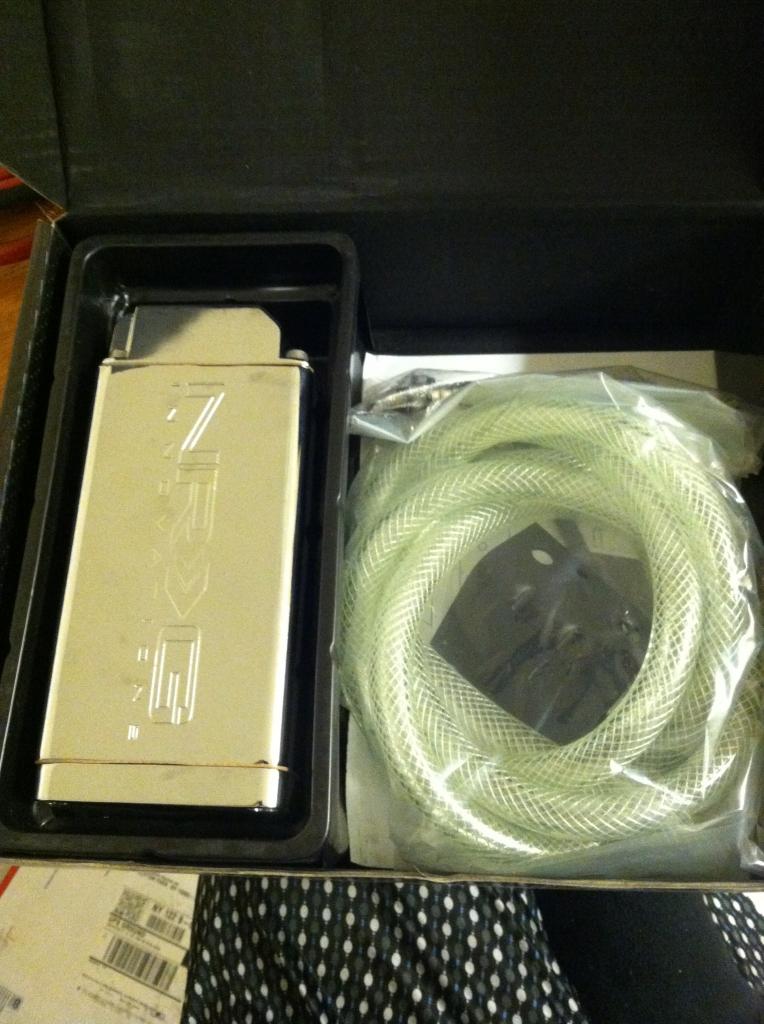
I'll have to scope out a mounting point for the catch can sometime Friday.
I'm also expecting a BHR midpipe, the water-temp sensor adapter from RB, maxground grounding kit, a few covers, exhaust hangar removal tool, and some new brake pads this week. Hopefully I can get the exhaust and midpipe in this weekend. I also have 3 prosport evo gauges I want to get started on next weekend. I'm excited
(Thanks to blacksheep for the sale). A new Fujitsubo Legalis-R catback. My NRG Oil Catch can also came as well
I'll have to scope out a mounting point for the catch can sometime Friday.
I'm also expecting a BHR midpipe, the water-temp sensor adapter from RB, maxground grounding kit, a few covers, exhaust hangar removal tool, and some new brake pads this week. Hopefully I can get the exhaust and midpipe in this weekend. I also have 3 prosport evo gauges I want to get started on next weekend. I'm excited
Last edited by jamesf; 02-20-2013 at 07:48 PM.


 02-23-2013, 07:08 PM
#5
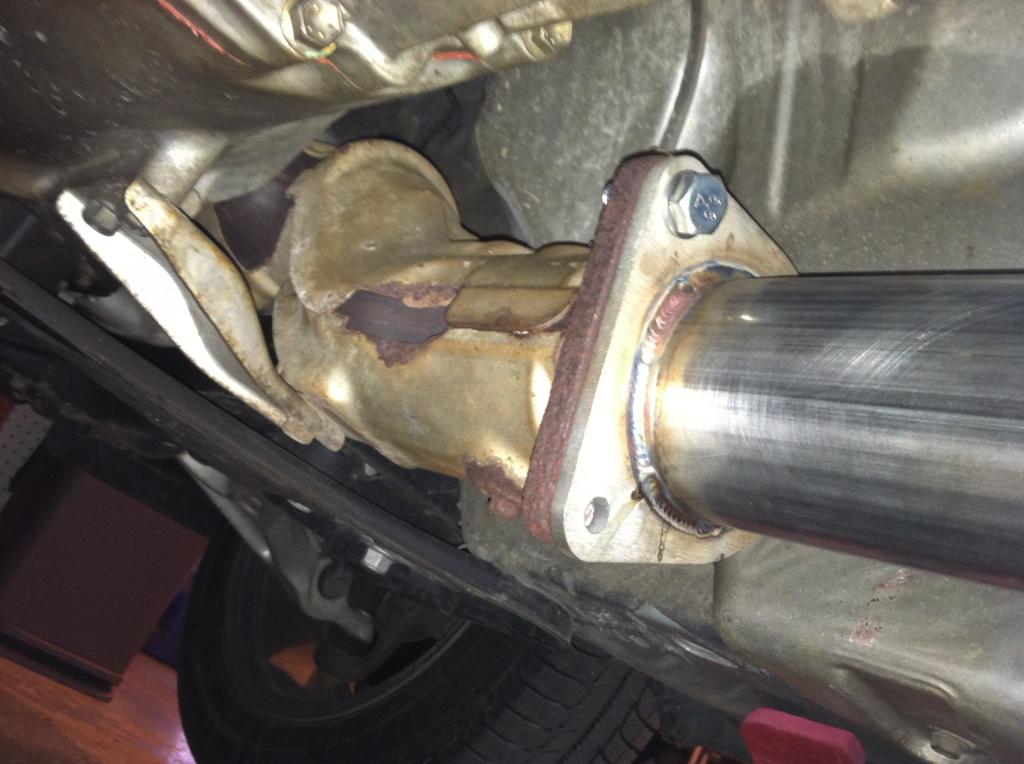
Hey I am installing the BHR midpipe and had a question about a piece of hardware.
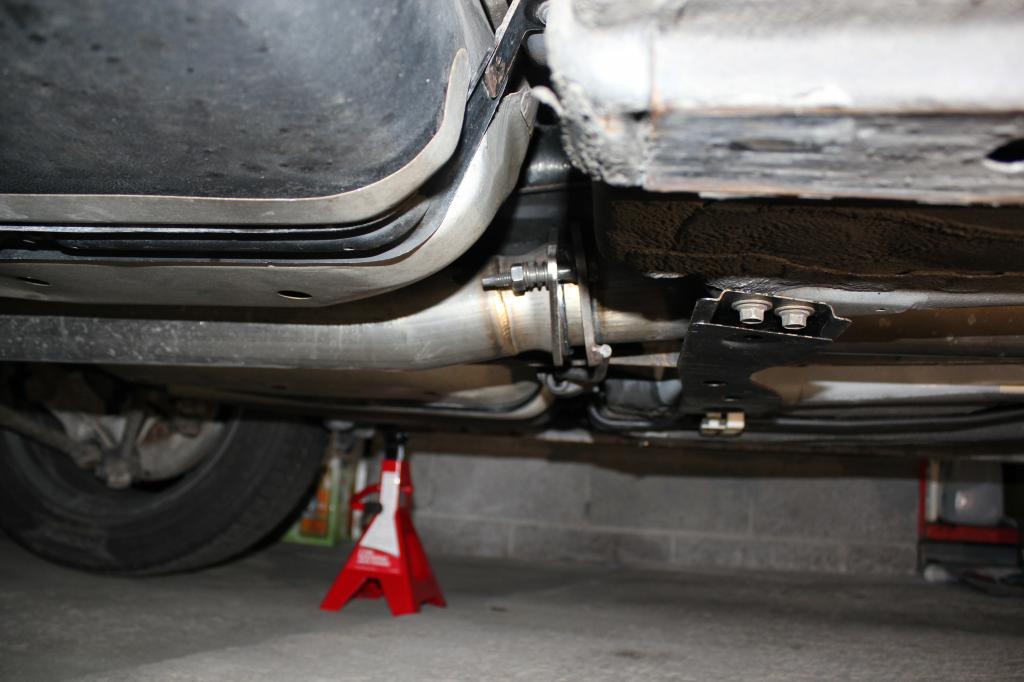
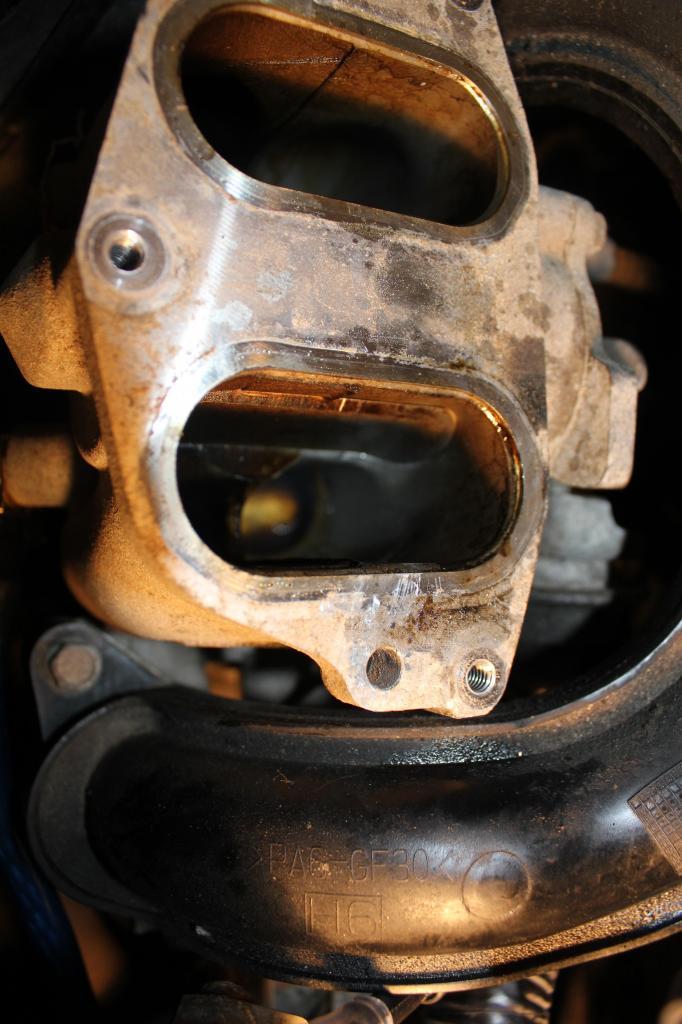
My question is regarding the bolt with double threads on the bottom of the paper:


The flange on the right is the exhaust system. The flange on the left is the BHR midpipe. The midpipe has a welded nut (you cant see it in the pic because its hidden by the flange in this pic) on each side of the flange which you connect the exhaust to via a bolt with threads on both sides. My question is: See how I have the shorter thread going through the welded nut on the midpipe, with the longer thread going through the exhaust with the spring and a seperate nut? Well, should I/am I supposed to use threadlocker on that shorter thread that is screwed into the welded nut? It does not go through the nut very far, and does not protrude, which means I cant really make it very tight or anything. Just wanted to get your opinion on this. Thanks.
Also, to any1 who does an exhaust/cat swap, 16.00 will get you an exhaust hangar removal tool and it is pretty much the best thing since japanese sliced bread. It truly makes it a 30 seconds job.
My question is regarding the bolt with double threads on the bottom of the paper:
The flange on the right is the exhaust system. The flange on the left is the BHR midpipe. The midpipe has a welded nut (you cant see it in the pic because its hidden by the flange in this pic) on each side of the flange which you connect the exhaust to via a bolt with threads on both sides. My question is: See how I have the shorter thread going through the welded nut on the midpipe, with the longer thread going through the exhaust with the spring and a seperate nut? Well, should I/am I supposed to use threadlocker on that shorter thread that is screwed into the welded nut? It does not go through the nut very far, and does not protrude, which means I cant really make it very tight or anything. Just wanted to get your opinion on this. Thanks.
Also, to any1 who does an exhaust/cat swap, 16.00 will get you an exhaust hangar removal tool and it is pretty much the best thing since japanese sliced bread. It truly makes it a 30 seconds job.
02-24-2013, 07:29 PM
#6
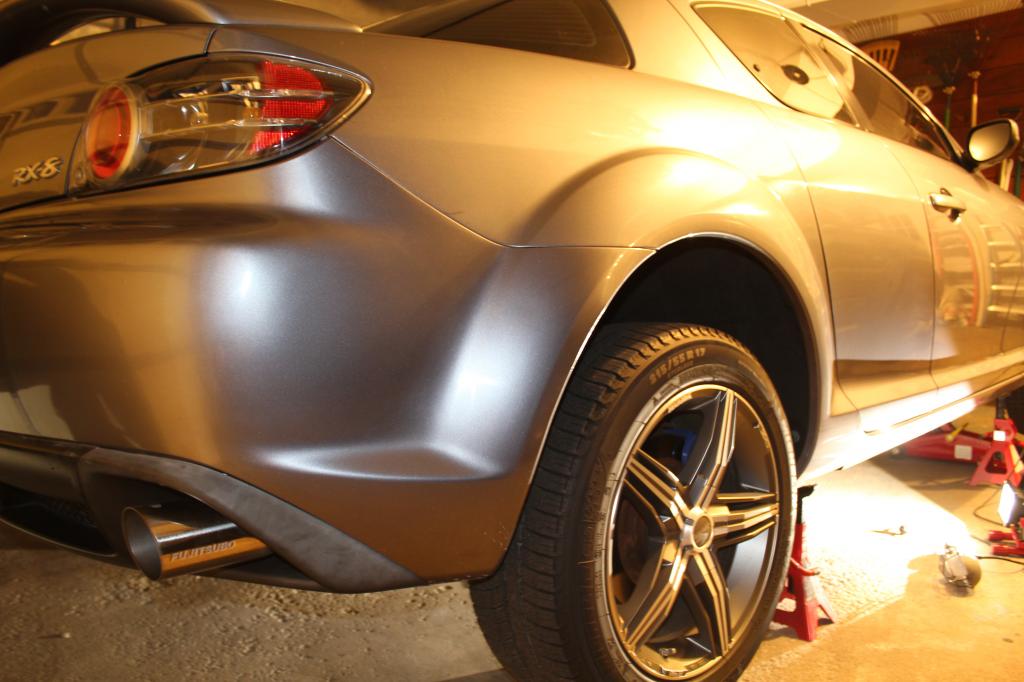
Well the fujitsubo catback and BHR midpipe are installed. It all went very smoothly.
The sound is pretty awesome, and I can tell the power has improved. However, it was a bit difficult connecting the flange from the midpipe to the flange from the fujitsubo. The fujitsubo's flange is not welded on. It is actually free-moving and slides up and down the exhaust. I stuck the midpipe into the flange and started tightening the double-threaded bolts/springs/nuts but I can see that on the top of the pipe, I can see more of the mesh thing. I deff can see the mesh all around but I see it more-so on the top. It does not look like there are any leaks/open areas but I just wish the pipes fit more flushly. The flange on the fujitsubo is a giant PITA because it doesnt sit still, and unfortunately it just does not sit evenly.
I will check more in-depth for a leak within the next few days but DAMN i love the sound of it. the fujitsubo is not a ridiculously loud exhaust, but partnered with the midpipe, it literally is perfect. Not loud at idle and mid-range RPMs you just hear it freaking roar (nice and smoothly however).
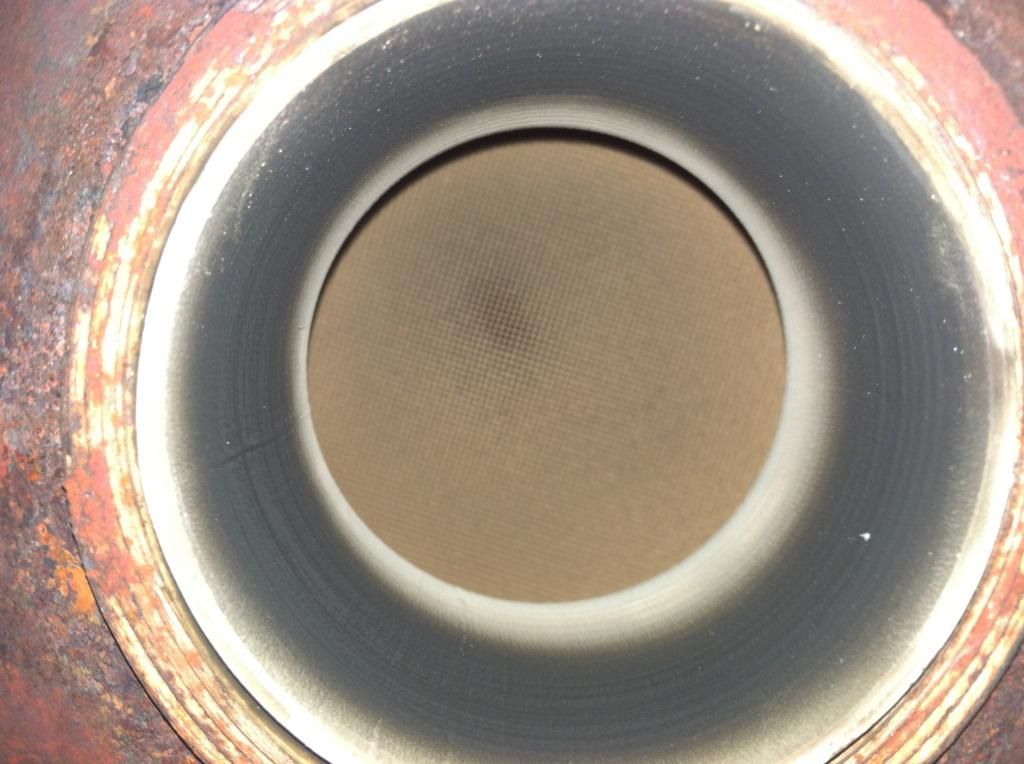
On a side note I have not gotten a CEL yet either. I checked my cat when I pulled it off and I was VERY surprised. The cat itself was incredibly rusty, yet the honeycomb looked fine (except for a small brownish tint to a portion of the honeycomb). But what seems a bit strange is that even though the cat seemed to be fine, idle is much smoother with this midpipe/fujitsubo combo.
Any tips on getting that gasket in there flush between the midpipe/exhaust would be appreciated.
I will post pics/vid later this week.
The sound is pretty awesome, and I can tell the power has improved. However, it was a bit difficult connecting the flange from the midpipe to the flange from the fujitsubo. The fujitsubo's flange is not welded on. It is actually free-moving and slides up and down the exhaust. I stuck the midpipe into the flange and started tightening the double-threaded bolts/springs/nuts but I can see that on the top of the pipe, I can see more of the mesh thing. I deff can see the mesh all around but I see it more-so on the top. It does not look like there are any leaks/open areas but I just wish the pipes fit more flushly. The flange on the fujitsubo is a giant PITA because it doesnt sit still, and unfortunately it just does not sit evenly.
I will check more in-depth for a leak within the next few days but DAMN i love the sound of it. the fujitsubo is not a ridiculously loud exhaust, but partnered with the midpipe, it literally is perfect. Not loud at idle and mid-range RPMs you just hear it freaking roar (nice and smoothly however).
On a side note I have not gotten a CEL yet either. I checked my cat when I pulled it off and I was VERY surprised. The cat itself was incredibly rusty, yet the honeycomb looked fine (except for a small brownish tint to a portion of the honeycomb). But what seems a bit strange is that even though the cat seemed to be fine, idle is much smoother with this midpipe/fujitsubo combo.
Any tips on getting that gasket in there flush between the midpipe/exhaust would be appreciated.
I will post pics/vid later this week.
Last edited by jamesf; 02-24-2013 at 07:33 PM.
 02-25-2013, 08:13 PM
#8
Alright, heres a bunch of pics from the install as well as a short video:
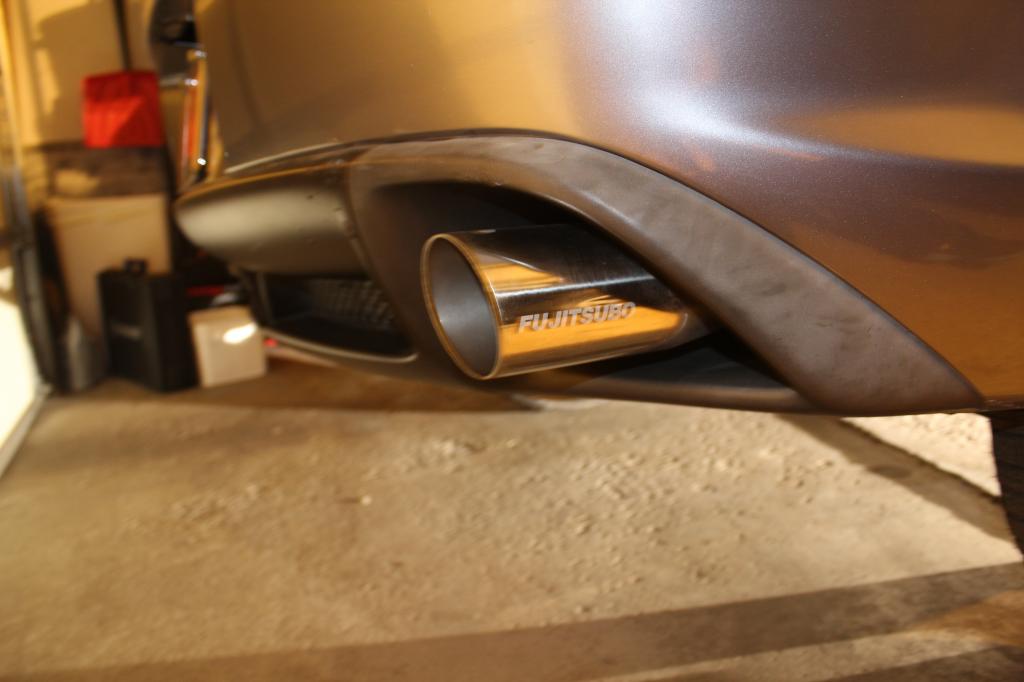
This is fujitsubo legalis r catback with BHR midpipe.
This was my cat's honeycomb
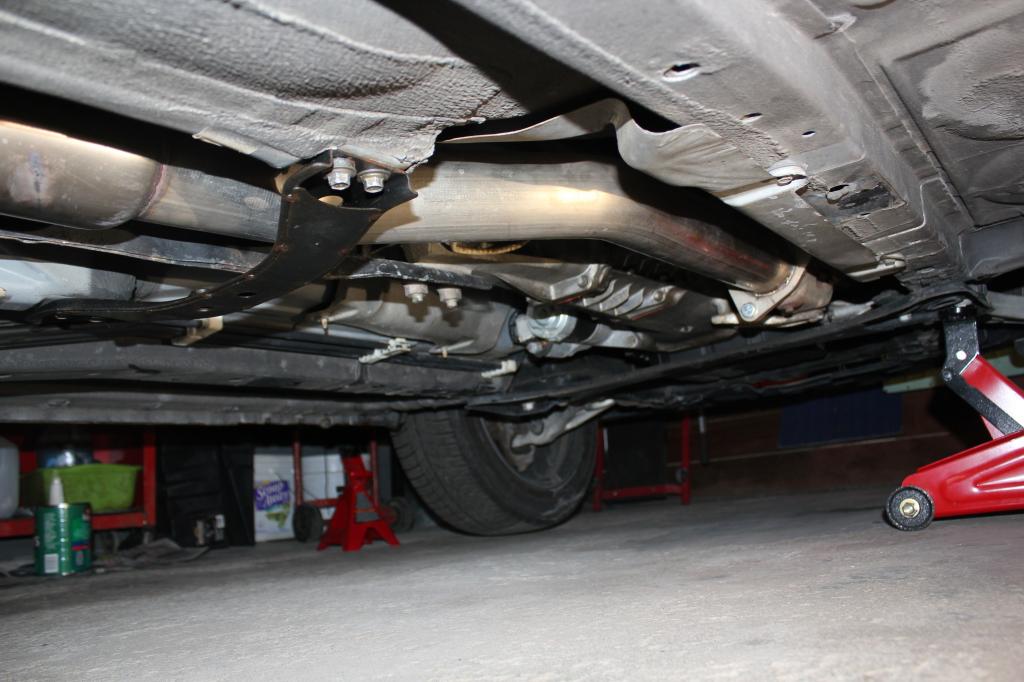
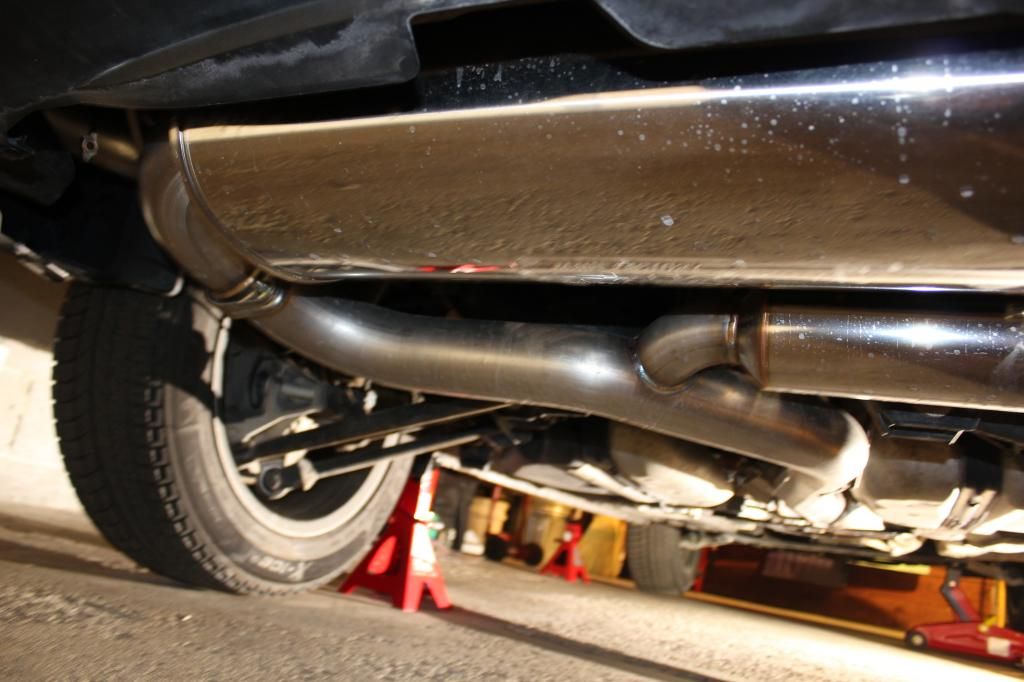
The most difficult part was connecting the midpipe to the catback pipe. The flanges did not want to line up correctly. Anyways, no CEL and sounds great. Vid is below.
fujitsubo - YouTube
let me know what you think.
This is fujitsubo legalis r catback with BHR midpipe.
This was my cat's honeycomb
The most difficult part was connecting the midpipe to the catback pipe. The flanges did not want to line up correctly. Anyways, no CEL and sounds great. Vid is below.
fujitsubo - YouTube
let me know what you think.
Last edited by jamesf; 02-25-2013 at 08:23 PM.
02-26-2013, 12:33 AM
#10
Registered

That exhaust hanger removal tool looks great. I sadly didn't have one when I installed my exhaust and midpipe and that was the hardest part. I need to buy one, even if it was $50 and not < 20 that would be a great price as far as I am concerned because it helps so much.
02-26-2013, 07:48 AM
#11
The removal tool I bought was 18.00 with free shipping off of amazon; super cheap. Worked great too. Just sprayed some WD-40 on the rubber and then went to town.
I am unfortunately having a leak/rubbing issue though. The 2nd day I drove it to work, once the car got nice and warmed up, I started hearing either a whistling or a rubbing noise. I couldnt really decipher which. It only happens when I step on the gas.
I went under the car and noticed that my O2 sensor was super loose. I tightened it down tighter this time but I hope it's just that coming loose again otherwise I'll have a bigger problem. There's really no tighter I can get the flanges together so we'll see what happens when I put her up tonight. It deffinitely affects power which is why I'm leaning towards some kind of leak.
Thank you for the comments though guys
 03-02-2013, 08:16 PM
#12
Just a little update:
Charles sent me a few extra studs because the nuts actually seized onto the bolt and broke 2 of my sockets. I used the OEM springs and I got a WAY better seal. Unfortunately, because it now has a nice seal the fujitsubo middle-portion pipe raised a tiny bit and I believe may now be hitting a heat shield at idle. Nothing too major though. We'll see what happens. My CEL hasnt come back since I fixed it as well.
I replaced a splash guard that melted on the highway, and I also started working on my prosport gauges.
I have the racing beat gauge pod and just started cutting the brackets to size. I also put the prosport oil filter adapter in and I'm hoping that I'm one the lucky ones that doesnt get a leak from it . I had a blonde moment because I was working quickly and had everything wired up before I put it in that I actually put it in upside down at first! I saw a stream of oil dripping down my pan and freaked a bit until I looked under the hood. Turned it off, flipped it upside down, and added another 1/3 quart of oil.
I'm going to need to go to home depot and get some kind of adapter bolt for the rb water temp adapter. Racing beat's customer service told me that one of the adapter bolts they sell would fit the adapter to a prosport sensor but it doesnt at all.
I'll have to come up with something. I'll post pics of the gauges once I get them installed (I hope to have them done tomorrow).
Also, just kind of on the side; In case my prosport oil filter adapter DOES start leaking, is there any solution other than the relocation kit? Just food for thought for myself.
Thanks guys!
Charles sent me a few extra studs because the nuts actually seized onto the bolt and broke 2 of my sockets. I used the OEM springs and I got a WAY better seal. Unfortunately, because it now has a nice seal the fujitsubo middle-portion pipe raised a tiny bit and I believe may now be hitting a heat shield at idle. Nothing too major though. We'll see what happens. My CEL hasnt come back since I fixed it as well.
I replaced a splash guard that melted on the highway, and I also started working on my prosport gauges.
I have the racing beat gauge pod and just started cutting the brackets to size. I also put the prosport oil filter adapter in and I'm hoping that I'm one the lucky ones that doesnt get a leak from it
. I had a blonde moment because I was working quickly and had everything wired up before I put it in that I actually put it in upside down at first! I saw a stream of oil dripping down my pan and freaked a bit until I looked under the hood. Turned it off, flipped it upside down, and added another 1/3 quart of oil. I'm going to need to go to home depot and get some kind of adapter bolt for the rb water temp adapter. Racing beat's customer service told me that one of the adapter bolts they sell would fit the adapter to a prosport sensor but it doesnt at all.
I'll have to come up with something. I'll post pics of the gauges once I get them installed (I hope to have them done tomorrow).
Also, just kind of on the side; In case my prosport oil filter adapter DOES start leaking, is there any solution other than the relocation kit? Just food for thought for myself.
Thanks guys!
 03-04-2013, 07:33 PM
#14
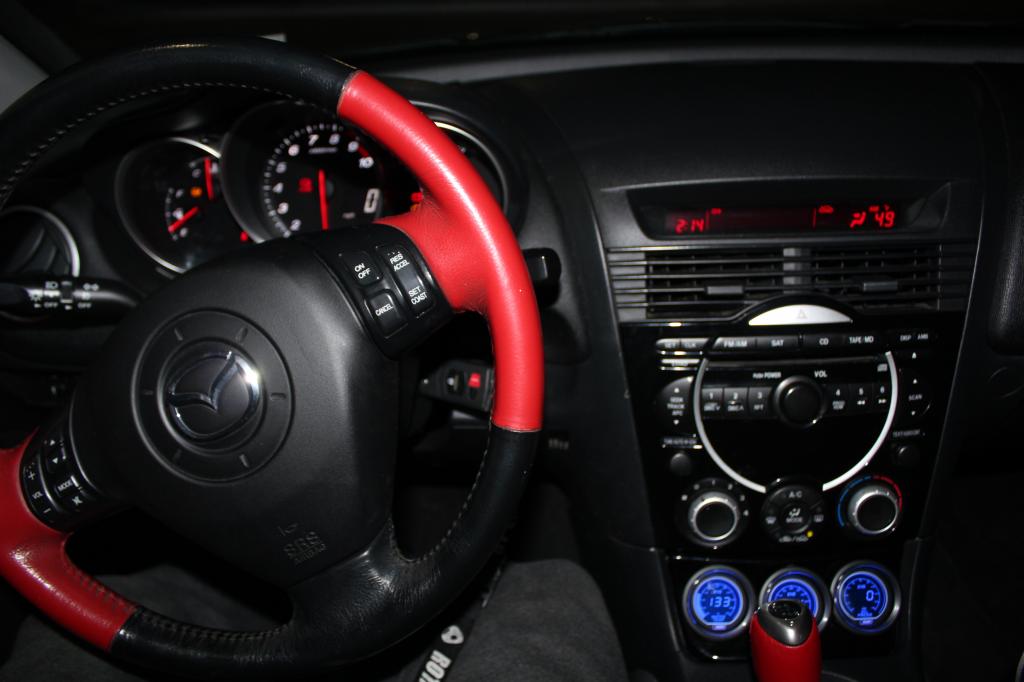
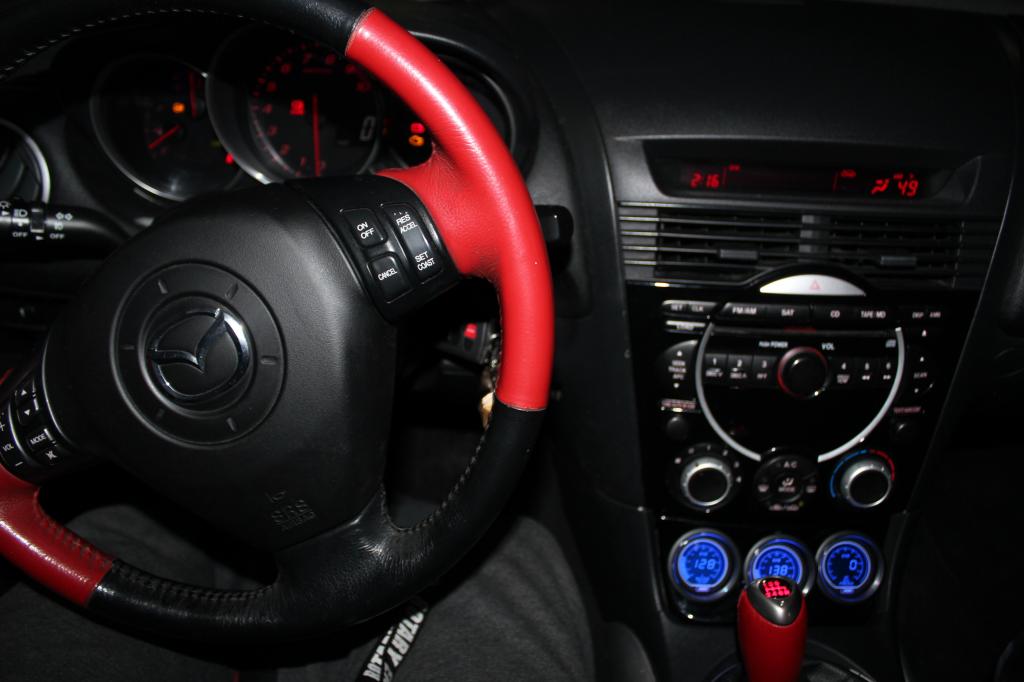
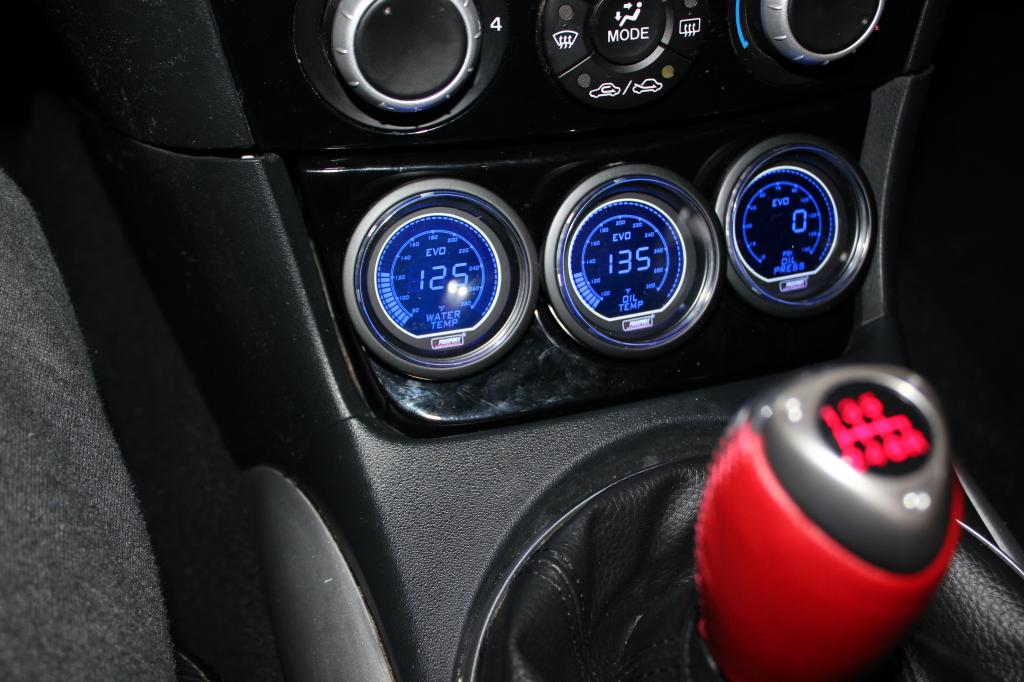
I finally got my 3 prosport evo gauges installed. I was a bit concerned because I thought only the oil pressure gauge was working. The water temp stayed on 80 while the oil temp stayed on 100. I guess they have mins, anyways:
Thank you to spin9k for the wiring help :D.
I ran the wires through the main wiring harness but I deff advise every one to NOT try and run it from the outside in. I tried that at first but it was just awful. Going from the inside was so easy and was done in 5 minutes running the 3 wires.
I followed a DIY's advice and used some flexguard ziptied to the AC upper pipe, and then just wrapped the rest of the exposed insulation with electrical tape.
The only thing that I dont like is that the 2 wires that come out of the racing beat water temp sensor are very close to a heater hose, I may try to come up with some kind of protectant.
Only other issue I had (and probably the most difficult), was getting the RB pod to fit correctly in the console. The driver's side trim by the headunit would not attach correctly to the pod and it is sticking out ever-so-slightly. Not very noticeable unless you look for it.
I'll post pics later.
 03-06-2013, 12:47 PM
#17
I don't "smell good".
Join Date: Dec 2001
Location: Crowfield Plantation, SC
Posts: 910
Likes: 0
Received 0 Likes
on
0 Posts
That is hands down my favorite exhaust.
It's the reason I love the OBX exhaust, it's a knock-off of it and sounds very, very similar. I don't have the funds for an actual Legalis R... stupid grown up bills.
It's the reason I love the OBX exhaust, it's a knock-off of it and sounds very, very similar. I don't have the funds for an actual Legalis R... stupid grown up bills.
03-06-2013, 02:10 PM
#18
Even though this purchase was great deal, the retail of one is not so crazy compared to exhausts such as tanabe and borla. I almost purchased a Tanabe ultra medallion exhaust, but it would have been about $1,100. Not in the budget. I decided to use that extra $$ to get a BHR midpipe to pair with it. I still gotta get used to the sound of the backfiring though. Sometimes it surprises me.
I also have to get under the car with a hammer and start banging some heat shields, either that or reseat it again; still getting a drone at 2k from something rubbing.
 . Regardless though, looks/sounds great. Thanks for the comment man!
What's nice is now that I have these gauges, I have a much better idea of when I can start pushing it. Highest I've seen the water temp get to is 190ish.
 03-10-2013, 09:24 AM
#20
Today's plans after having the most awesome drive home last night through a 30 minute winding road?
I tried to take pictures of my gauge job yesterday but my memory card was still in my laptop
Anyways, I got pics of my gauge-work, max-ground grounding kit, and I'll try to get another vid of fujitsubo and have her spit flames this time. I was a bit restricted the last time I took the vid because it was later in the evening.
I'm gonna start it off by cleaning my SSV with hesselrode's help as well. I'll take some pics of that as well.
03-10-2013, 08:36 PM
#21
Alright folks!!
Sooo, my day went like this:
I started it off by changing my front brake pads to some everwear platinums (economical ceramic pads). I took a closer look at my driver's side which I said wasnt spinning right. After changing my pads, it doesnt look like it's the piston. It actually appears to be that the rotor may have warped. It spins fine but keeps rubbing at a certain spot in the rotor.
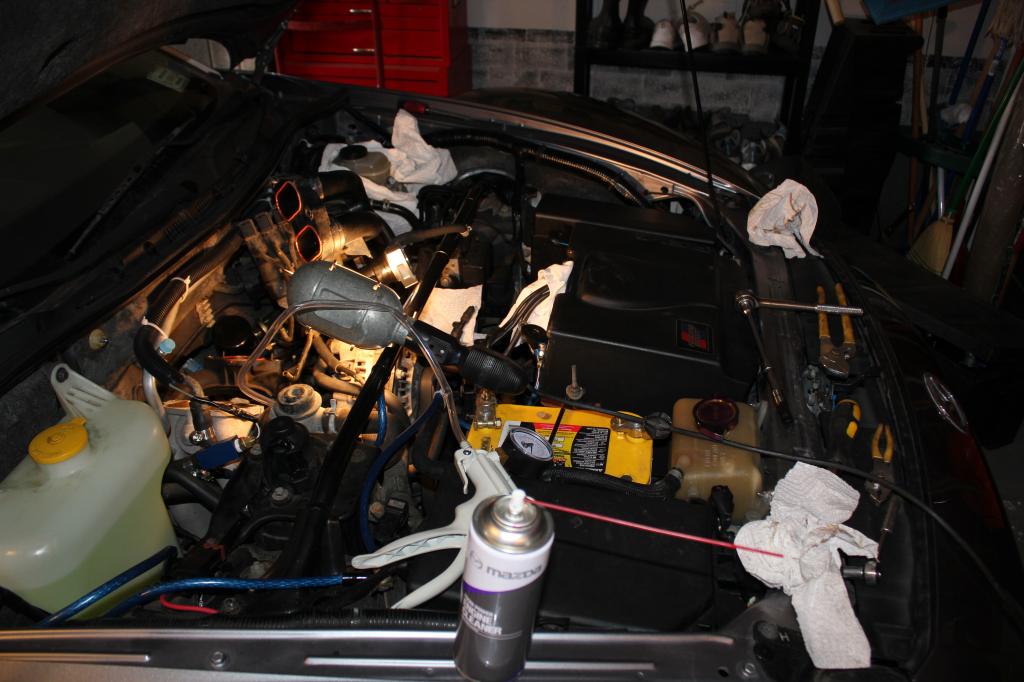
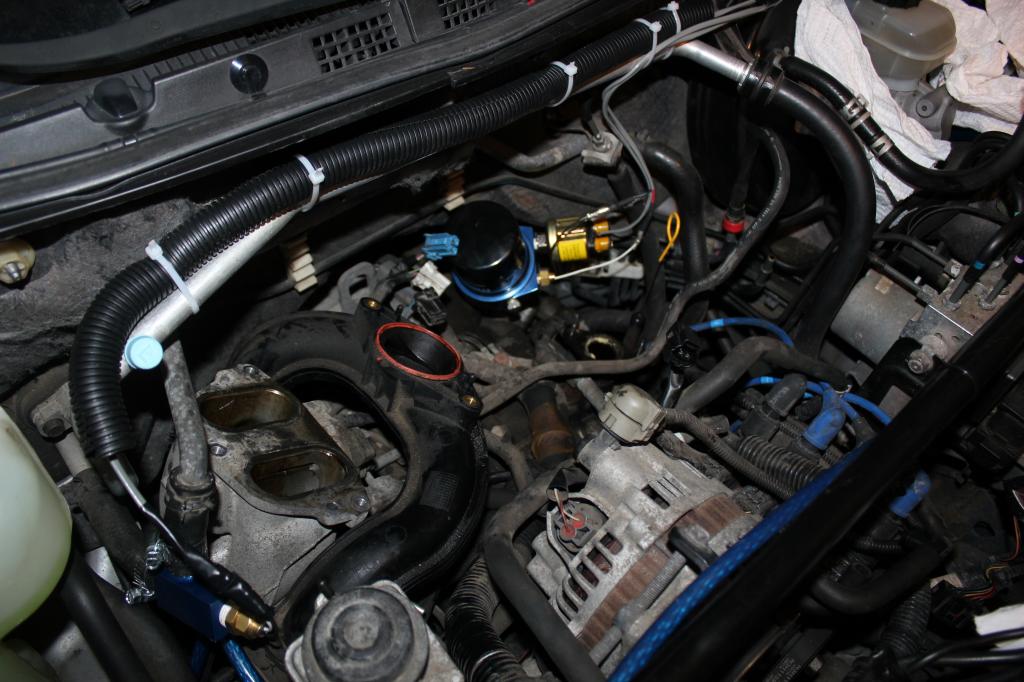
After the pad change, I skyped with Hesselrode for the afternoon and he guided me through taking off my intake, throttle body, UIM, and dousing my SSV with zoom cleaner while spinning it with a mighty vac. Drove it around all tonight and guess what? No SSV shutter :D.
Yesterday I installed a max ground kit which helped with certain electrical loads like when you roll the window all the way up and what have you. No shuttering or anything like that.
My idle is still on the rougher side so all I can say now is that's just how the 8 is, a little rough at idle.
Anyways, here's some pics of everything including the EVO gauges I installed. Try not to make fun of my wiring job. I used a piece of flexguard over the upper AC pipe but the rest I just used electrical tape.
And also, here is another video of the fujitsubo exhaust if you want an idea of what it sounds like. It is currently hitting a heat shield at low RPM as you can probably hear so I will need to fix that. Hope you like my work. These were really a step up from my regular DIYs so I am proud of myself.
Thanks to all and especially Hesselrode!
Sooo, my day went like this:
I started it off by changing my front brake pads to some everwear platinums (economical ceramic pads). I took a closer look at my driver's side which I said wasnt spinning right. After changing my pads, it doesnt look like it's the piston. It actually appears to be that the rotor may have warped. It spins fine but keeps rubbing at a certain spot in the rotor.
After the pad change, I skyped with Hesselrode for the afternoon and he guided me through taking off my intake, throttle body, UIM, and dousing my SSV with zoom cleaner while spinning it with a mighty vac. Drove it around all tonight and guess what? No SSV shutter :D.
Yesterday I installed a max ground kit which helped with certain electrical loads like when you roll the window all the way up and what have you. No shuttering or anything like that.
My idle is still on the rougher side so all I can say now is that's just how the 8 is, a little rough at idle.
Anyways, here's some pics of everything including the EVO gauges I installed. Try not to make fun of my wiring job. I used a piece of flexguard over the upper AC pipe but the rest I just used electrical tape.
And also, here is another video of the fujitsubo exhaust if you want an idea of what it sounds like. It is currently hitting a heat shield at low RPM as you can probably hear so I will need to fix that. Hope you like my work. These were really a step up from my regular DIYs so I am proud of myself.
Thanks to all and especially Hesselrode!
04-01-2013, 08:09 AM
#22
Well my car is in for inspection, so I'm crossing my fingers that it passes. I just changed all of the fluids along with the front brake pads.
I let them know that there is an issue with the front drivers-side rotor and gave them the caliper rebuild kit I purchased from Mazda. They said if there is a problem with it they'll use it but if not they'll give it back.
I'm willing to bet that the rotor is warped because it only rubs on 1 spot.
We'll see what happens. I have my stock cat back in as well for emissions purposes and it's funny the fujitsubo exhaust sounds completely like stock when partnered with stock cat.
Cheers

 04-12-2013, 09:49 AM
#25
Do you mean how did I use the RB adapter with the prosport temp sender?
The part RB sent me did not fit at all, no idea why they told me it would.
I actually ended up going to Home Depot and found the correct adapter to use. It was 1/8'' NPT for the sender, and I forgot the size, but it fit into the RB adapter. $3.00, easy fix. Teflon wrapped the crap out of everything.
The RB adapater is so much more convenient to install than the prosport one. Deff glad I went that route.